● Click Save followed by Apply
- When you click Apply, the Pulse Server will download the
directory settings to all the IP intercom stations and do a
system reboot.
L Password is an optional eld you can set to increase the
security level. The password is used by other intercom stations
to register with the Pulse Server.
2.5 Verify System Setup
To verify that your system is up and running:
Select Server Management > Server Monitoring
All stations that have been congured should be displayed in
the table. Stations that are up and running will have the status
Registered.
2.6 Congure Call and Audio Settings
It is optional to congure the call and audio settings. Default
settings will be used if they are not congured.
● Select Server Management > Server Conguration >
Call and Audio Settings
The Call and Audio Settings menu include the following
parameters:
Autoanswer
Auto-answer is typically enabled for substations and not for
master stations.
Disconnect By Button
When disabled, the user cannot disconnect the call from this
station. It is typically disabled on substations and enabled on
master stations.
Activate Relay On Event
Most IP stations have a relay. Here, you can select the events
that activate the relay. The available events are:
- DTMF <#> - Reception of a DTMF (keypad) digit from a
remote station during the call
- Ringing
- In call
Relay duration
When the relay is activated, this parameter determines how
long the relay should stay ON.
Speaker Volume
This parameter sets the speaker volume for the station.
Noise Reduction
This parameter enables active noise cancellation. For stations
that are located in noisy environments, it is recommended
that the noise cancellation level be set to 4.
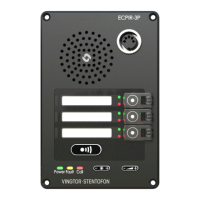
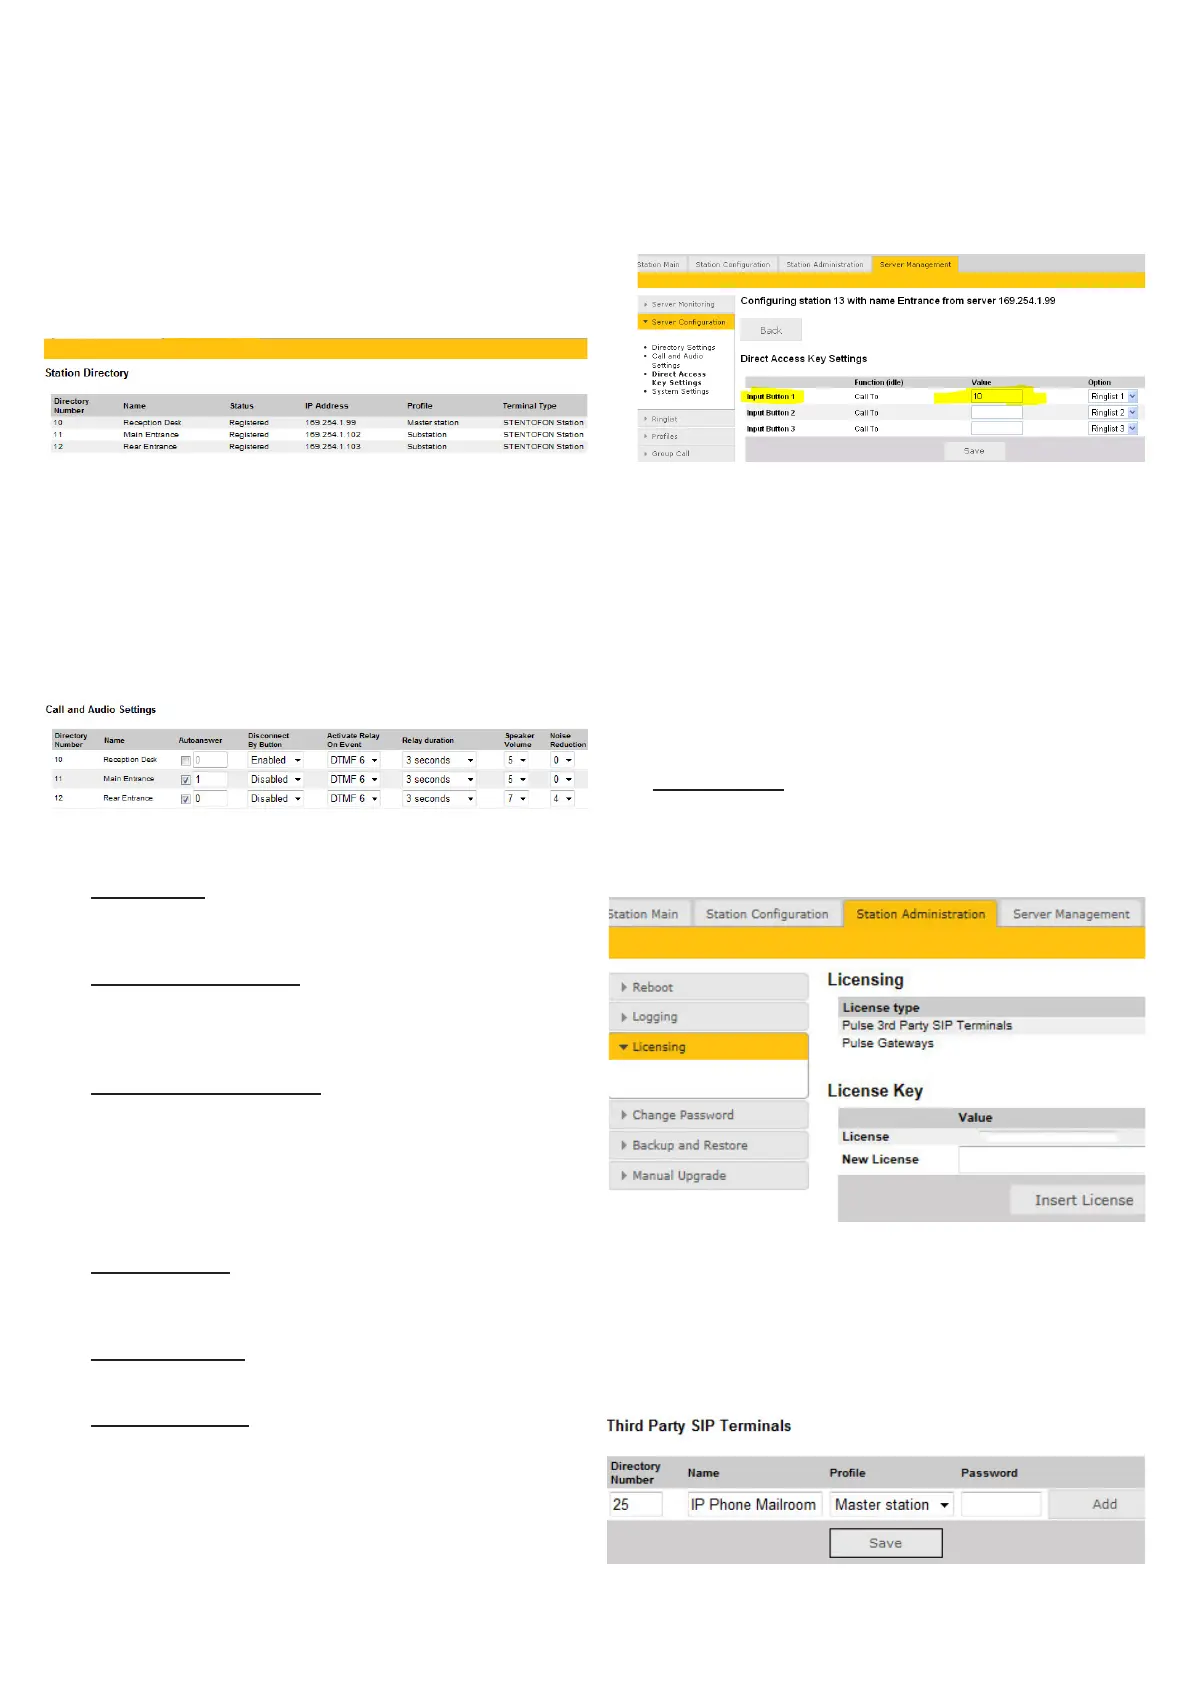
2.7 Congure the Call Buttons on an IP Substation
The IP Substation has three inputs. By default input 1 (Key
1) is connected to the call button, while the other two inputs
(Key 2 and Key 3) are free and can be used for additional call
buttons.
The call buttons of the IP Substations can be congured via
the Pulse Server.
● Use a web browser and log into the Pulse Server station
(e.g. 169.254.1.99)
● Select Server Management > Server Conguration >
Direct Access Key Settings
● Select the station on which you want to program the Call
Button
- The Call Button is Input Button 1
● Under Value enter the directory number to call when the
button is pressed.
If you want to use also input 2 (Key 2) and input 3 (Key 3),
simply enter the required value for Input Button 2 and Input
Button 3.
2.8 Add SIP Accounts for 3
rd
-party IP Telephone
and IP DECT
Install license
Before adding SIP accounts to your system, you need to
obtain the Pulse 3rd Party SIP Terminals license key.
● Under the Station Administration tab, select Licensing
● Enter the license key in the New License eld and click
Insert License
The Licensing table should now show all the licenses that
are available.
2.8.1 Create SIP station account
● Under the Server Management tab, select Server
Conguration > Directory Settings
● Under Third Party SIP Terminals enter the Directory
Number, Name, and Prole for the IP telephone.
 Loading...