7
Please contact vissani@conglom.com or 1-888-449-9197EHWZHHQDPSP(670RQGD\)ULGD\IRUIXUWKHUDVVLVWDQFH
ENGLISH
Pre-Installation (continued)
PLANNING INSTALLATION
1XPEHURISHRSOHUHTXLUHG 1
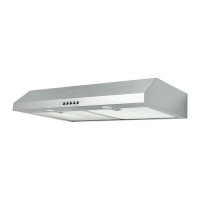
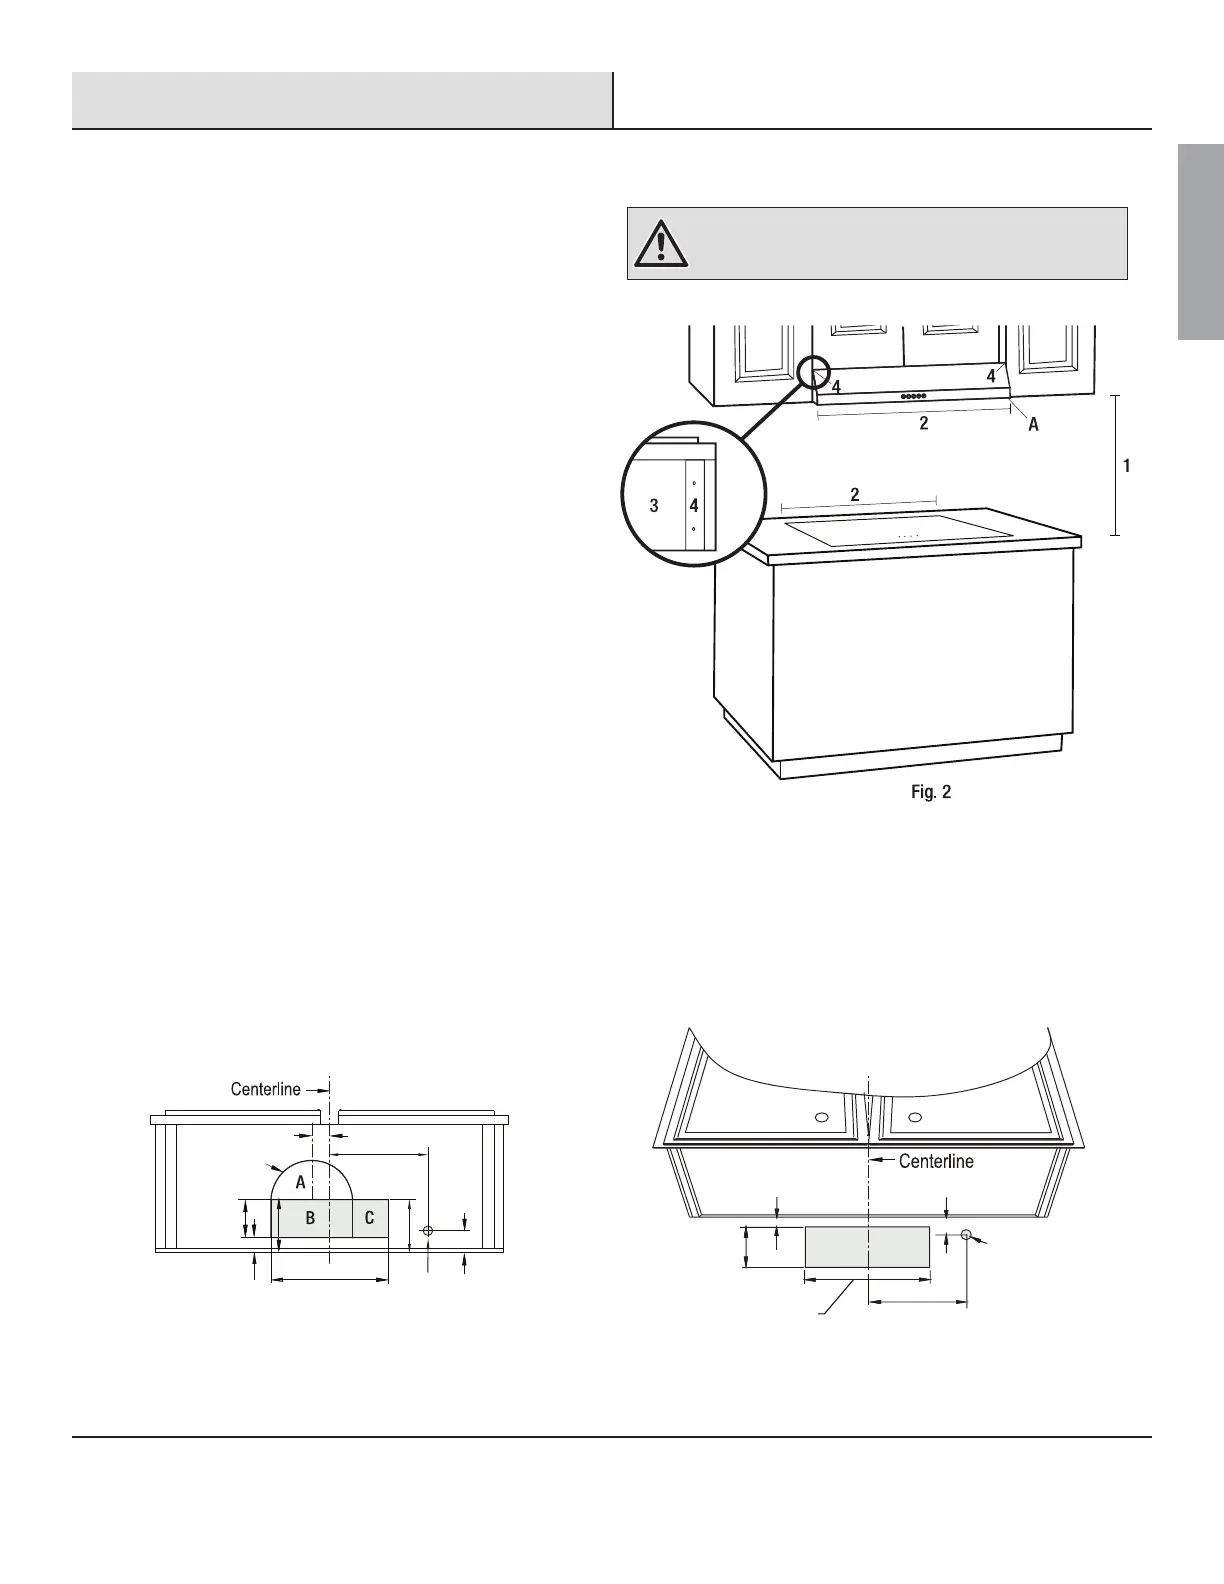
1. Before installation, measure all distances to ensure the proper
position of the range hood (A).
The minimum distance (1) from the cooking surface to the
UDQJHKRRGLVLQPP,I\RXUUDQJHVSHFLŵHVD
different distance, use the greater distance of the two. For
best performance, this distance (1) should not exceed 25 in.
(635 mm).
Dimension (2) should be at least 30 in (762 mm). The range
hood should be approximately the same size as the cook top.
2. If the bottom of the cabinet (3) above the location where the range
hood is to be installed is recessed, attach appropriately sized wood
ŵOOHUVWULSVRQHDFKVLGHXVLQJZRRGVFUHZVRUXVHWKHVXSSOLHG
installation brackets for framed cabinets.
3. Screws are provided to secure the range hood to most types of
FDELQHWVEXWFRQVXOWDTXDOLŵHGLQVWDOOHUWRYHULI\WKDWWKHVXSSOLHG
screws are suitable for your cabinets.
4. Put a thick, protective covering over your counter, cooktop, or
range to protect it from damage and dirt during installation.
Remove any hazardous objects around the area.
:$51,1* Always wear safety goggles and gloves during
installation.
9(17,1*237,216
a. Determine if your existing venting system is top venting or back venting, and ensure that the openings in the cabinet or wall for the
damper and for power access are in appropriate locations and are of appropriate sizes, as per Fig. 3 if it is top venting or Fig. 4 if it is
back venting. For top venting option (Fig. 3), if you are using the round adapter, the opening should be A and B only. If you are using
the rectangular damper, opening should be B and C only.
b. If this is a new installation, choose the venting method that suits your needs. Cut out openings for the damper and for power access
in the cabinet bottom or back wall, depending on the direction of venting chosen.
DIA.1.26"
(32mm)
DIA.7.4"
(188mm)
0.94" (24mm)
11.2” (285mm)
2.12” (54mm)
4.5”
(115mm)
3.58”
(91mm)
DIA.1.26"
(32mm)
10.25" (260mm)
10.25"
(260mm)
11.2” (285mm)
3.58”
(91mm)
0.25” (6.4mm)
0.8” (20mm)
Fig. 3: Top Venting Option Fig. 4: Back Venting Option
1.4" (36mm)
 Loading...