24 VITEACARE.COM
M
ODE
L: JUNIOR
PLUS 2 & 3
LANGUAGE: ENGLISH VERSION: 2022-01
TRAY INSTALLATION
• To assemble the tray, remove the front guard and then mount the table holder in the same
place.
• Insert the tray into the holes in the handle.
• When dismantling the tray, press the side part of the tray in the hole from the side. Do this
on both sides of the handle.
• Remove the handle.
• The tray distance can be adjusted using two screws located on the inside of the handle.
Unscrew both knobs, pull out the screws, then move the part with the hole to the tray to the
desired depth, insert the screws and tighten the knobs (Fig 32, 33.).
• Do this on both sides. The depth must be the same.
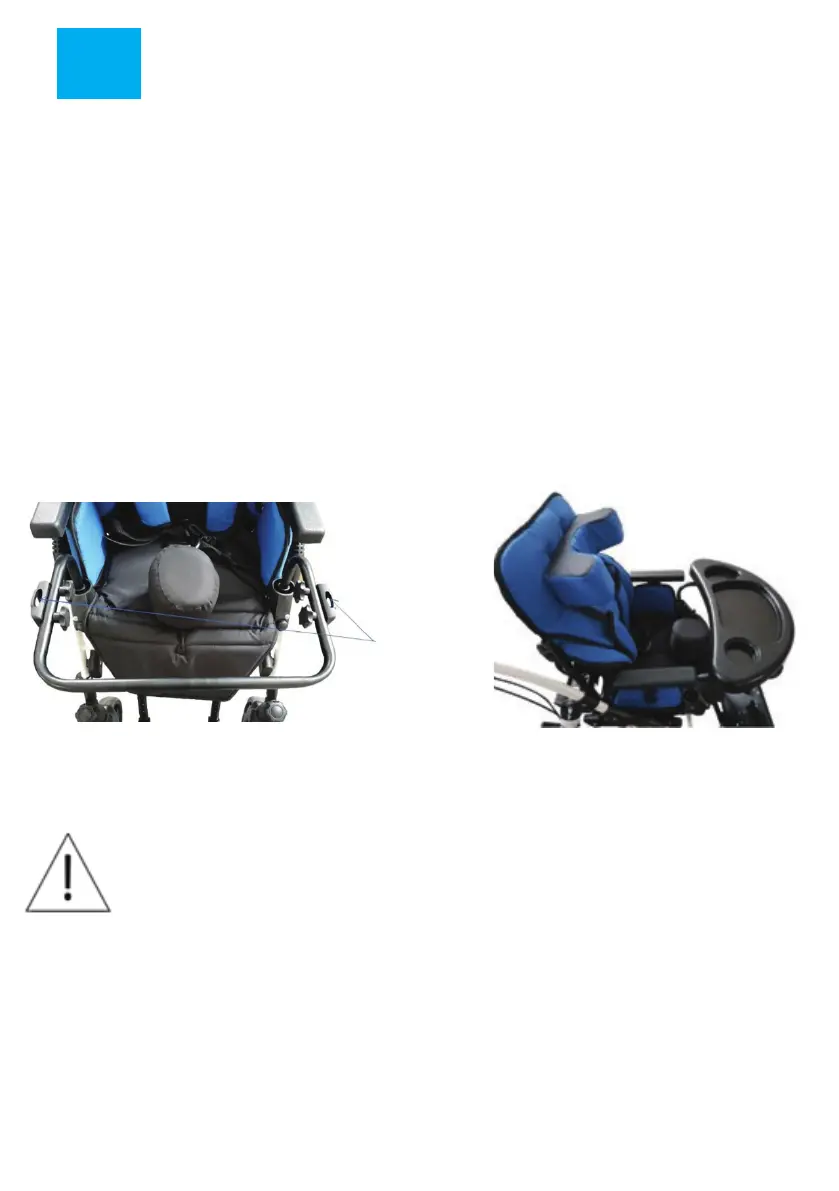
Fig 32. Holes for the table
Holes for the
tray
Fig 32. Properly attached try
WARNING! When changing the angle of the seat and
backrest, be careful of items on the tray. Too big angle
change can cause objects to fall. The option with a table is
not possible when you change the seat settings relative to
the direction of travel.