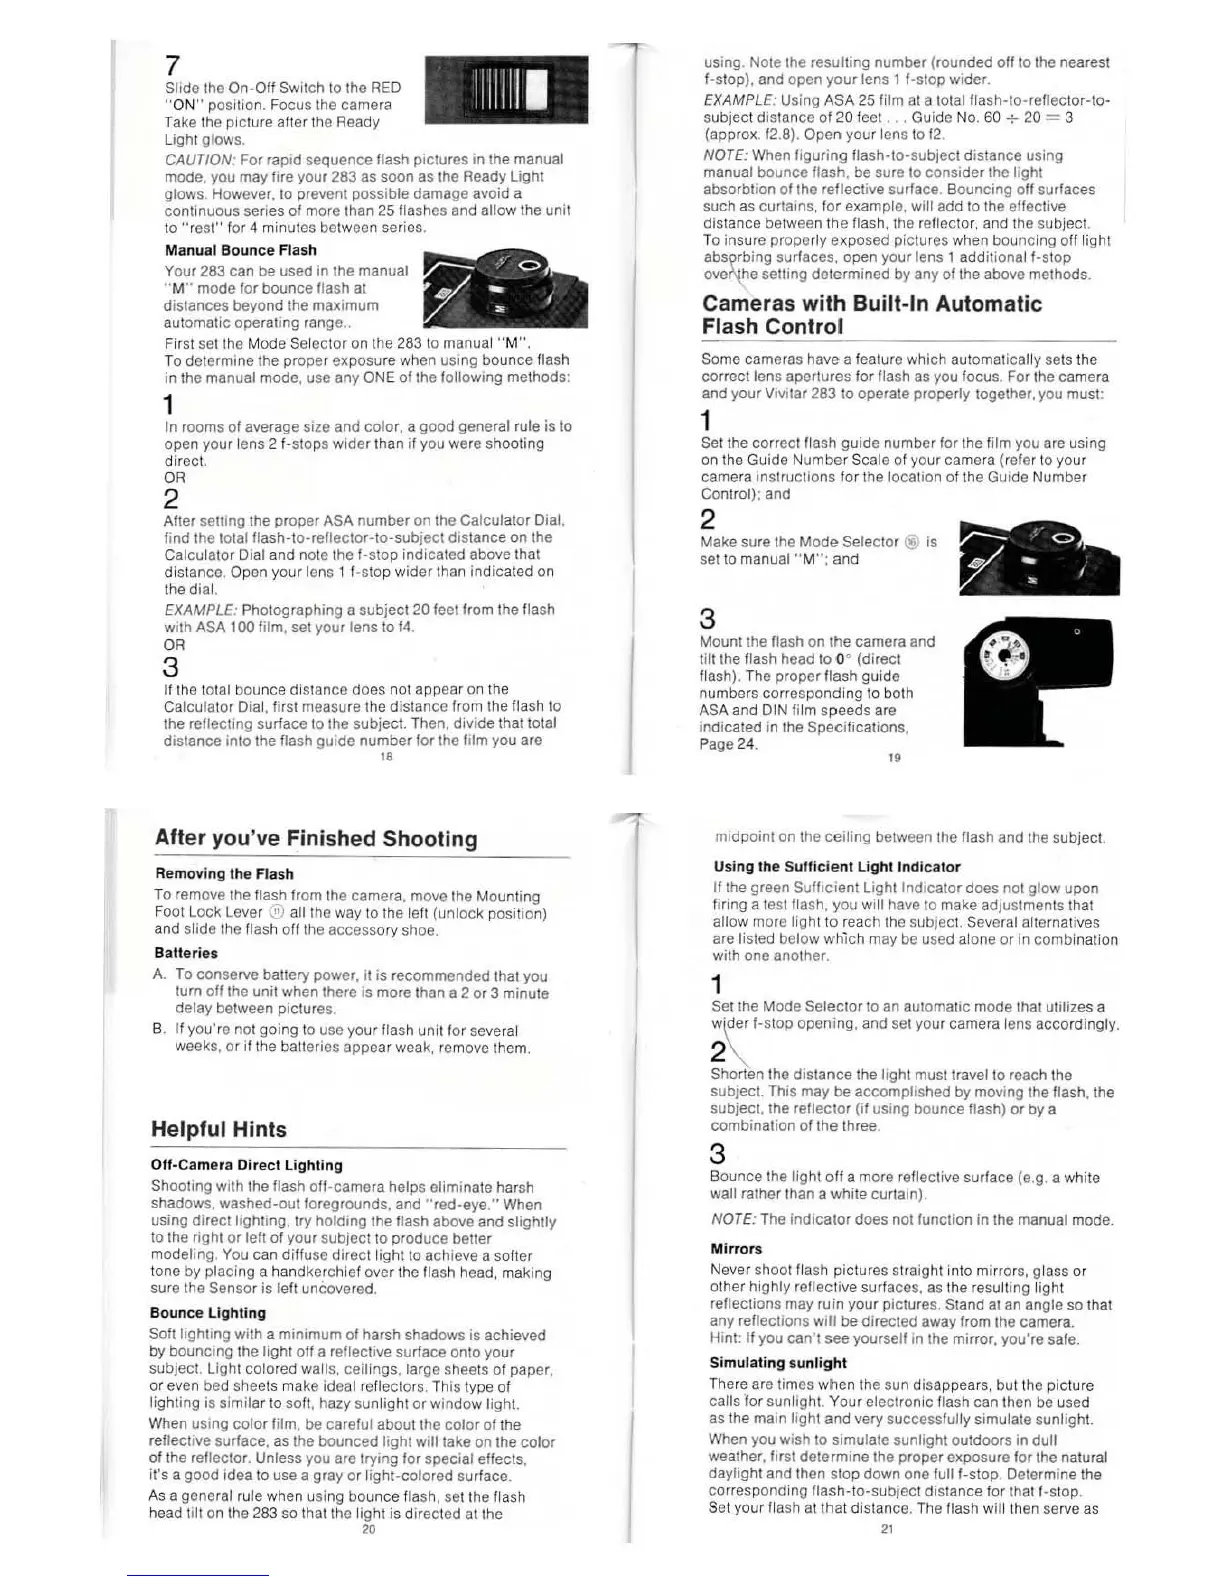
7
Slide
the
On·
011
Switch
10
the RED
" ON " position. Focus the camera
Take the picture alter the Ready
Light glows.
I
lil
l
ll
CAUTION: For rapid seQuence nash
pictures
in
the manual
mode.
you
may
fire
your
283 as soon as the Ready Light
glows. However, to prevent possible
damage
avoid a
continuous
series
01
more than
2S
IIashes and anow the
unit
to
"rest"
for 4 minutes between series.
Manual
Bounce
Flash
Your 283 can be used in the manual
" M" mode for bounce flash al
d
is
tances
beyond
the
maximum
au
tomatic operating range.,
First set the M
ode
Se
l
ec
tor on the 28310 manual " M
O..
To determine the
proper
!l)lposure when
using
bounce
fl
ash
in the manual
mode
, use any ONE of the following methods:
1
In rooms of average size and
color,
II
good
general rule is
10
open
your lens 2
I-stops
widerlhan
il
you were
shoo
t
ing
direct.
OR
2
Alter seltlng the
proper
ASA
number
on
the
Calcula
tor Dial,
find
Ihe
totaillash
-
io-rellectof-io-sub
ject
distance
on
the
Calculator
Dial and note the
I-Slap
indicated above
th
at
distance,
Open your lens 1
I-sto
p wider than
indica
ted on
the
dia
l,
EXAMPLE
: Photographing a subject 20 feet from the lIash
With
ASA 100 film, set
your
lens
to
14
,
OR
3
If the lotal bounce distance
does
not appear on the
Calculator Dial, first measure the distance from the
fl
ash to
the reflecting surface to the subject. Then,
divide
thai total
distance
into
the Ilash
guide
number
lor
Ihe
him
you
are
"
After
you've Finished
Shooting
Re
mo
vi
ng
the Flash
To remove the
Ilash from the camera, move the Mounting
Foot Lock Lever
®
alilhe
way to the le
ft
(unloc
k position)
and
slide
the !lash
011
the accessory shoe,
Batterie
s
A,
To conserve battery power,
it
is
r
ecommended
that you
turn
oil
the
unit
when there is more t
han
a 2 or 3 minute
delay
between pictures,
B. If
you're
not
go
ing to use your flash unit lor several
weeks,
or
if
th
e batteries appear weak, remove them.
Helpful
Hints
Oil-Camera
Direct
Ughting
Shooling
With the flash oU-camera helps eliminate harsh
shadows,
washed-out
foregrounds, and
"red-ey
e
."
When
using
direct
lighting, try
holding
the flash above and
slighlly
to the right
or
left
of
your
subjecl
lo
produce
betler
modeling, You can
di
ff
use
dilectlig
ht to achieve a
sol
ter
tone
by
placing
a handkerchiel over Ihe flash head, making
sure Ihe
Sensor is lefl uncovered.
Bounc
e
LIghting
Solt
lighting with a
minimum
of harsh shadows is achieved
by
bouncing
Ihe
light
011
a reflective surface onto
your
subject. Light
colored
walls. ceilings, large sheets
of
paper,
or even bed sheets make ideal
re
fl
ectors. This type
01
lighting is similar to soft, hazy sunlight
or
window
light.
When using
color
film,
be
carelul about the
color
01
the
reflective surface, as the
bounced
light
will
take on the
color
01 the reflector. Unless
you
are trying for
special
effects,
irs
a
good
idea to use a gray
or
lighl-colored
surface.
As a general
rule when
using
bounce
fl
ash, set the flash
head
lilt on the 283
so
that Ihe tight is
di
r
ec
ted
atlhe
'"
uSing. Note the resulting
number
(
rounded
off
to
the nearest
f-stop), and
open
your
lens 1
f-stop
wider.
EXA
M
PLE
: Using
ASA
25
film at a total flash-t
o-
r
eilector-to-
subject distance
01
20 lee! . , , Guide N
o.
60
+-
20 = 3
(approx. f2.8),
Open
your
lens to
12
.
NOTE:
When
figuring
flash-to-subjeci
distance
using
manual
bounce
flash, be sure 10
consider
Ihe light
absorbtion
01
the rellective surface. Bouncing
off
surfaces
such as curtains,
lor
example,
will
add to Ihe effective
distance between the
flash, the reflecto
r,
and the subject.
To insure properly exposed pictures when bouncing off light
a bsy~~ing
surfaces,
open
your lens 1 additional
f-stop
ove~e
selting
determined
by
any
of
the above methods.
Cameras with Builtwln Automatic
Flash
Control
Some cameras have a feature which automatically sets the
correct lens apertures
for
flash as you locus. For the camera
and
your
Vivl
ta
r 28310 operate properly together, you must:
1
Se
t the
correctllash
guide
number
for
the film you are using
on
the Guide
Number
Scale 01 your camera (reler to
your
camera
instructions
lo
r the location of the Guide
Number
ContrOl): and
2
Make sure the
Mode
Selector ® is
set to
manual " M
";
and
3
M
ounlthe
flash on
Ihe
camera and
tilt the lIash head
to
o
~
(direct
flash). The
proper
flash
gu
ide
numbers
correspond
ing to
bot
h
AS
A and DIN l
ilm
speeds a
re
indicated in the
Specilications,
Page 24.
"
mid
poinl
on
the
ceiling
between the flash and the subject.
Usi
ng
th
e S
ullic
ie
nt
Light
Indi
cator
If the green
Sufhcient
Light
Indicator
does
not
glow
upon
firing a lesll1ash,
you
will have to make adjustments that
allow
more light to reach the subjec
t.
Sevoral alternatives
are listed below
which
may be used alone
or
in
comb
inati
on
with one another.
1
Se
t the
Mode
Selector to
an
automatic mode that utilizes a
2\
'-SlOP
opening, and set
your
camera lens
acco
rdingly.
Shorten the
dis
t
ance
Ihe light must travel
to
reach the
subjec
t.
This may be
accomptished
by
moving the flash,
Ihe
subject, the reflector
(if
using
bounce
flash)
or
by
a
combination
01 the three.
3
Bounce
the light
oil
a more reflectiVe surface (e.g, a white
wall rather than a
white
curtain),
NOTE:
The
indicator
does
not function in the manual mode.
MirrOf$
Never shoot Ilash pic
tu
res straight into mirrors, glass or
other
highly reflective surlaces, as
th
e resulting light
reflections may
ru
in y
our
pictures. Stand
al
an
angle
so
that
any reflections
will
be
directed away Irom the camera.
Hint:
If
you
can
'l
see yourself in the mirror,
you're
safe.
Simula
tin
g
sunlight
There are times
when
the sun disappears, but the
pic
ture
calls
lor
sunlight. Your
electronic
flash can then be used
as
the
malfllight
and
very successfully simulate sunlight.
When
you
wish to simulate
sunlight
outdoors
in
dull
weather, first determine the proper exposure
lor
the natural
daylight
and then
StOp
down one
lull
I-stop
. Determine the
correspond
ing
lIash-
t
o-subjec
t distance
for
that I-st
op
.
Set
you r fla
sh
at that distance. The flash will
th
en serve as
"
 Loading...