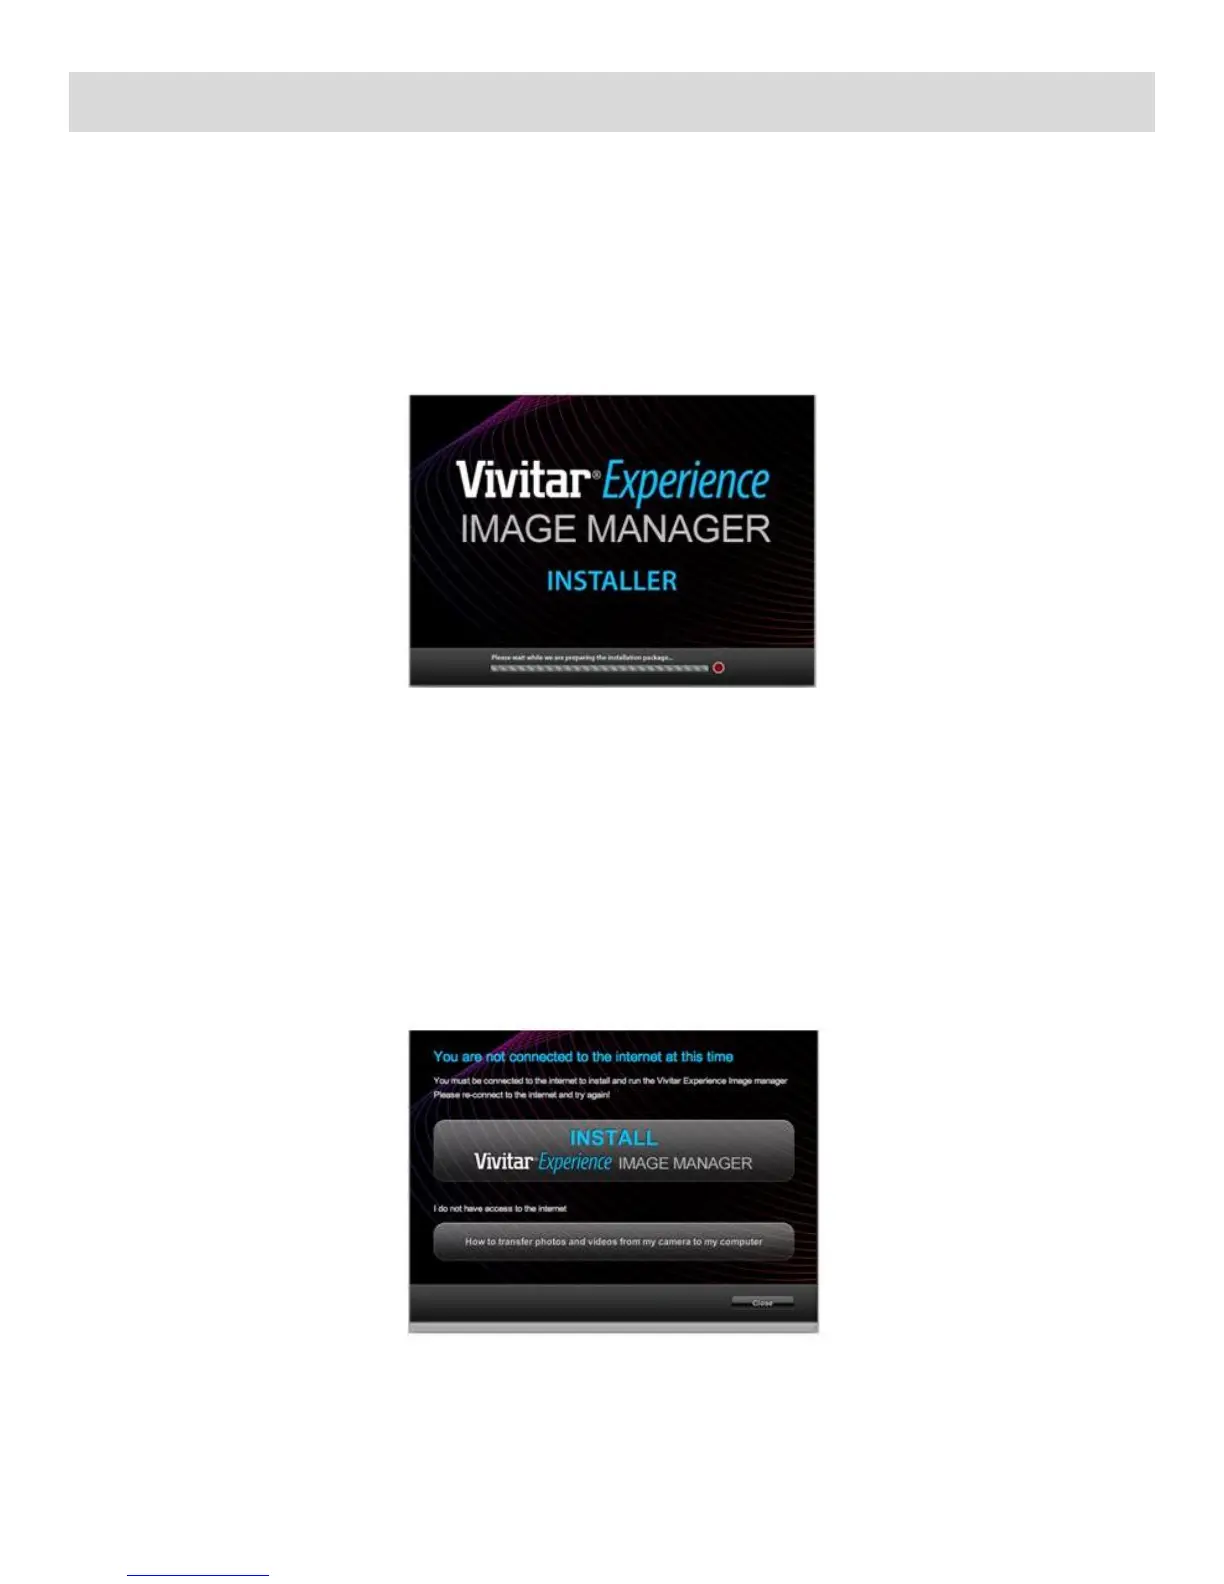
Installing the Software
You must be connected to the Internet to install and run the Vivitar Experience Image Manager
software.
1) Insert the installation CD into your CD-ROM drive. The installation screen should automatically
open.
2) On PC: The Vivitar Experience Image Manager Installer window appears. If the window does not
appear, open the application’s CD/DVD drive and click on “Setup.exe” to launch the installer.
3) On Macintosh: Click the icon that appears on the desktop to install the Vivitar Experience Image
Manager.
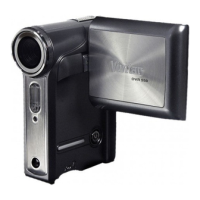
4) If you do not have internet access at the time of inserting the CD-ROM, connect to the internet
and then click the “Install Vivitar Experience Image Manager” button to begin the installation.
Note: If you do not have internet access, you can still download media from the camcorder. Click
the “How to transfer photos and videos from my camcorder to my computer” button for
instructions.