The following options appear on the Home screen:
1. Connect and Add New Camera:
Make sure your Mobile device and your Vivitar Action Cam are connected. See
CONNECTING YOUR ACTION CAM TO YOUR MOBILE DEVICE for more information.
The top section of the Home screen shows the list of Action Camcorders – those that are
connected or disconnected.
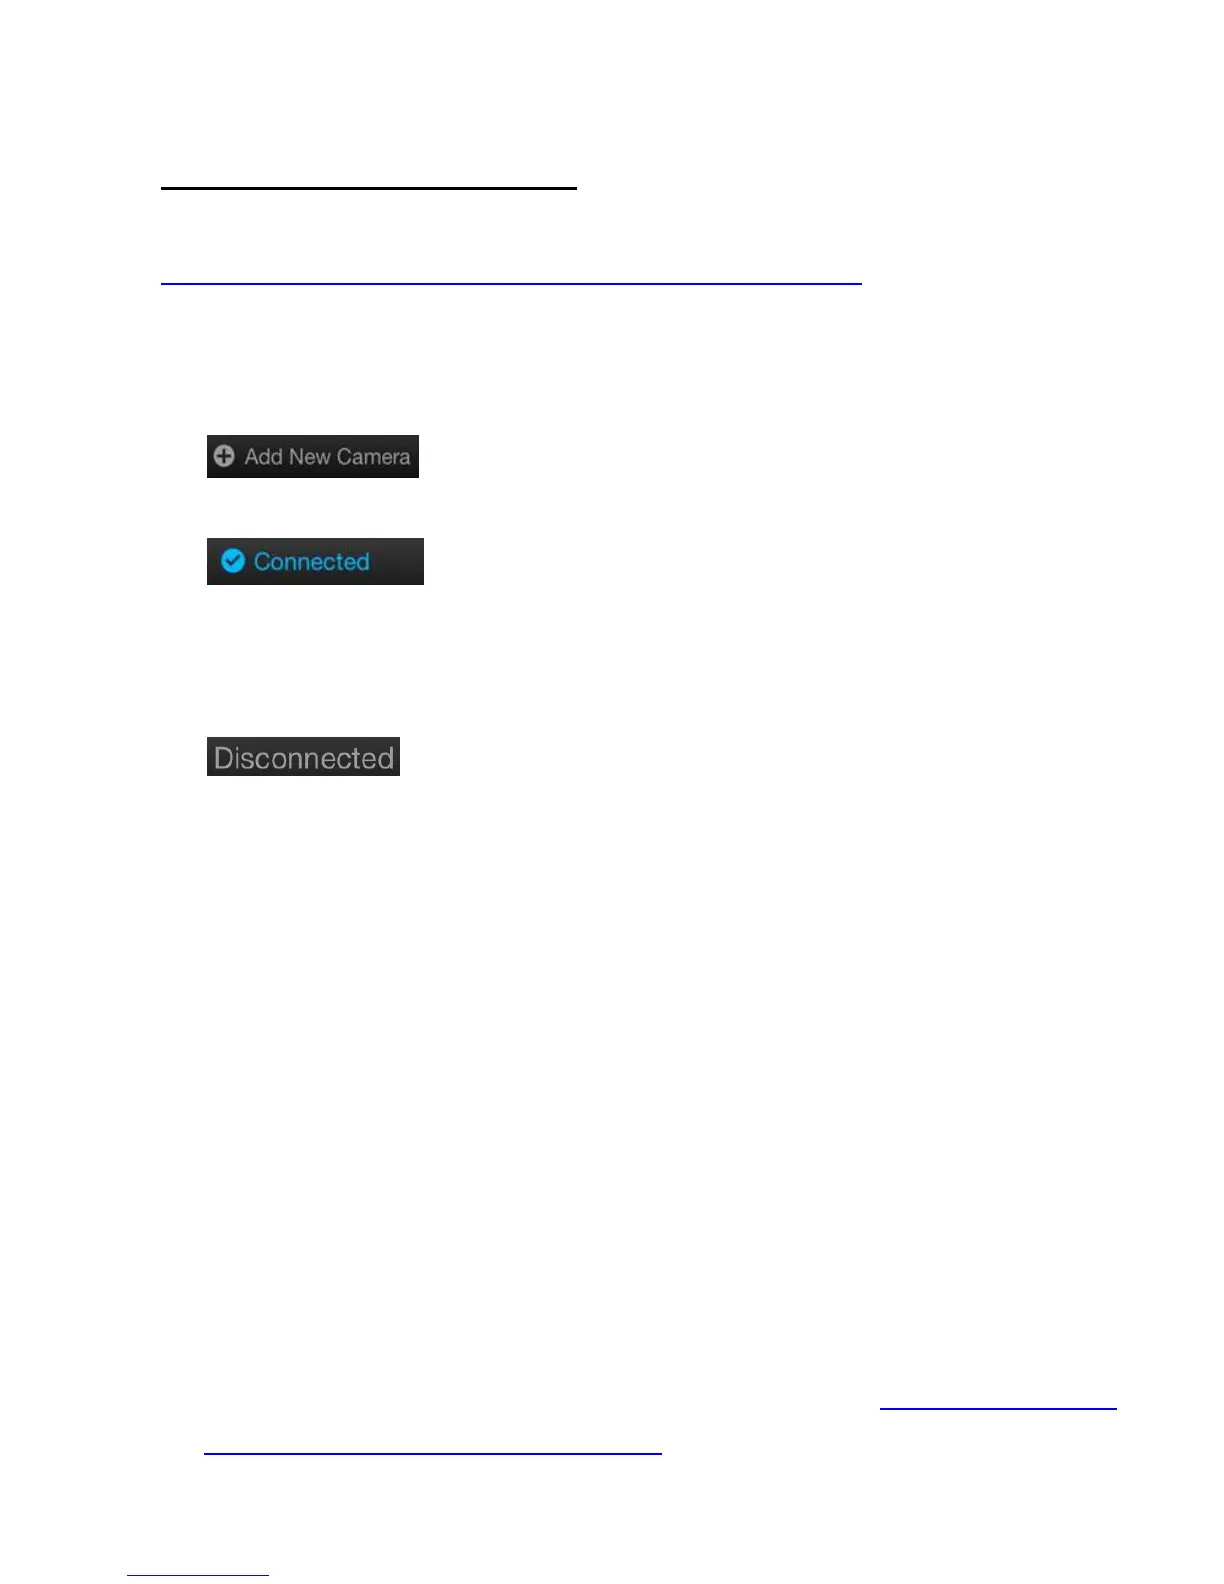
Tap Add New Camera to connect to the camera to the app. , you
are now able to control the camera with the Vivitar Action Cam app.
Once connected, the selected camera appears as “Connected”
in blue with a check mark in the Home screen.
Tap the button with your ‘Connected’ camera to open the Video Capture Live Camera
Mode and begin capturing your images remotely.
When your camera status appears as “Disconnected” on the Home
screen, you need to reconnect your camera to the app.
CAMERA OPTIONS:
- To add another camera, pair the additional camera to your mobile device and then tap
Add New Camera.
- To change to a different added camera, tap that camera that you would like from the
Home screen. This selects the desired camera and opens the Video Capture Mode
live camera.
- To reconnect when your Action Cam status appears as ‘Disconnected’ on the app, you
need to reconnect your Action Cam to the application. Go to the Wi-Fi Settings on your
mobile device and connect to the camera’s Wi-Fi network. The network name
‘DVR936’ appears – select this network. Go back to the app’s home screen and your
camera will be marked as ‘Connected’ on the main screen. See CONNECTING YOUR
ACTION CAM TO YOUR MOBILE DEVICE for more information.