Available from A1 Security Cameras
www.a1securitycameras.com email: sales@a1securitycameras.com
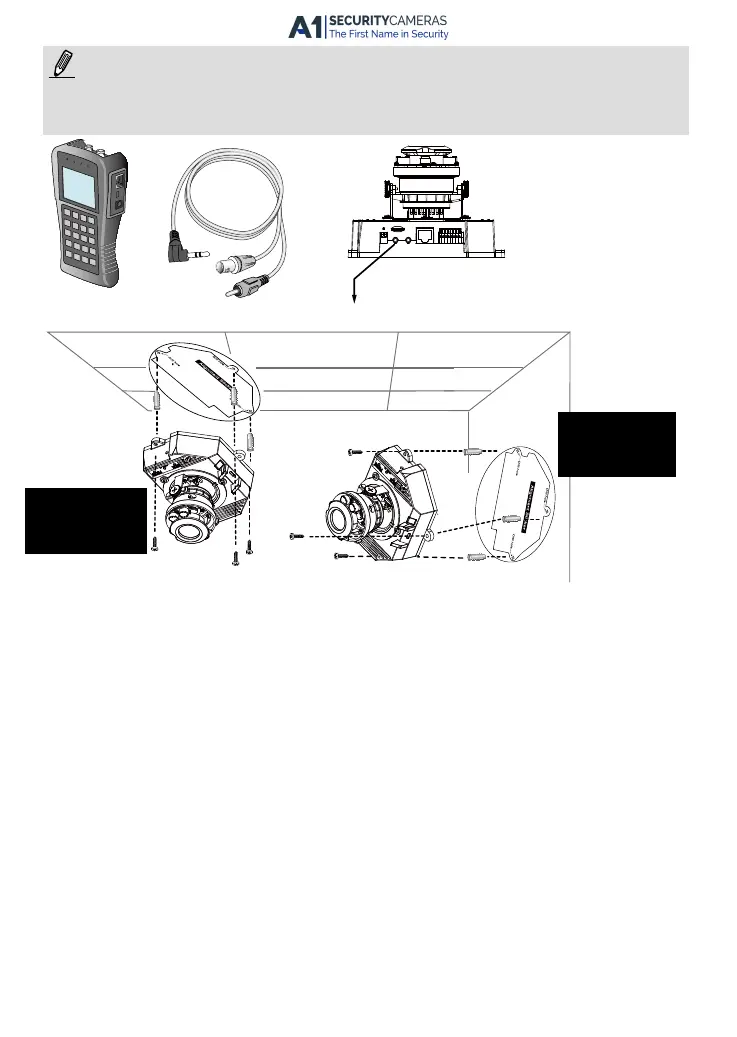
Use the included AV cable to connect to a camera tester or LCD monitor to begin initial setup.
Verwenden Sie das beiliegende AV-Kabel, um den Kameratester oder LCD-Monitor für die
grundlegende Einrichtung anzuschließen.
Gebruik de bijgesloten AV-kabel om een cameratester of lcd-scherm aan te sluiten om de camera
voor het eerst in te stellen.
Camera tester
Kameratester
cameratester
AV Out
AV-Ausgang
AV-uit
Wall Mount
Wandbefestigung
Wandmontage
Ceiling Mount
Deckenbefestigung
Plafondmontage
1. Attach the alignment sticker to the ceilling/wall.
Bringen Sie den Aufkleber an der Decke/Wand an.
Bevestig de bijgesloten uitlijnsticker op het plafond/wand.
2. Through the two circles on the sticker, drill two pilot holes into the ceilling/wall.
Bohren Sie durch die beiden Kreise des Aufklebers zwei Löcher in die Decke/Wand.
Boor twee gaten in het plafond/wand door de twee cirkels op de sticker.
3. The Network Camera can be mounted with the cable routed through the ceiling/wall or
from the side. If you want to feed the cable through the ceiling/wall, drill a cable hole.
Die Netzwerkkamera kann mit dem Kabel durch die Decke/Wand oder von der Seite her
montiert werden. Wenn Sie das Kabel durch die Decke/Wand führen möchten, bohren
Sie eine Kabelöffnung A wie in der oberen Abbildung gezeigt.
De Netwerk Camera kan worden gemonteerd met de kabel door het plafond/wand of
met de kabel aan de zijkant. Als u de kabel door het plafond/wand wilt leiden, boort u
een opening voor de kabel.
4. Hammer the supplied plastic anchors into the holes.
Hämmern Sie die beiden mitgelieferten Kunststoffverankerungen in die Bohrungen ein.
Timmer vervolgens de bijgesloten plastic pluggen in de gaten.
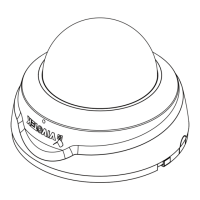
5. Align the holes on the camera with the plastic anchors on the ceilling/wall, secure the
camera with the included screws.
Passen Sie die Löcher an der Kamera an die beiden Plastikdübel an der Decke/Wand
an und befestigen Sie die Kamera mit den beiliegenden Schrauben
Richt de gaten van de camera op de plastic verankeringen in de muur/plafond en beves-
tig de camera met de bijgesloten schroeven.
EN - 4
 Loading...