EN - 5
English
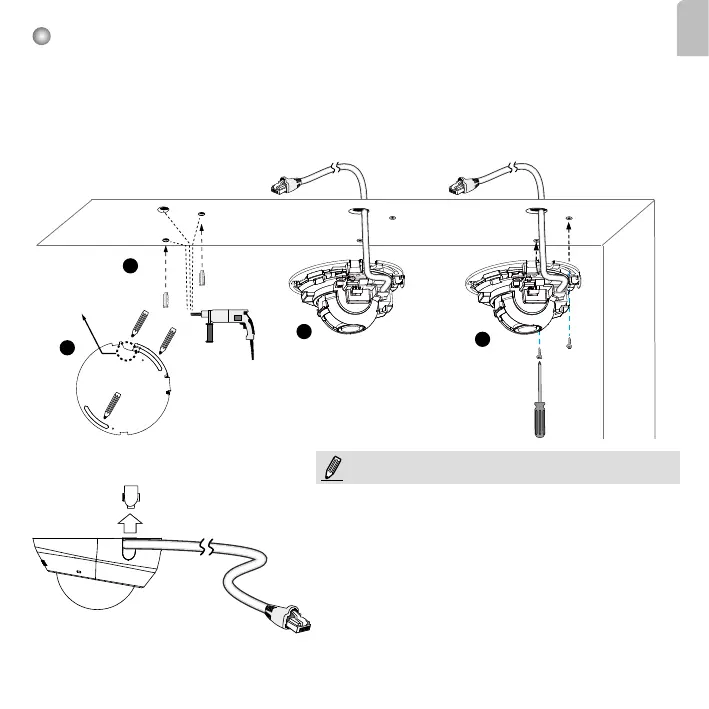
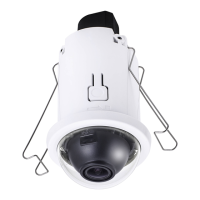
Mounting the Network Camera - Ceiling or Wall Mount
1. Use the curved slots on the camera as a template to mark where holes will be drilled on the
ceiling. Drill two holes into the ceiling; and hammer in the plastic anchors.
2. Drill another hole if you want to route cables through the ceiling or wall.
3. Connect and route an Ethernet cable through the ceililng or wall.
4. Attach the Network Camera to the ceiling using two included screws.
1
2
3
4
NOTE:
1. Do not completely tighten the mounting screws in the
screw slots yet. You may need to turn the camera left or
right for a best shooting direction later.
2. The camera can only be powered by PoE. There is no
DC or AC input connector.
3. As shown on the left, you may also route cable from the
side.
Routing hole
position