EN-4
Hardware Installation
3
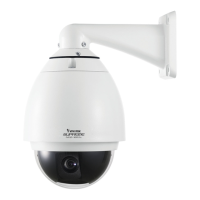
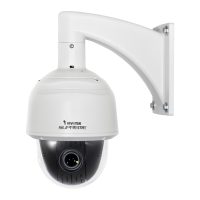
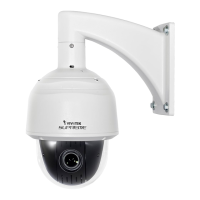
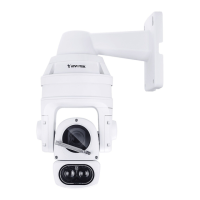
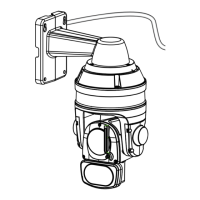
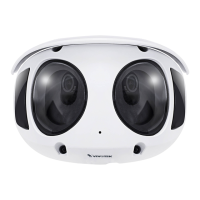
Mounting the Network Camera
1. Attach the alignment sticker to the wall.
2. Drill four pilot holes into the wall.
3. Attach the black cover to the Network Camera using the supplied four black
screws.
4. Stick the supplied two pieces of moisture absorber symmetrically to the inner
side of the dome cover. Then place the metal ring into the dome cover to x the
moisture absorber.
5. Fix the dome cover to the Network Camera and secure it by rotating it clockwise.
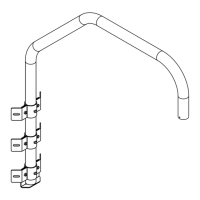
6. Loosen the three screws on the front opening of the wall mount bracket.
7. Place the O-ring on the front opening of the wall mount bracket.
8. Feed the cables through the front opening of the wall mount bracket and pull them
from wall outlet.
9. Attach the Network Camera to the wall mount bracket by tightening the three
screws on the front opening of the wall mount bracket.
10. Fasten the wall mount bracket to the wall.
1
2
3
5
6
7
8
9
10
Silica gel
Silica gel
4
 Loading...
