EN - 5
English
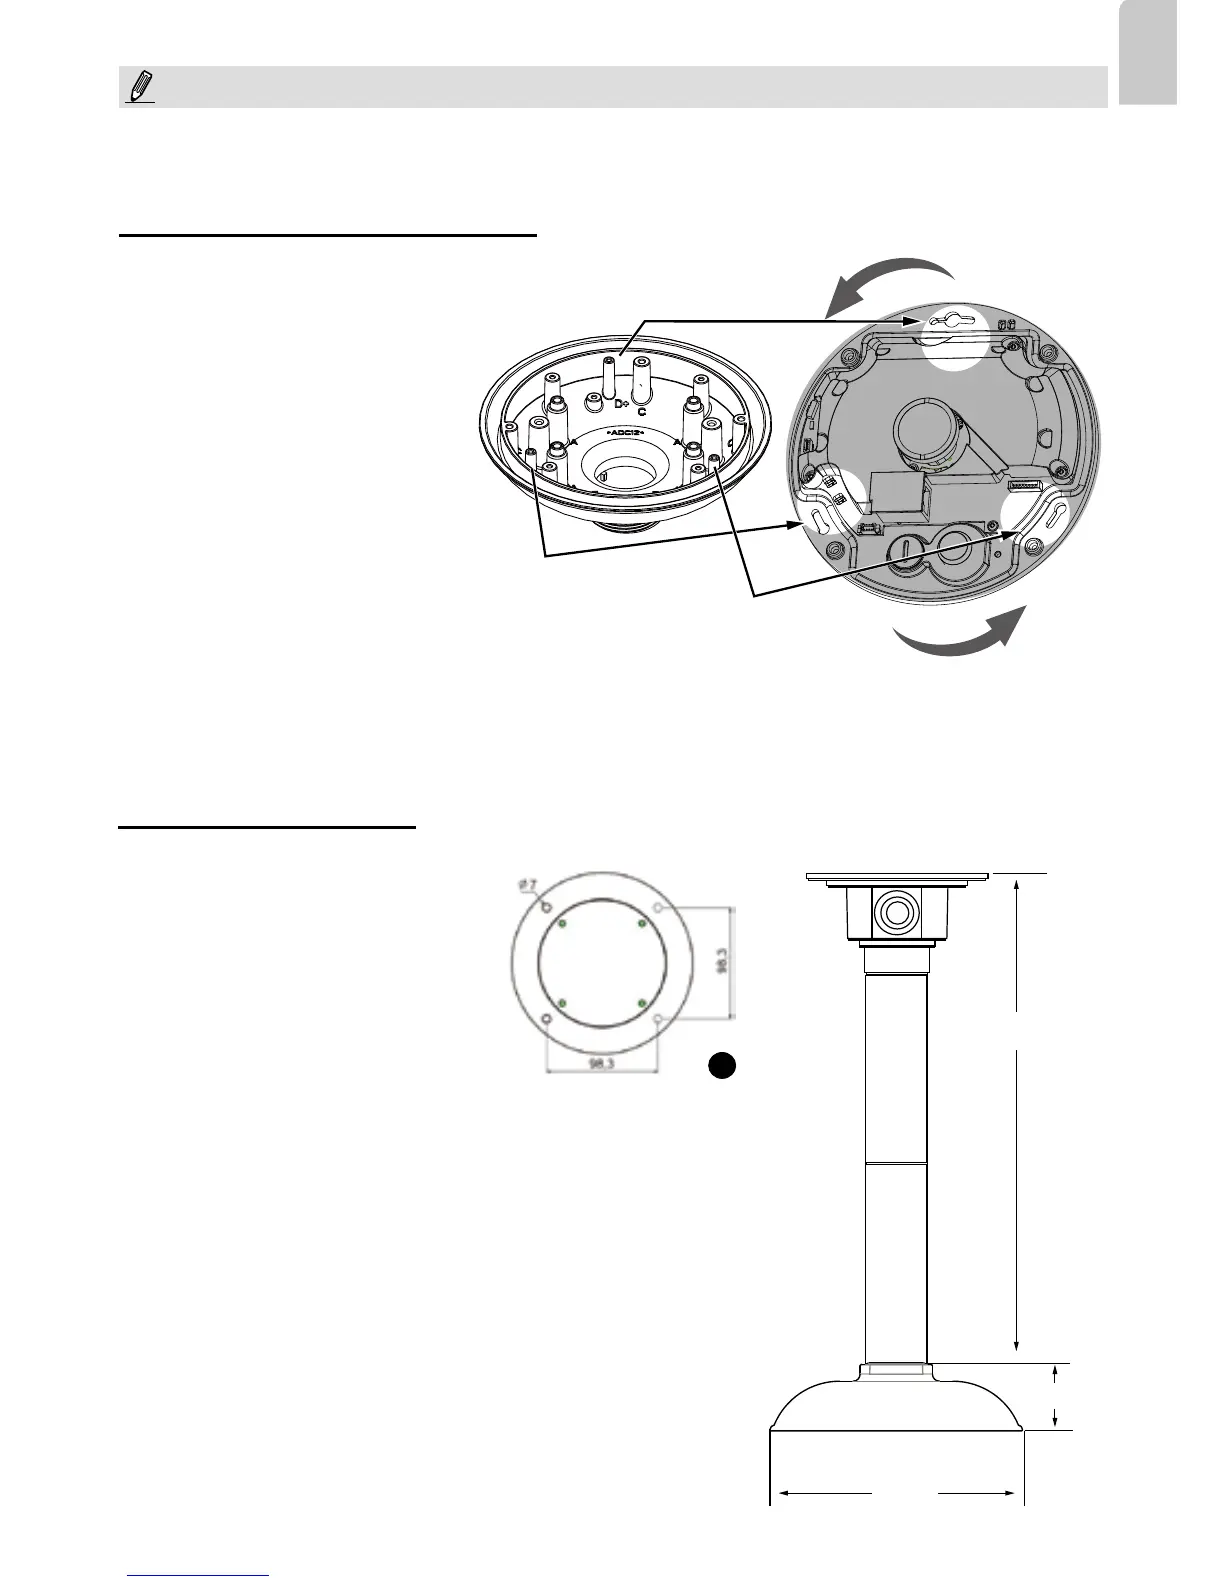
Ceiling Mount Installation
Hole marked as D+
D
D
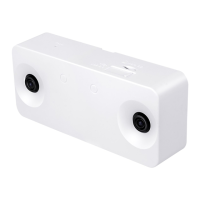
To attach the camera to AM-51A
mounting adaptor,
1. Remove the camera's top cover.
2. Fasten 2 included screws to the D
holes (not the D+ hole).
3. Route cables through the adapter.
4. Align the camera with the
mounting adapter and let the 2
screws enter the key holes located
on the sides where the camera's
cabling interfaces reside, e.g., the
Ethernet port.
5. Rotate the camera counter-
clockwise. You can then see the
D+ hole through the slotted screw
hole (in front of the Micro SD slot).
6. Fasten screws to secure the
camera to the mounting adapter.
456 mm
1
178 mm
47mm
AM-116
AM-116
AM-51A
AM-114
Attach Camera to Mounting Adapter
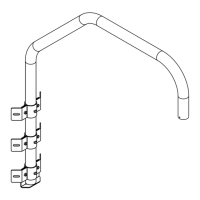
Install the Pendant Pipe
Below is a sample procedure using a
pendant pipe:
1. Determine a hard surface ceiling
location, and use the four mounting
holes on the pendant head to mark
the positions where holes will be
drilled to secure the pendant head.
Note that screws are user-supplied
and they should be at least 11mm
long.
2. Route cables through the pendant
pipe and the pendant head.
IMPORTANT:
Refer to the "Panoramic PTZ Installation Guide" in your product CD for design considerations before
you proceed with physical installation.