5
32
USING THE NETWORK CONNECTION MENU
Your TV is Internet-ready, featuring both an Ethernet port and
built-in high-speed Wireless-N.
Connecting to a Wireless Network
To connect to a wireless network whose network name (SSID) is
being broadcast:
If your TV is connected to a network with an
Ethernet cable, you will not see the wireless network
connection menu. You must disconnect the Ethernet
cable to set up a wireless network connection.
1. Press the MENU button on the
remote. The on-screen menu is
displayed.
2. Use the Arrow buttons on the
remote to highlight Network
and press OK. The NETWORK
menu is displayed.
3. If you do not see your wireless
network displayed, highlight
More Access Points and
press OK. The MORE ACCESS
POINTS menu, which is a list of
available wireless networks, is
displayed.
4. Highlight the name of your
wireless network (this is the
network’s SSID) and press OK.
5. Using the on-screen keyboard,
enter your network’s password,
then highlight Connect and
press OK.
6. Press the EXIT button on the remote.
VIZIO
Network
Sleep
Timer
Input CC
ABC
Audio
Wide
Normal
Picture
Settings
PanoramicWide Zoom
2D 3DExit
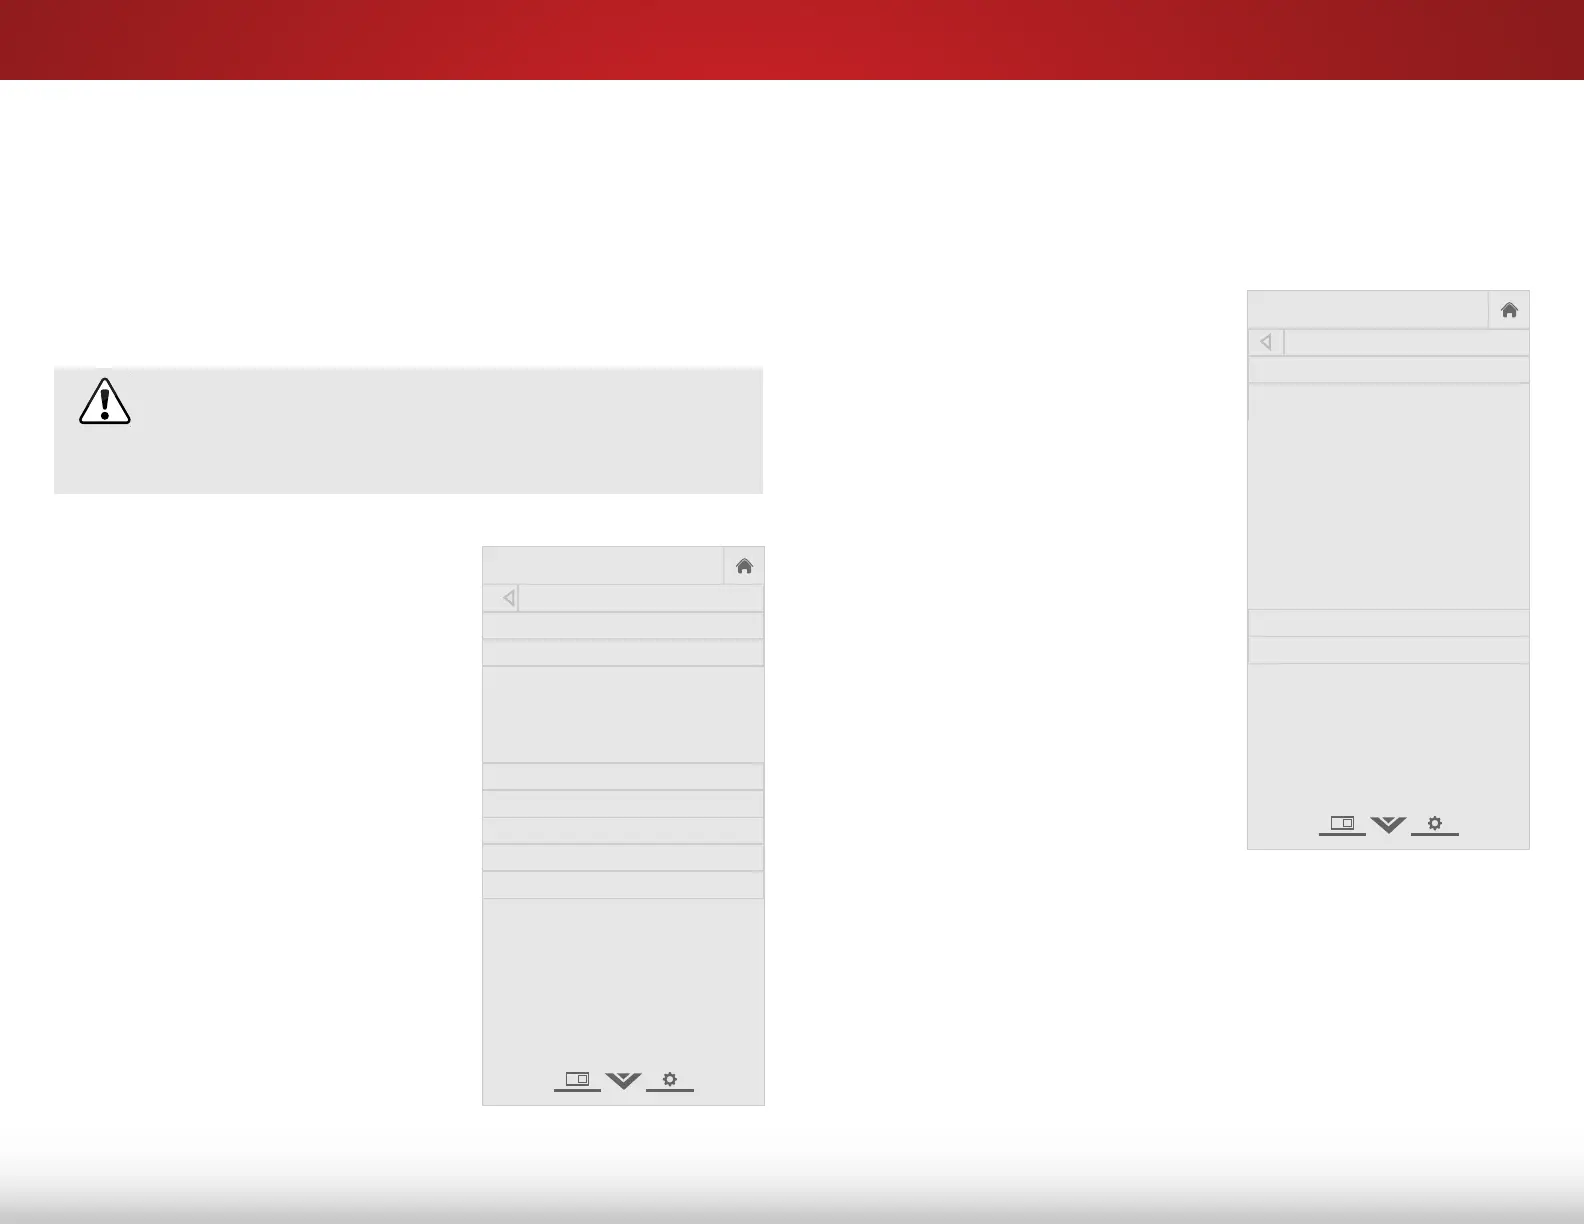
NETWORK
Wired Connection Disconnected
Wireless Access Points
More Access Points
WPS
Manual Setup
Hidden Network
Test Connection
Changing the Manual Setup Settings
Advanced users can fine-tune the network settings using the
Manual Setup feature.
To change advanced network settings:
1. From the NETWORK menu,
highlight Manual Setup and
press OK. The MANUAL SETUP
menu is displayed.
2. To change the settings
manually, use the Arrow
buttons on the remote to
highlight DHCP and then use
the Left/Right Arrow buttons to
change the setting to Off.
3. Use the Arrow and OK buttons
to adjust each setting:
• IP Address - The IP address
assigned to the TV.
• Subnet Mask - The subnet
mask.
• Default Gateway - Your
network’s default gateway
address.
• Pref. DNS Server - Your
preferred domain name
server address.
• Alt. DNS Server - Your alternate domain name server
address.
4. Use the Arrow buttons on the remote to highlight Save and
press OK.
5. Press the EXIT button on the remote.
VIZIO
Network
Sleep
Timer
Input CC
ABC
Audio
Wide
Normal
Picture
Settings
PanoramicWide Zoom
2D 3DExit
MANUAL SETUP
DHCP Off
IP Address ____.____.____.____
Subnet Mask ____.____.____.____
Default
Gateway ____.____.____.____
Pref. DNS
Server ____.____.____.____
Alt. DNS
Server ____.____.____.____
MAC 0:0:0:0:0:0
Save
Cancel

 Loading...