Do you have a question about the Von Duprin 98 Series and is the answer not in the manual?
Details drilling and tapping requirements for mounting the end cap bracket.
Specifies drilling and tapping for center case mounting holes on doors.
Instructions for marking and cutting holes for cylinder and trim applications.
Drawing center lines and marking strike holes on the door frame.
Drilling holes for strike mounting and marking additional door holes.
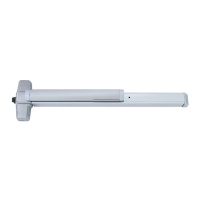
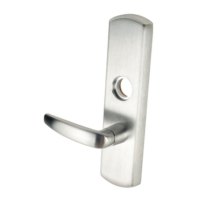
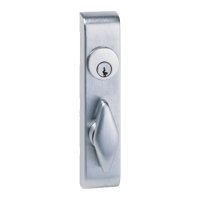
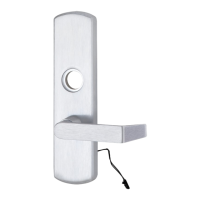
Preparing the door for device and trim installation on the lock side.
Handling outside cylinder requirements and installing the tailpiece guide.
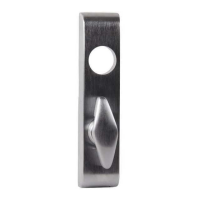
Securing the device center case to the door with trim if applicable.
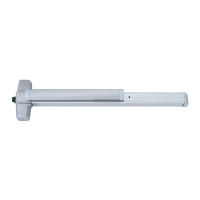
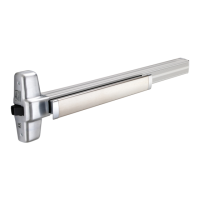
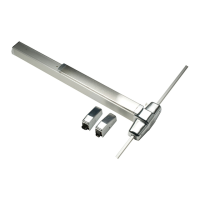
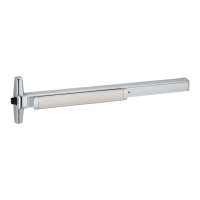
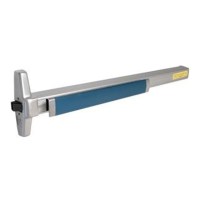
Installing the mounting bracket and end cap for the device.
Securing the device with support screws and installing the center case cover.
Adjusting and securely mounting the strike plate to the door frame.
Instructions for converting and installing cylinder dogging functionality.
Steps for mounting a double cylinder assembly to the center case.
Details electrical specifications and wiring requirements for the EL solenoid.
Guides for diagnosing and resolving issues with solenoid operation.
Step-by-step instructions for adjusting the EL solenoid dogging rod.
| Type | Exit Device |
|---|---|
| Mounting | Surface Mounted |
| Material | Steel |
| Finish Options | US10B, US26D |
| Door Thickness | 1-3/4" (44mm) standard. For thicker doors, specify thickness when ordering. |
| Fire Rated | Yes, up to 3 hours |
| Latch Bolt | 3/4" (19mm) throw |
| Latch Bolt Projection | 1/2 inch (12.7 mm) |
| Strikes | Heavy-duty steel or stainless steel strikes available |
| Dogging | Optional dogging feature available |
| ANSI Standard | ANSI/BHMA A156.3 |
| UL Listing | UL listed for panic exit hardware |
| Series | 98 |
| Handing | Universal handing (adjustable for left or right hand doors) |