11
English
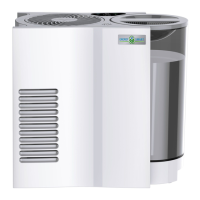
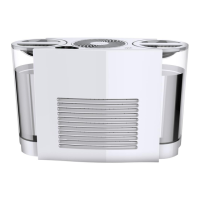
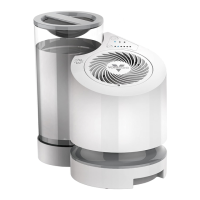
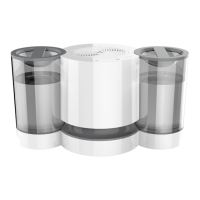
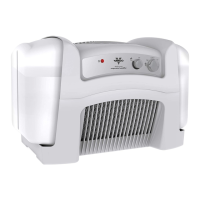
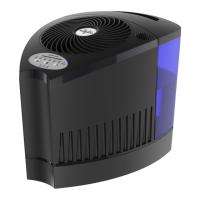
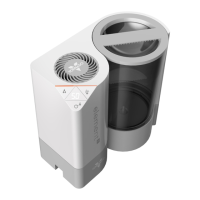
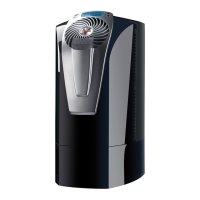
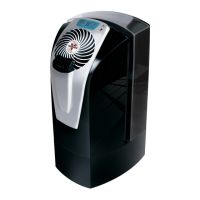
REPLACING WICK
1. Turn humidier Off and unplug.
2. Remove Water Tank and Air Outlet
Grille by lifting up.
3. Remove and discard used Wick.
4. Install new genuine Vornado Wick by
slightly bending the Wick to match
curve of unit. Make sure Wick ts
ush against bottom and side of
humidier.
5. Replace Water Tank and Air
Outlet Grille.
Wicks contain an antimicrobial
preservative. Protection is limited to the
product wick. Wash hands and avoid
touching eyes after handling wick.
AUTOMATIC REFILL PROGRAM
Select the shipment interval and Vornado will send
replacement Wicks automatically. Eliminate the hassle of
remembering to reorder. Maintain the high efciency of your
Vornado humidier. To sign up, visit vornado.com, email
consumerservice@vornado.com or call
1-800-234-0604. Cancel anytime.
REPLACING WICK
Part # MD1-0034
While your humidier came equipped with a Wick, you will eventually have to replace it, as they last approximately 4–8 weeks, depending on use. Many
factors affect the life of the Wicks, including amount of use, water hardness and outside environmental factors. You will know the Wick needs to be
replaced when it becomes hard and is no longer absorbing the water effectively. Replace the Wick with a genuine Vornado
®
Wick. While other brands
may t our units, these wicks do not carry the same quality and life as our own and may diminish the humidier’s performance.
The additional sodium in chemically softened water may cause
Wicks to harden. Try using untreated or tap water. Hard water or
water with excessive minerals, such as lime or iron, may shorten Wick
life. Try Bacteriostat or Water Treatment found at most hardware or
home specialty stores.
On rst use, the Wick may give off a mild odor. The odor is not
harmful and will go away after the rst few hours of operation. If the
odor is exceptionally strong, you can help eliminate most or all of
it by soaking the Wick in a solution of 2 teaspoons of white vinegar
and one gallon of water for 20–30 minutes. Rinse thoroughly in cool
water. Allow excess water to run off and dry before replacing in the
Base. DO NOT wring.
²
²
 Loading...