7
English
Getting Started
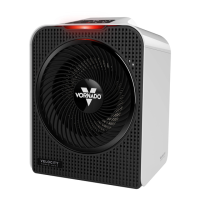
Using your Vornado Heater is easy. Just follow these simple
steps.
1. Position your heater so the vortex beam of warm air is
directed across the room, unobstructed. Position it in a
location that is representative of the room temperature.
Avoid areas of temperature extremes such as cold drafts and
heat registers. Please refer to IMPORTANT INSTRUCTIONS
at the beginning of this owner’s guide.
2. Plug power cord into a standard grounded wall outlet.
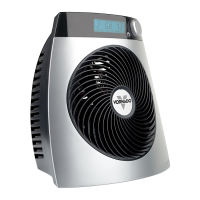
3. Press the Power button.
4. One-Knob Operation
This innovative user interface is sophisticated yet simple.
Press the knob to “wake-up” or turn on the screen on the
base unit, rotate the One-Knob control unit until the desired
mode you want to adjust is displayed. Press the button to
accept this mode, then, rotate the knob left or right to select
desired setting. The unit is then set, or you may press the
One-Knob again to adjust another mode, and continue to
adjust additional settings in the same manor.
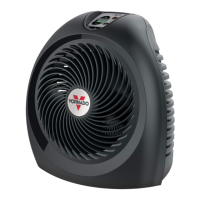
5. Remote Control
Fully control the Heater remotely with the Remote, no more
getting up to adjust the temperature. You can turn the unit
On and Off switch the mode from Fan Only, to Low Heat or
High Heat, adjust the desired set temperature up or down,
and set the automatic-off timer. As you adjust the remote,
the base unit will “beep” to indicate that it has received your
signal.
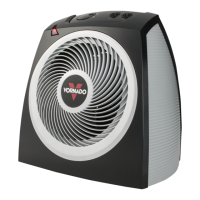
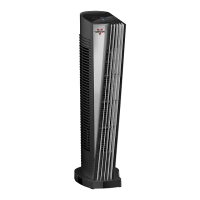
How To Use
1
2
3
4
6
5
7
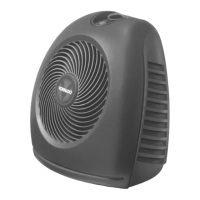
Power On/Off
Front light illuminates when power
is on.
Mode
HIGH HEAT 1500 watts, LOW
HEAT 750 watts, or FAN ONLY.
Temperature
Allows you to select your desired
comfort level. Use the UP arrow
to raise the set temperature. Use
the DOWN arrow to lower the set
temperature.
Timer
The timer can be set in hour
intervals up to 9 hours. Press the
TIMER button to go into timer
mode. In timer mode, use the
UP arrow to add hours. In timer
mode, use the DOWN arrow to
remove hours.
Remote
The remote control functions
the same as the unit controls.
The remote requires 1 coin style
battery. To replace the battery
remove the cover located on the
bottom side of the remote.
Sound
When a setting is changed you will
hear a “beep” from the unit.
LCD Display
Dims for no-glow night operation.
1
2
3
4
5
Controls
 Loading...