- 7 -
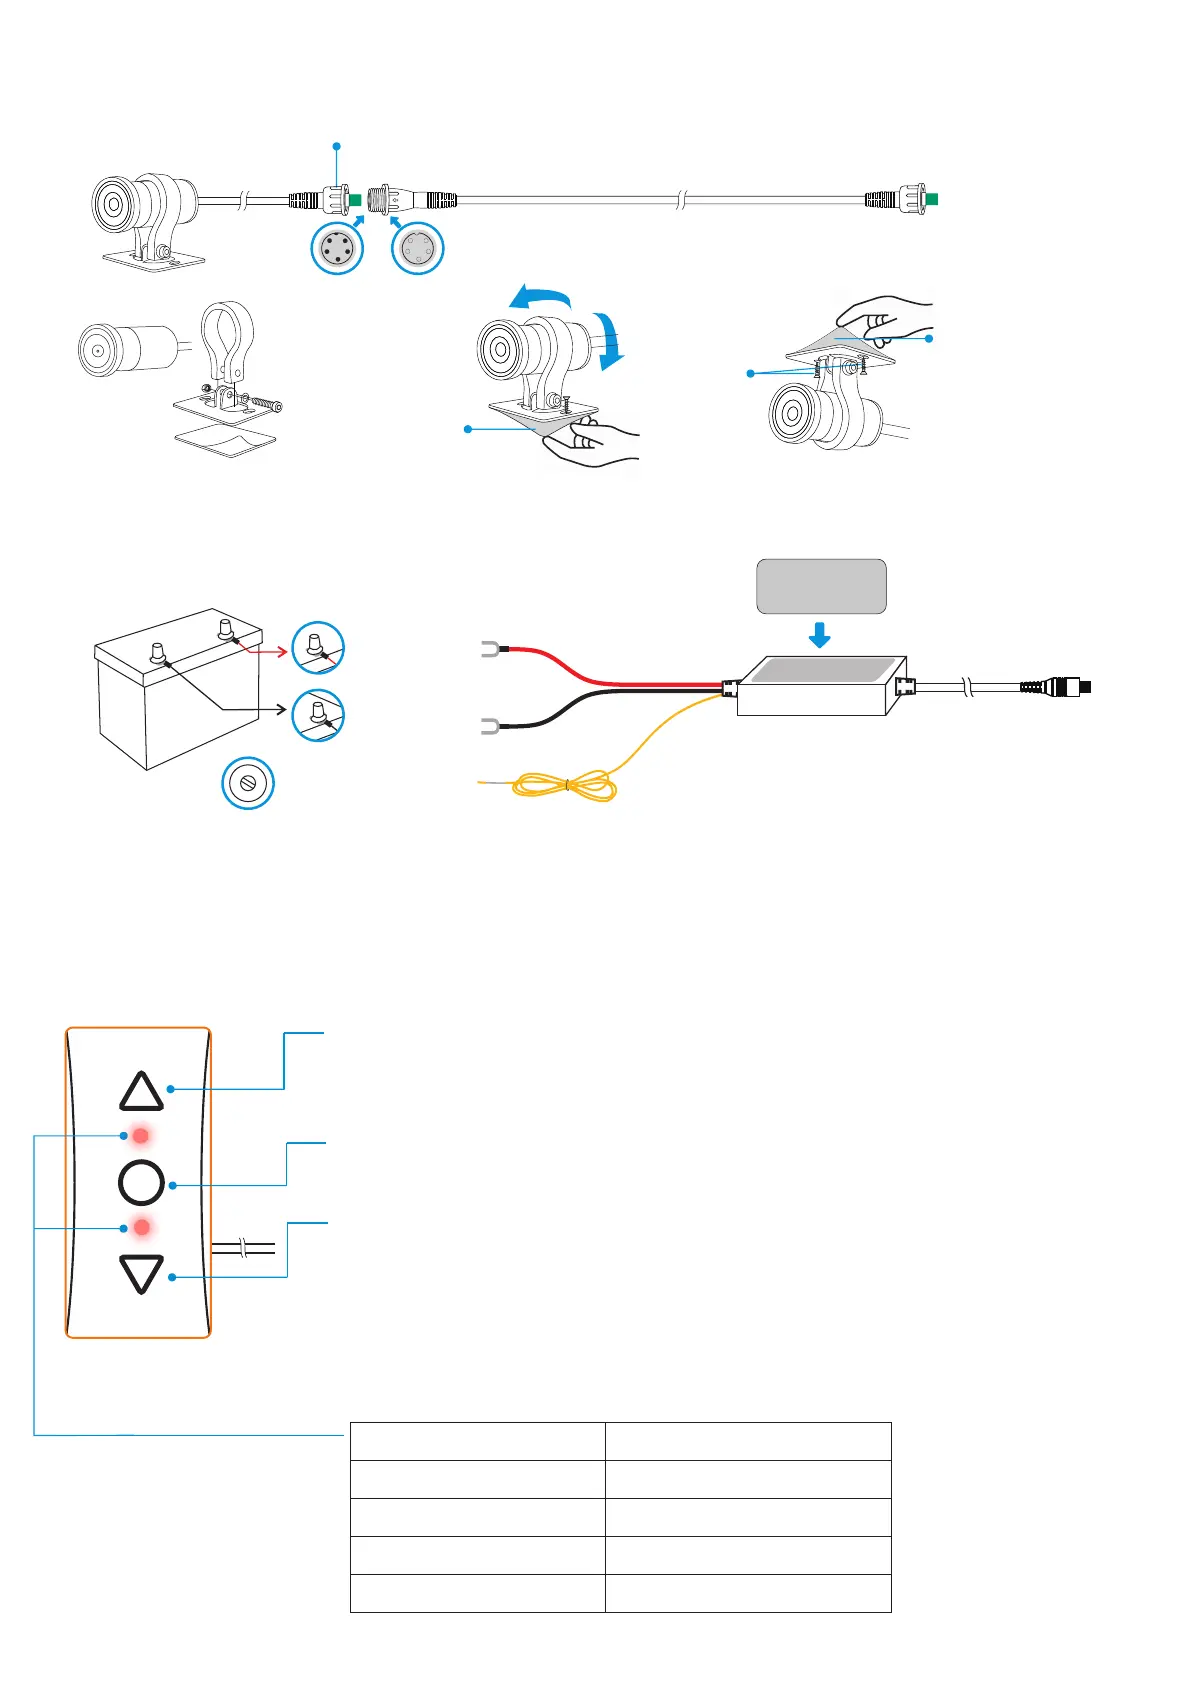
Wired Remote
OK
Power Module Installation
OFF
ON
Positive
Negative
A 12V wire that is
controlled by the key
+
-
LED Light Frequency
Camera Status
Slow blinking
Recording properly
Fast blinking
Emergency recroding
Steady (light on)
Stop recording
Off (light off)
Power off
Double-sided foam tape
double-sid ed fo am tape
Connect the red wire to the positive terminal of the motorcycle's battery, the black wire to
the negative terminal, and the yellow wire to a 12V port that's controlled by the KEY
ignition (ACC wire).
Screw
Double-sided
foam tape
Double-sided
foam tape
Camera Installation
The concave and convex bayonet of the joint shall be matched correctly
Screw Nut:
Just screw the nut when the cable connected
but not twist the cable or the connector
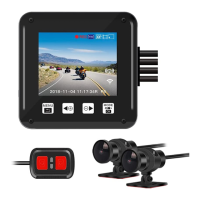
Short press in Video Mode switches between different display modes. Long press in
Video Mode shuts down the DVR.
In Playback Mode, long press switches the video list between the front and rear cam.
Short press in Video Mode activates manual emergency video recording and takes
a snapshot. Long press in Video Mode enters the Main Menu.
Short press in Video Mode switches the display to the rear camera in full screen.
Long press in Video Mode enters Smart Gauge Mode.
In Smart Gauge Mode:
• Short press cycles through various information displays (e.g., speed, tire
pressure, battery voltage) with each press.
• Long press exits Smart Gauge Mode.


 To Next Page