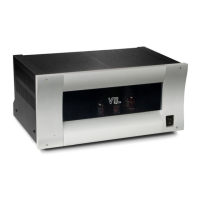
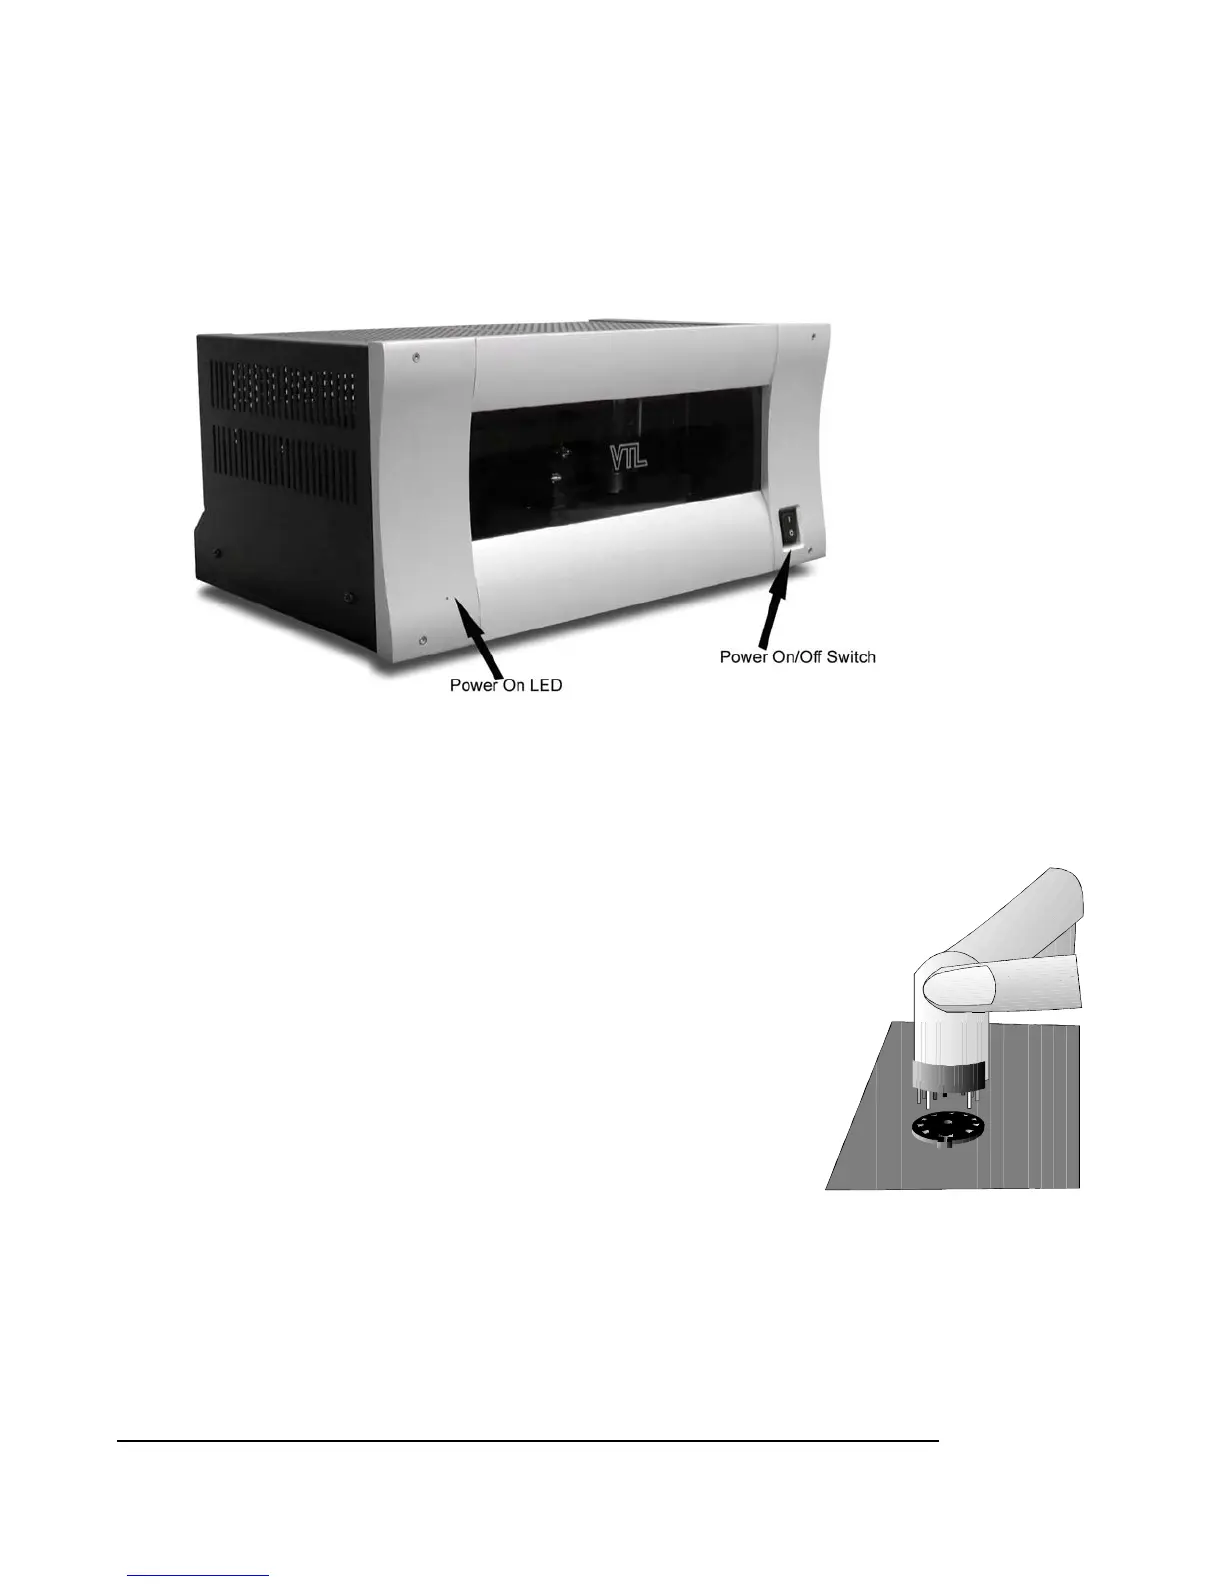
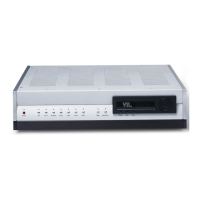
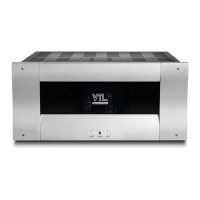
The ST-150 Front Panel
The ST-150 Front Panel shows the Power on switch and the power on LED indicator.
Check for tube placement
Use the following procedures to check whether the tubes standing on the deck of your amplifier are placed
firmly in their sockets, as the tubes can become dislodged and loosen during shipping or unpacking of the
amplifier.
Visually inspect through the vent holes to ensure that all tubes are fully seated before
powering the unit on for the first time. If there are any tubes not fully seated then you
should refer to your VTL dealer, and take this procedure with the amplifier.
Notes for the servicing technician:
1. Remove the protective wire cage on the top deck of the amplifier. The
cage is mounted with three screws on each side of the amplifier as well as 2
hex screws on the top portion of the front panel. Use a 7/64” hex wrench
to remove the hex screws from the top of the front panel. Loosen the side
screws and lift the wire cage slowly and carefully. Do not let the cage
touch or hit any of the tubes inside the amplifier. Keep the cage and the
screws in a separate place while you’re working on the amplifier.
2. Make sure that the amplifier is not connected to the power outlet and not
turned on. Use your fingers to hold onto the upper portion of the tube towards its tip. Gently
rock the side of the tube to see if there is any movement in the tube. If there is any movement,
that means the tube has come loose. Press the tube firmly into its socket, using a gentle force
and a slight “rocking” motion.
3. Repeat the above test for the rest of the tubes. There are a total of eight output tubes and four
input tubes in each amplifier.
ST-150 Owner’s Manual
VTL
4