12
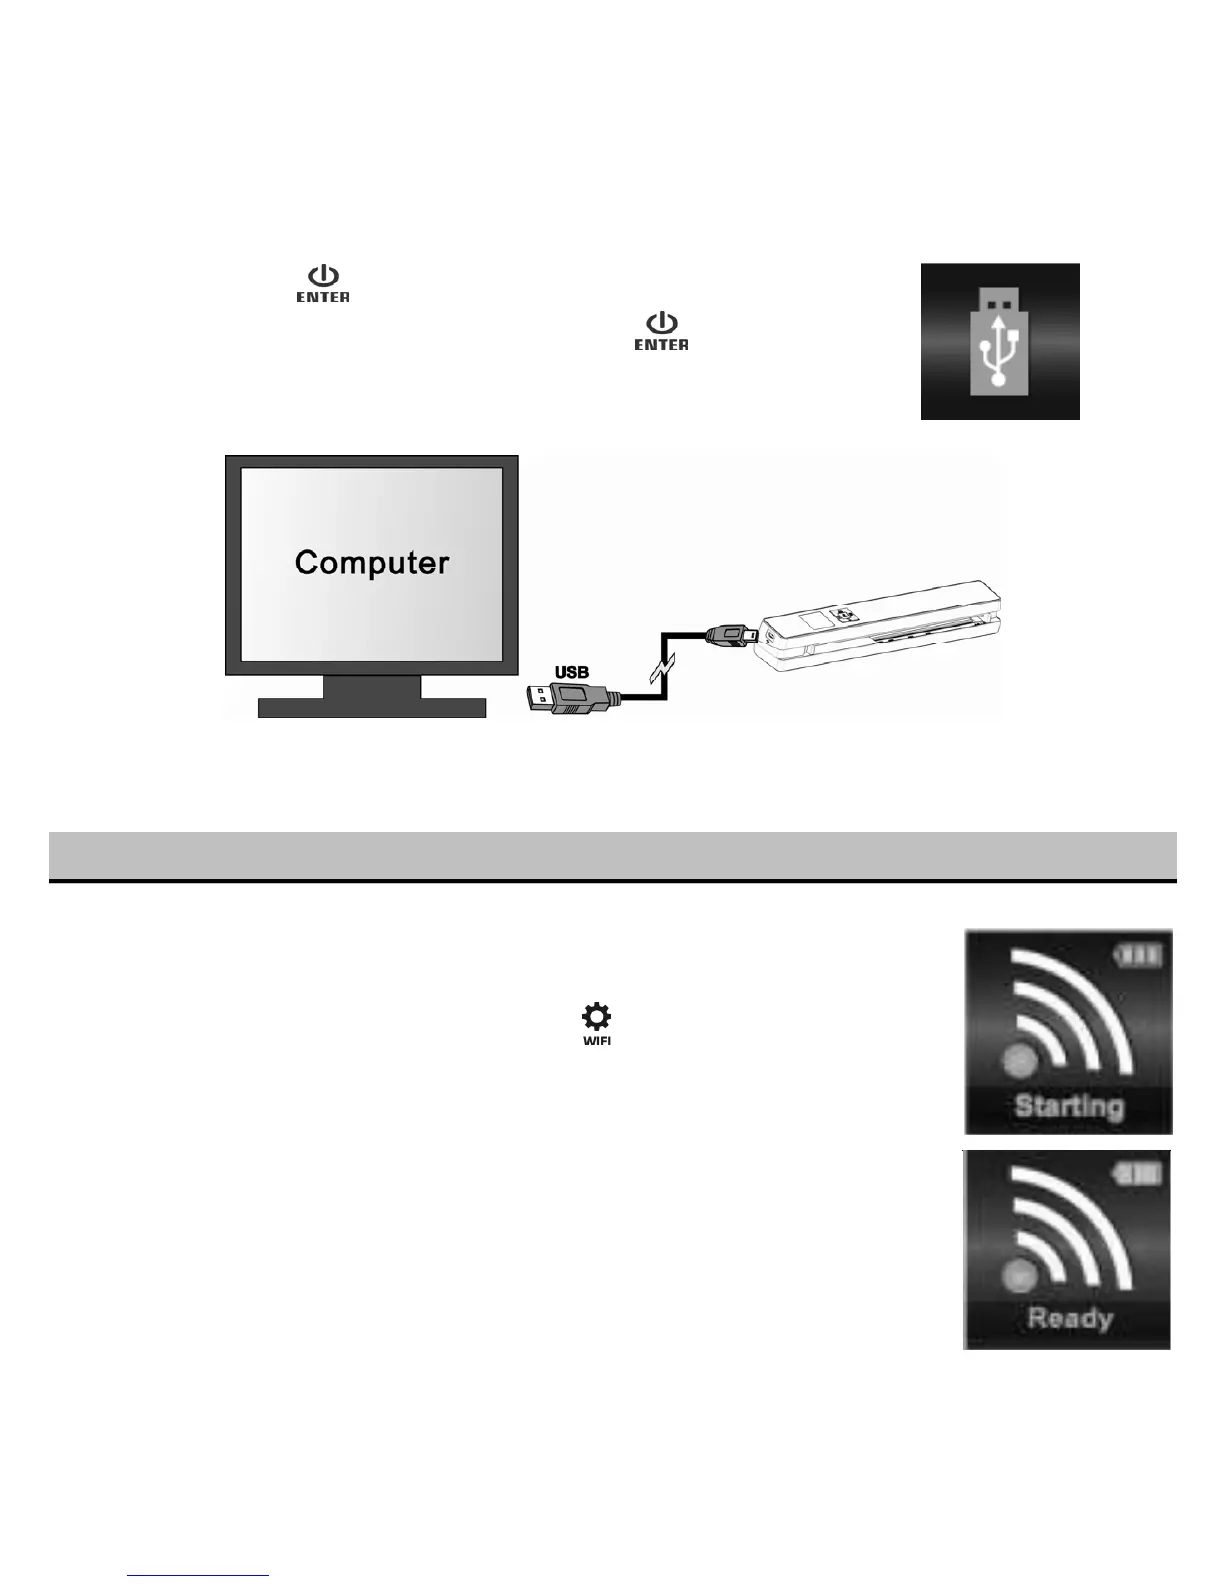
You may also connect your scanner to your computer and view pictures on the computer monitor
1. Press and hold
to turn on your scanner.
2. Connect your scanner to your computer and press
to enter USB
mode.
3. Your computer will recognize the scanner as a “Removable Disk”. Click
“Open folder to view files” to view, import, copy, move or to delete scanned files.
Note: If the Removable Device window does not launch automatically, go to your “My Computer/Computer” (PC)
and find the device under Removable Storage.
7. Using the Wi-Fi® Function
7.1 Enabling the Wi-Fi® Function
View and transfer files from the scanner to your computer, laptop, smart device or tablets
via Wi-Fi.
1. Turn on the scanner, then press and hold the button. “Starting” will display
on the screen.
2. Wait approximately 30 - 40 seconds for Wi-Fi® to initialize.
3. “Ready” will display on the screen once the Wi-Fi® finishes initializing.
Notes:
The use of Wi-Fi® will consume a larger amount of battery. To preserve battery, it
is suggested to turn off the Wi-Fi® when not in use.
When Wi-Fi® is on, you will be unable to use the scanner to scan. Exception: Use
of the SCAN Direct feature. Refer to section 6.3 to utilize the SCAN Direct function
to scan files directly to your smart device.
 Loading...