14
FLASK CLAMPS
DESCRIPTION P
LATFORM CAPACITY CAT. NO.
10mL Erlenmeyer Flask Clamp 35 444-7040
25mL Erlenmeyer Flask Clamp 20 444-7041
50mL Erlenmeyer Flask Clamp 12 444-7042
125mL Erlenmeyer Flask Clamp 8 444-7043
250mL Erlenmeyer Flask Clamp 6 444-7044
ACCESSORIES
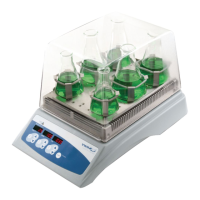
Installation of Test Tube Racks - Incubating Mini Shaker
1. Unit should be in standby mode.
2. Align the clip on the rack to the right side of the tray.
3. Press the test tube rack in place, you will hear the test tube rack clip into
position. No mounting screws are required.
Installation of 1.5 to 2mL Micro-Tube Rack - Incubating Microplate Shaker
1. Unit should be in standby mode.
2. Align the Micro-Tube Rack side-to-side on the tray.
3. Press the Micro-Tube Rack in place, you will hear the Micro-Tube Rack clip
into position. No mounting screws are required.
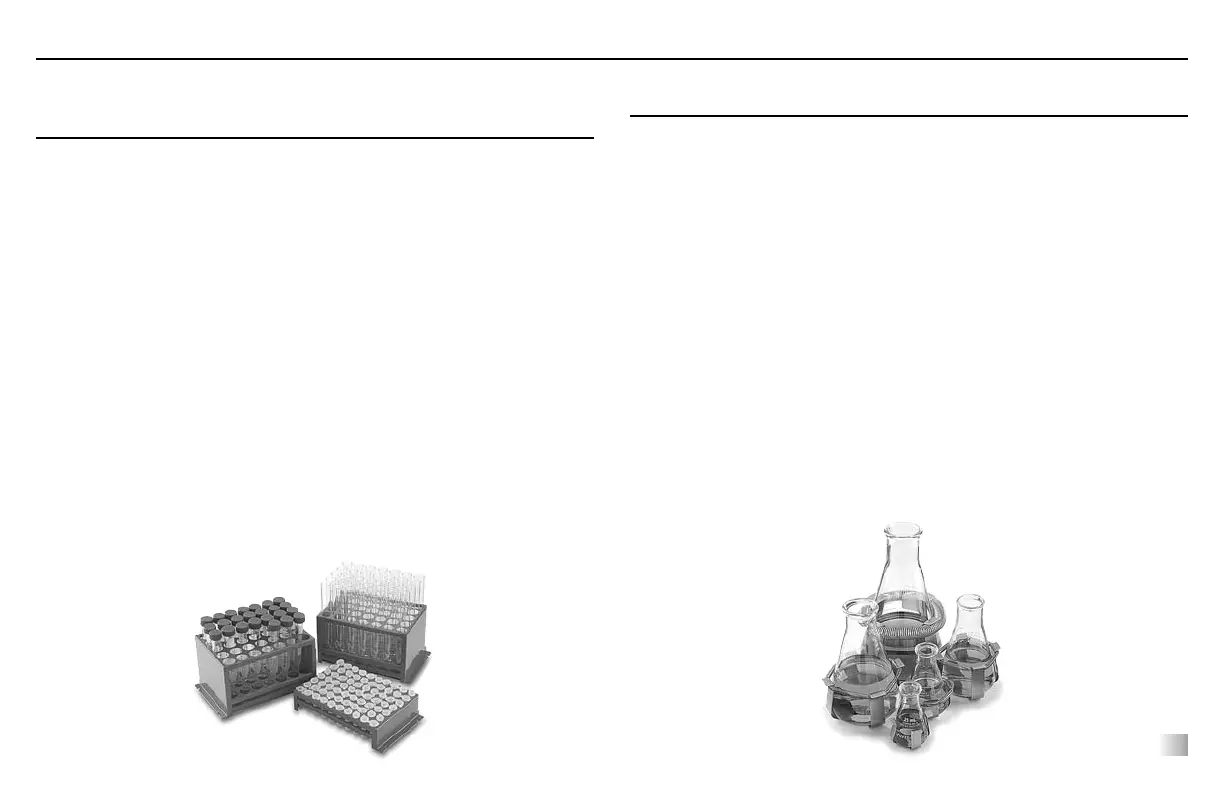
TEST TUBE RACKS
TUBE P
LATFORM
DESCRIPTION CAPACITY CAPACITY CAT. NO.
10 to 13mm Test Tube Rack 63 2 444-0278
14 to 16mm Test Tube Rack 48 2 444-0279
18 to 20mm Test Tube Rack 35 2 444-0280
22 to 25mm Test Tube Rack 24 2 444-0281
15mL Centrifuge Tube Rack 42 2 444-0283
50mL Centrifuge Tube Rack 12 2 444-0284
1.5 to 2mL Micro-Tube Rack 70 2 444-0282
Installation of Flask Clamps - Incubating Mini Shaker
1. Unit should be in standby mode.
2. Line up the hole(s) in the flask clamp to the hole(s) in the tray. Using
the screw(s) provided, hand tighten into place using a flathead screw-
driver. DO NOT over tighten.
3. Insert flask into clamp and wrap the spring around the neck of the clamp
to hold secure.
Not for use with the Incubating Microplate Shaker.


 To Next Page