8
Package Contents
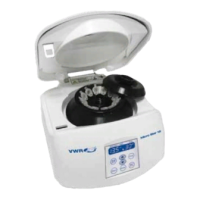
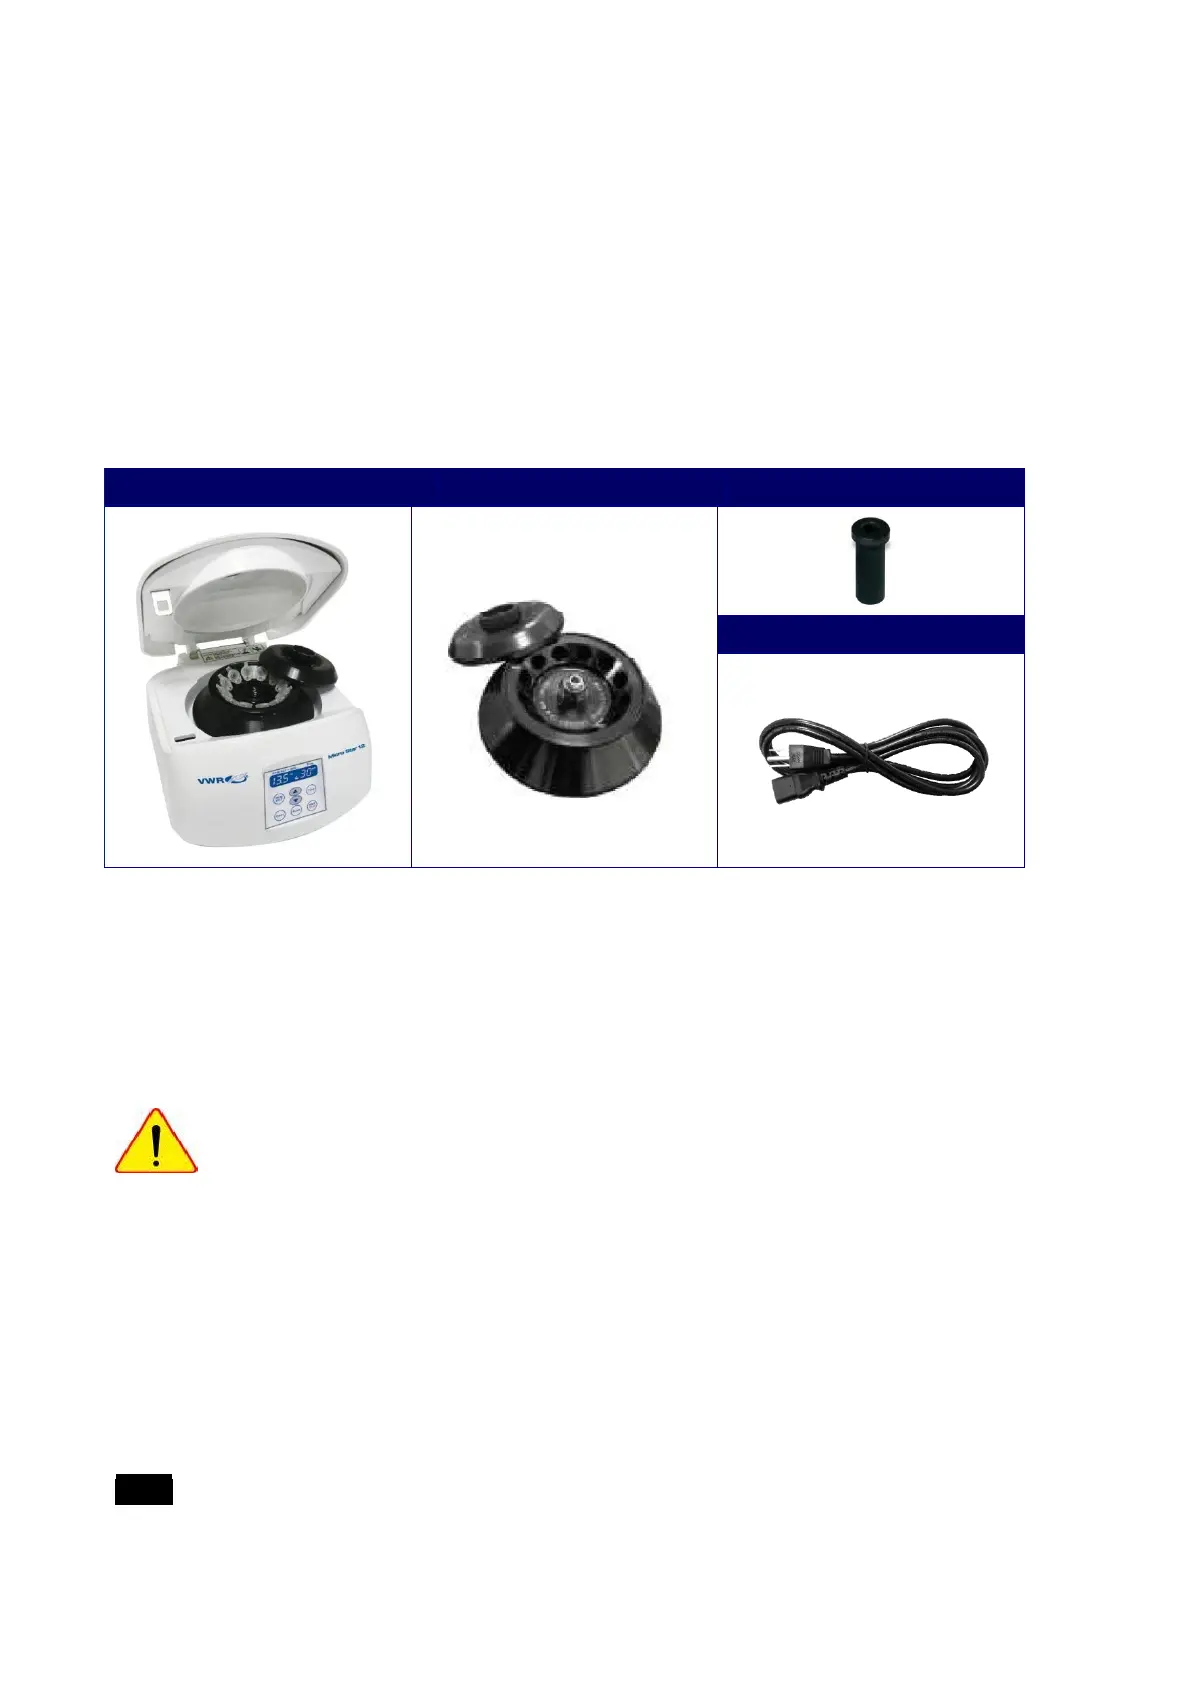
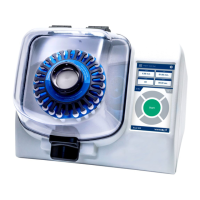
Main Body, 1 unit
Rotor: Autoclavable fixed angle rotor with 12 tube holes for 1.5 / 2.0 ml tubes, 1 unit
Rotor Lid: Autoclavable biosafety rotor lid, 1 unit
Adapter: Adapter for 0.2 ml PCR tubes, 12 units
Power Supply: AC Power Cable (3m), 1 unit
L-type rotor wrench, 5 mm, 1 unit
Operation Manual, 1 unit
Installation
1. Inspect the instrument and the parts for any visible signs of shipping damage.
2. Unpack the unit and verify the contents of the package.
3. Place the instrument on a clean, flat, level, and vibration free surface.
4. Plug the power cord into the appropriate power outlet.
WARNING!
Safety regulations require a safety zone of 30 cm around the centrifuge that
needs to be marked to indicate that neither hazardous materials nor persons
should be permitted within the area during operation.
Proper ventilation is necessary to prevent the overheating of samples.
Check that the power supply corresponds with the manufacturer’s specified electrical
requirements.