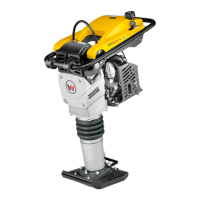
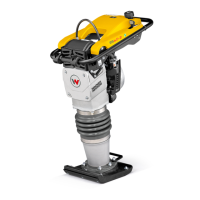
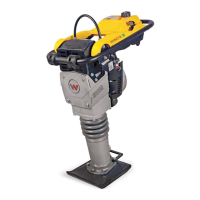
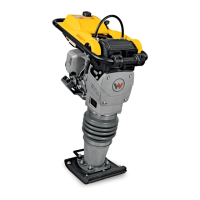
Rammer Repair Crankcase
wc_tx001548gb.fm 113
Assembly
6.2.16 If the needle bearing (17) was removed, apply Loctite 609 to a new
needle bearing and press it into the bearing mount until the outer race
is flush with the flange surface.
6.2.17 Press the ball bearing (27) into the connecting rod.
6.2.18 Press the connecting rod assembly (24) onto the eccentric drive shaft
(23) and secure it in place with the small snap ring (25).
6.2.19 Press the crank gear (20) into the bearing mount (16) and secure it with
the small retaining ring (9).
Note: If the small pin (30) was removed, replace it leaving a ½-inch
showing. DO NOT bottom the pin in the hole.
6.2.20 Grease O-ring (21) thoroughly and insert it into the crank gear.
6.2.21 Ensure the arrow label (22) is in place, then slide the eccentric drive
shaft (23) and the spring (29) and pin (28) into the crank gear.
6.2.22 Place the two Belville spring washers (7) onto the eccentric drive shaft
so that the outer edges are facing each other.
6.2.23 Place the adjusting plate (6) over the Belville spring washers, lining up
pin (30) at position 1.
6.2.24 Place the clamping ring (5) over the adjusting plate. Apply Loctite 243
to the screws (12) and torque to 9.5 Nm (7 ft.lbs.). Tighten the screws
evenly to compress the Belville spring washers.
6.2.25 Fit the yoke (4) over the eccentric drive shaft (23) and secure in place
with pin (13). Secure the pin with the two retaining rings (3).
Note: Install with the lever open and spring tension relaxed. When
CLOSED, the lever should point in the same direction as the arrow.
6.2.26 Insert a new O-ring (18).
6.2.27 Push the complete crank gear assembly into the bearing housing and
seat the retaining ring in the groove.
6.2.28 Assemble the bearing mount to the crankcase. Apply Loctite 243 and
torque the screws (31) to 49 Nm (36 ft.lbs.).
6.2.29 Connect the crankcase to the ramming system as follows:
a. Position the upper machinery over the guide cylinder.
b. Align the connecting rod inside the ram.
c. Install the piston pin and the end plugs.
Note: Use new end plugs whenever the piston pin has been removed.
d. Fasten the guide cylinder to the crankcase. Apply Loctite 243 and
torque the screws to 43 Nm (32 ft.lbs.).
 Loading...