smartPRINTER Operating Instructions
smartPRINTER Operating Instructions 003/10.2017 32
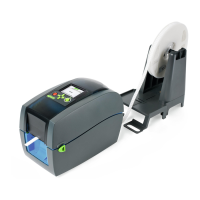
Fig. EA4
Pre-assembled external unwinder.
Fig. EA5
Use the clamping screw to screw the left and right sub-assemblies together.
The external unwinder is ready for use with the smartPRINTER.
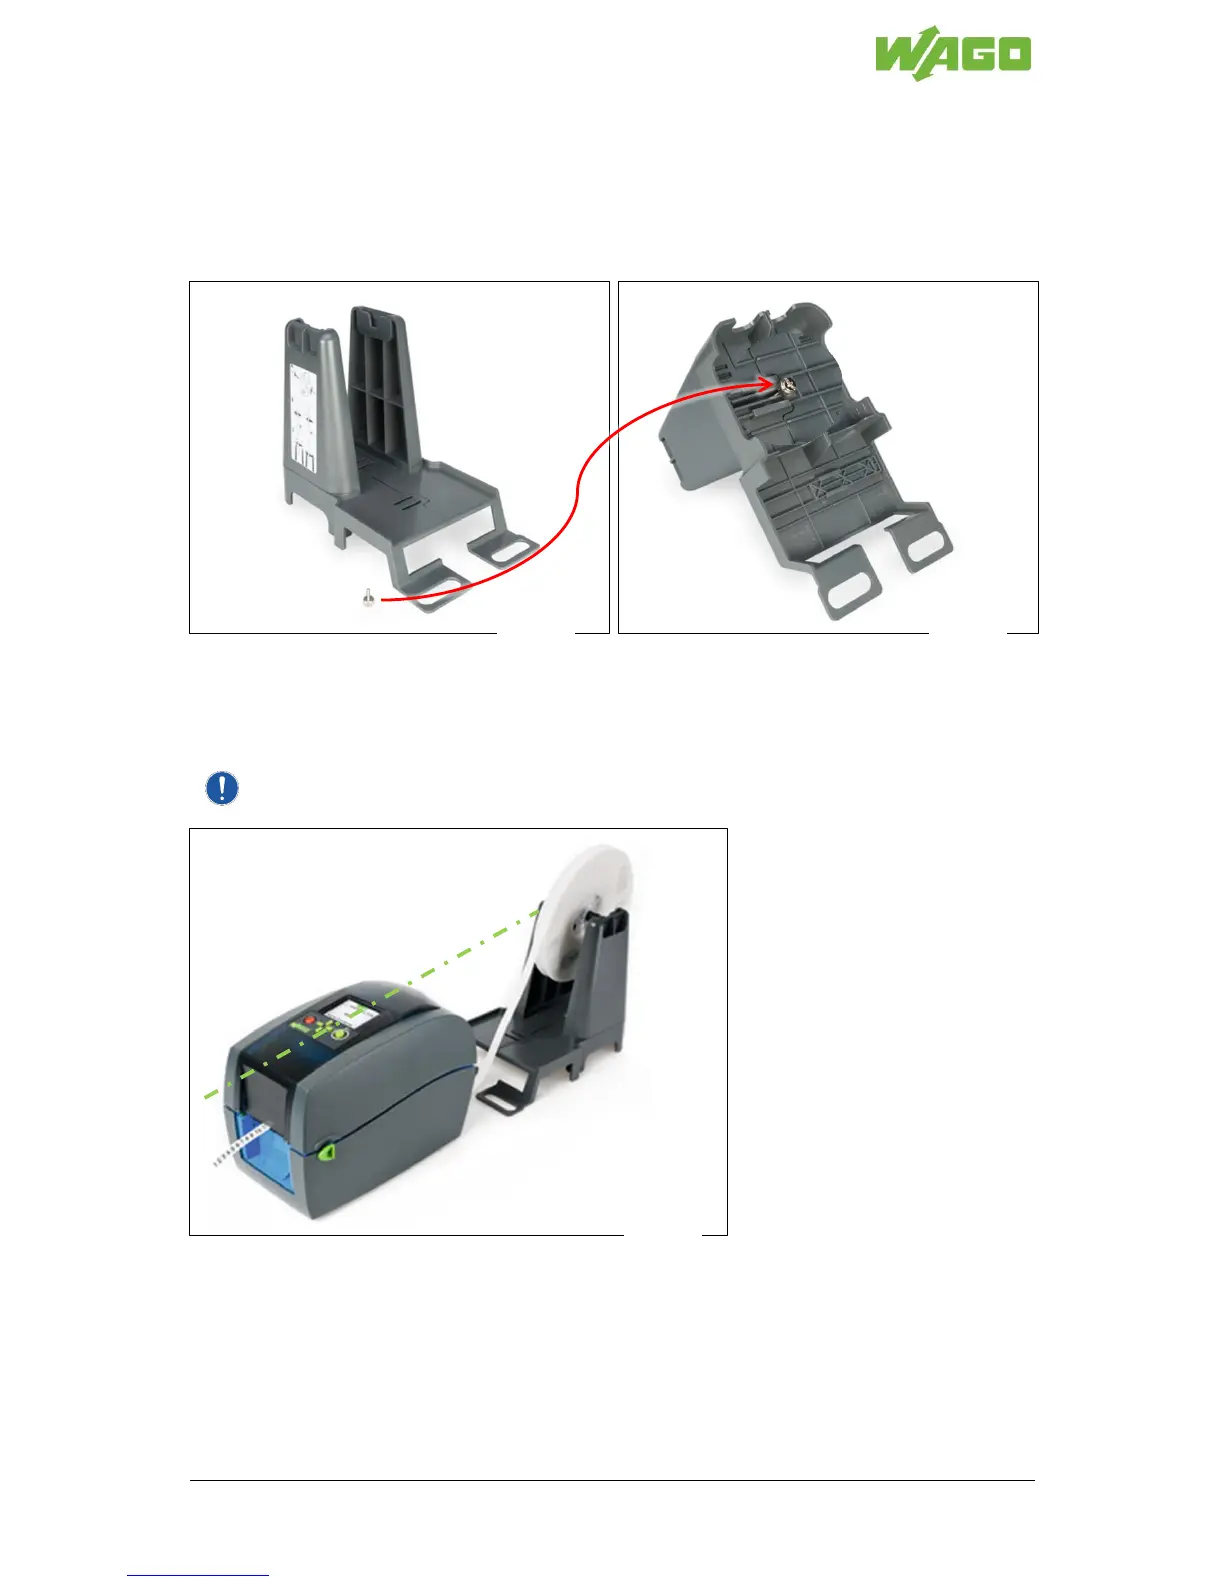
Fig. EA6
The external unwinder is set up behind the smartPRINTER.
The external unwinder is set up on the same level as the smartPRINTER.
Important: The external unwinder with the print material on the roll is positioned to allow the
print material and material that runs through the printer in an imaginary line.