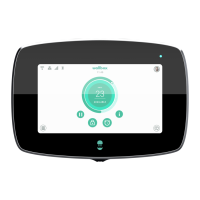
9
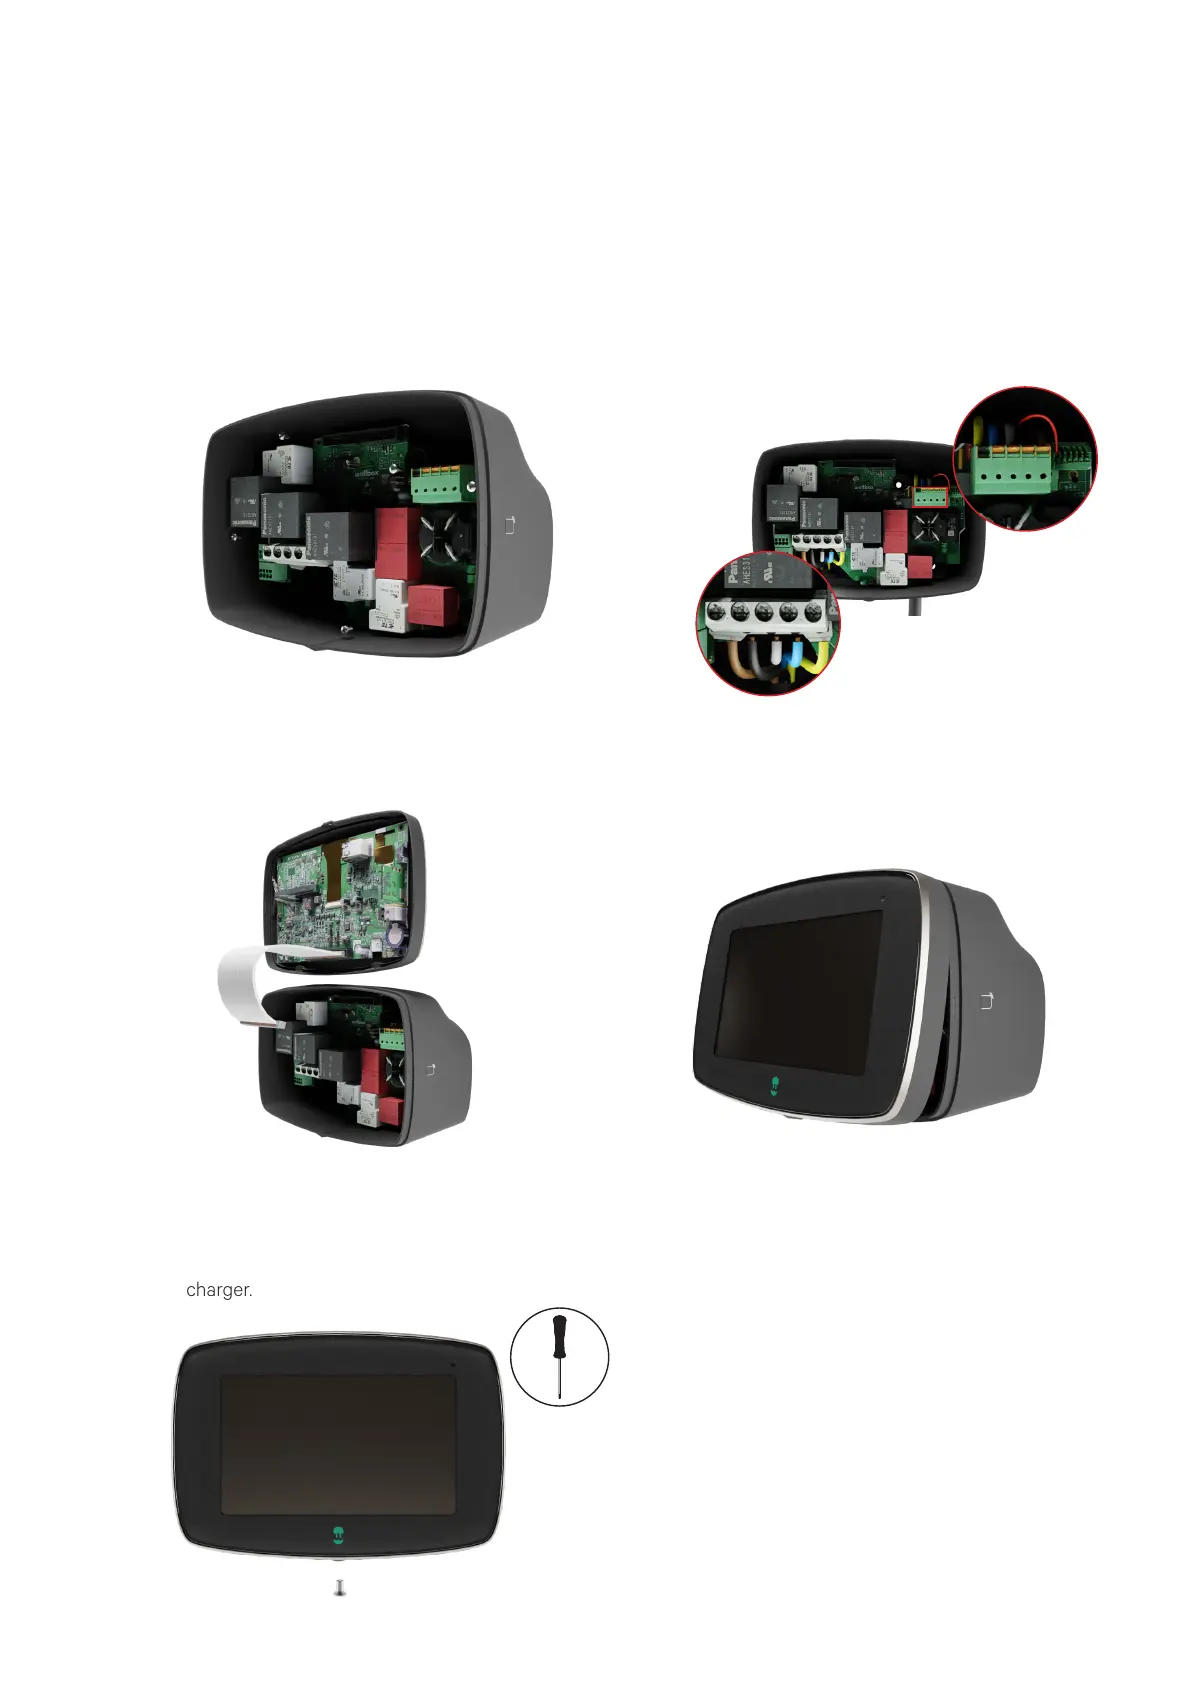
Attaching the new Power board
Fit the replacement Power board in place and
fix it to the body with the 4 screws that were
previously removed and kept aside.
Connect all the conductors to the Power
board in the exact same position as they
were before. Ensure to connect both the
power supply conductors and the charging
cable conductors in their respective
connectors.
1. 2.
Position the top clip points of the front cover
on the charger’s body. Clip first the lateral
clips to the charger’s body and then the
bottom clips.
Get the front cover and connect the
communications cable to the Power board.
3. 4.
Insert and then tighten the Torx screw in the
bottom of the charger to secure the front
cover. Then, restore the power supply of the
charger.
5.