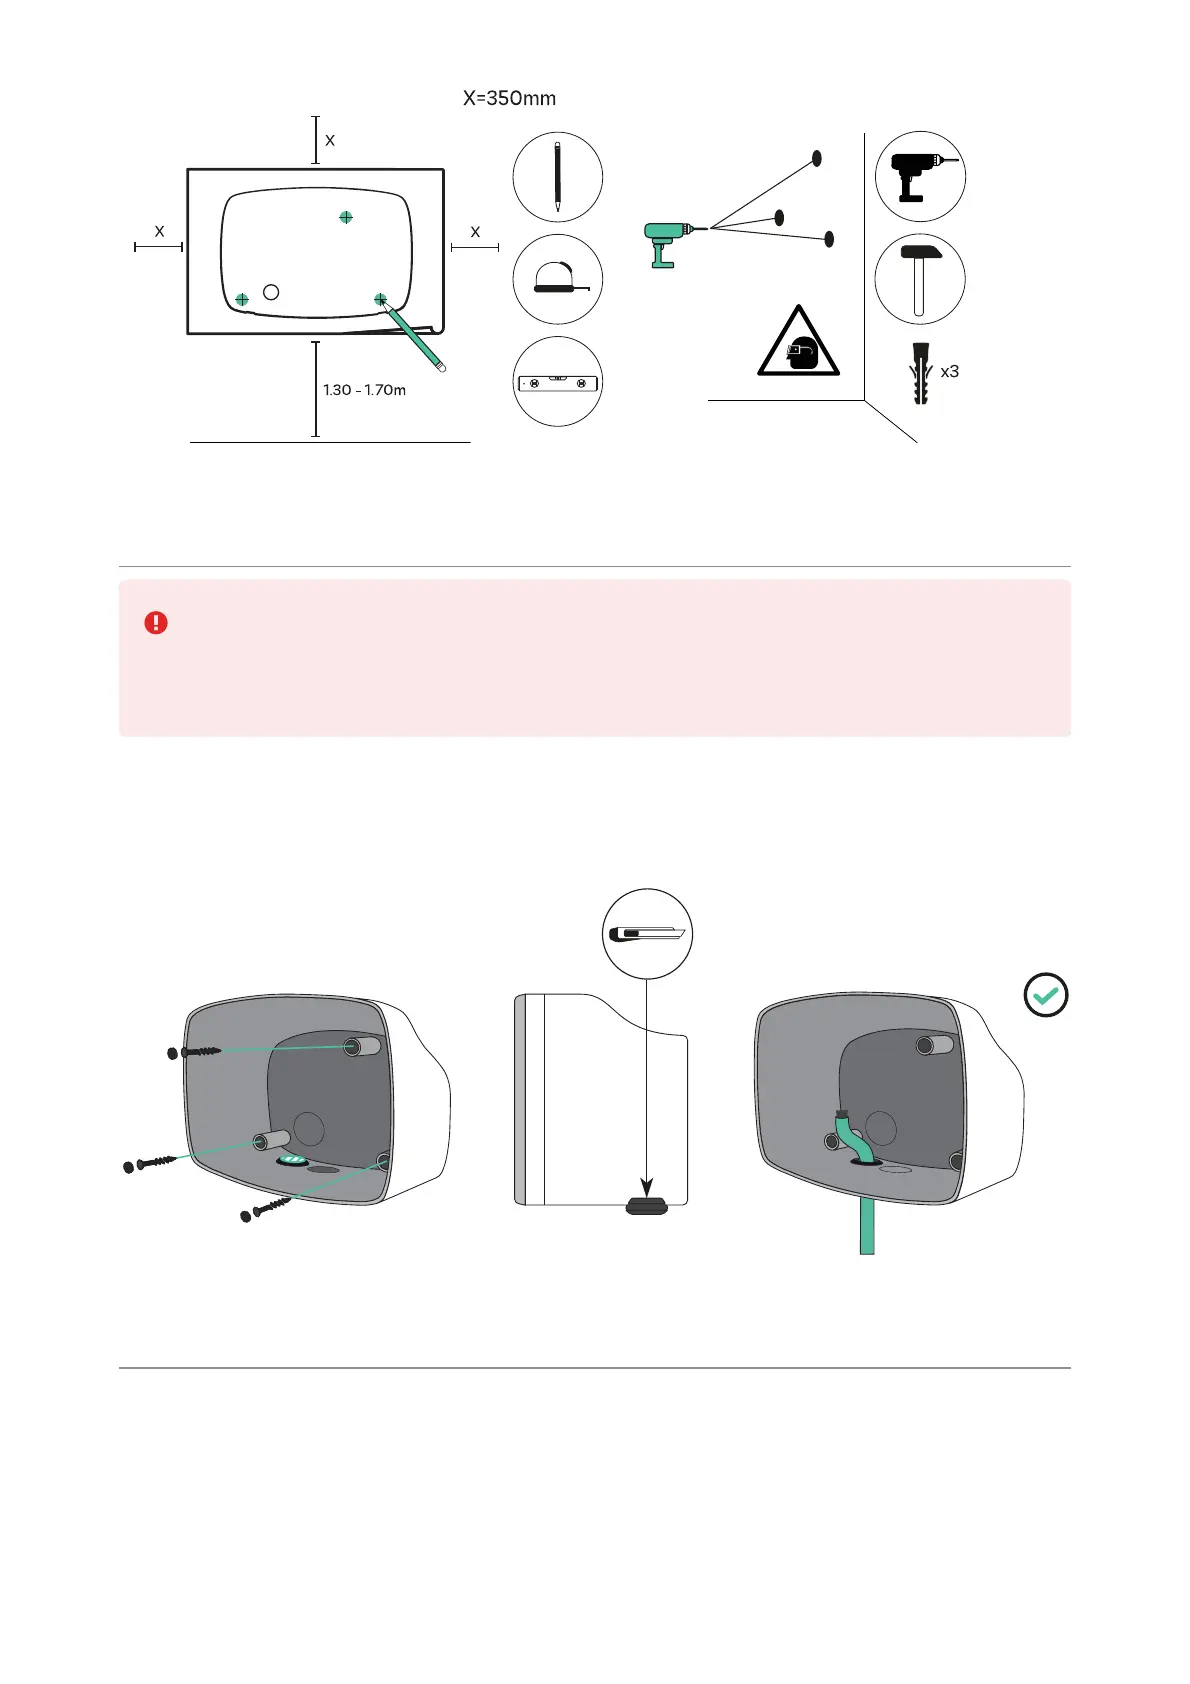
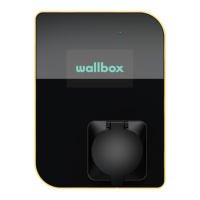
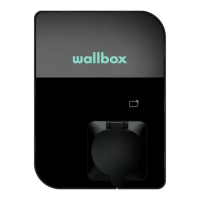
5. Lower Connection
Both lower and rear connections are possible when installing Commander 2. Pay
attention to the instructions below if you intend to install the product using the
bottom hole. For the rear connection, refer to section 6.
Fix the charger to the wall by inserting the screws and the protective caps. Once the
charger is fixed to the wall, make an incision on the grommet and pass the supply cable
through it.
6. Rear Connection
Remove the knock-out on the back of the charger and insert the 1-exit grommet. With a
utility knife, make an incision on the grommet and pass the cable through it.