WARN® INDUSTRIES PAGE 4 79671A2
©2011 Warn Industries, Inc.
WARN® and the WARN logo are trademarks of Warn Industries Inc.
IV. Rincon Installation (with winch
mount installed)
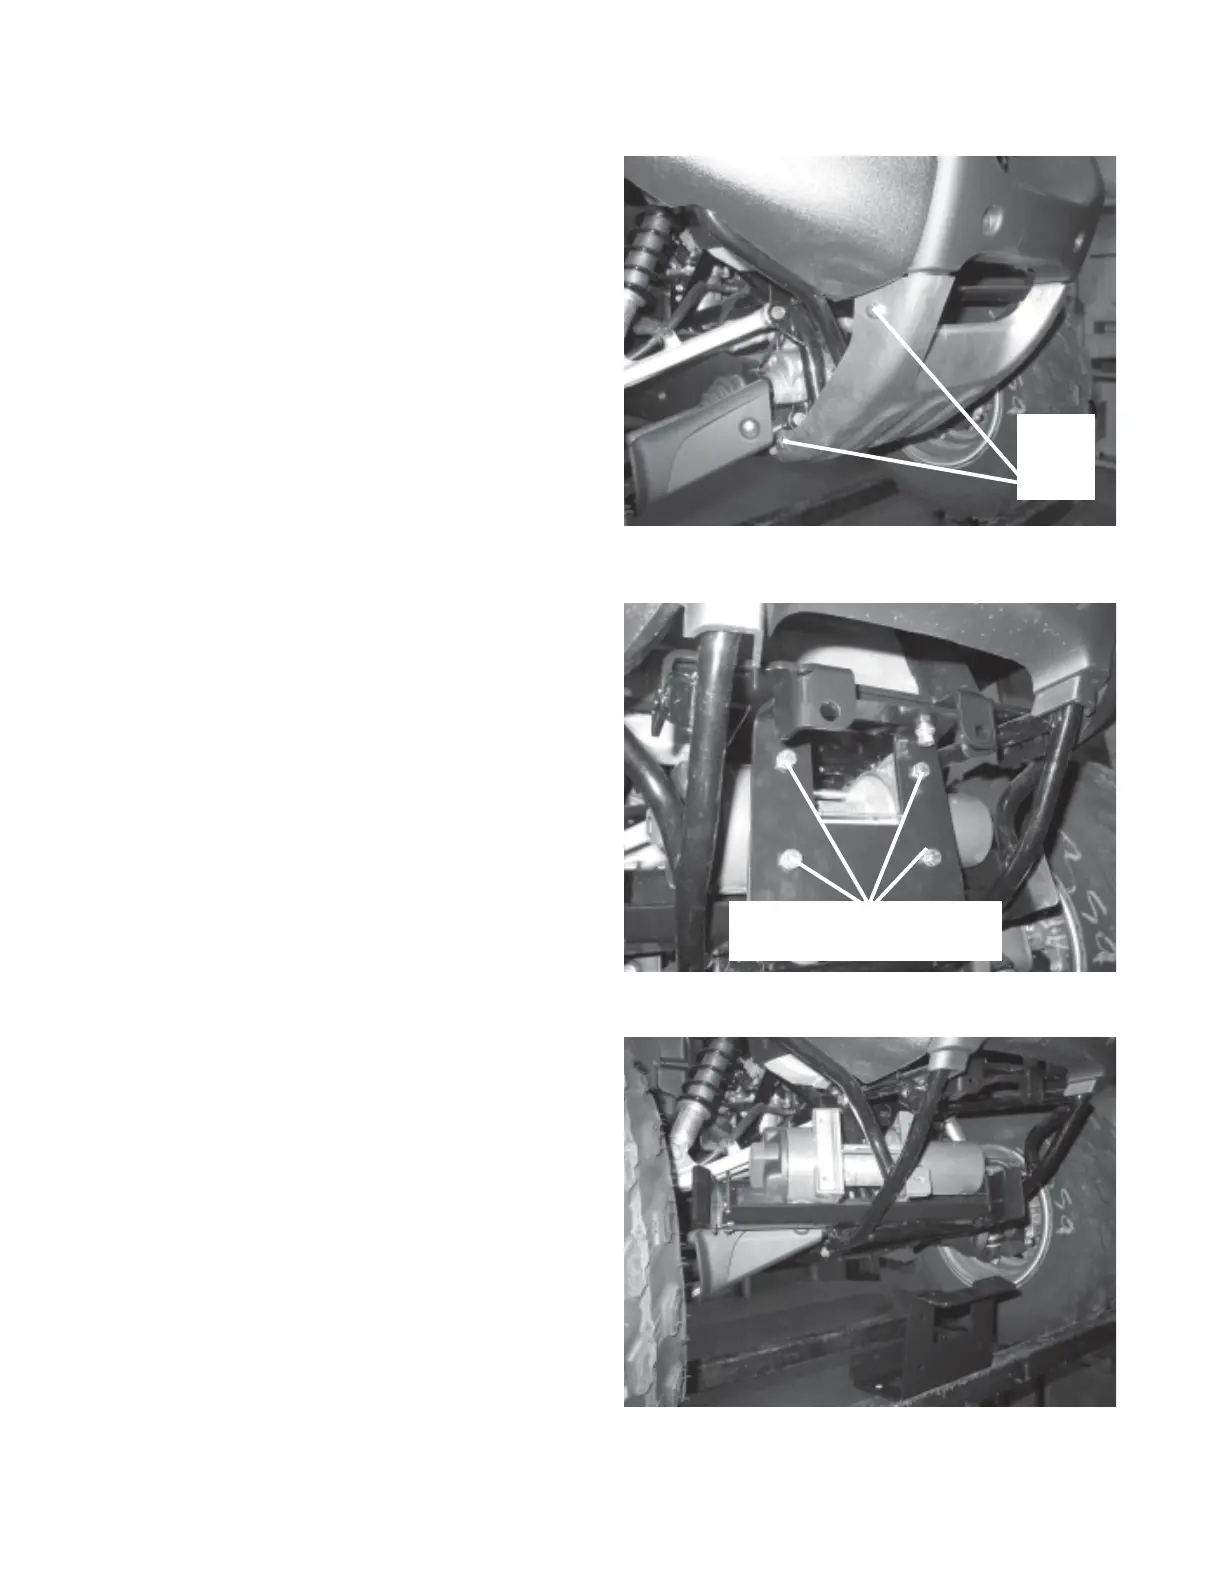
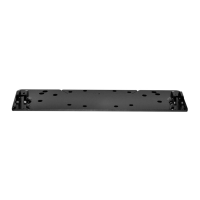
1. Remove the front aluminum skid plate on the
vehicle, as show in Figure 1. Save the fasteners
as they will be used later to reattach the skid
plate.
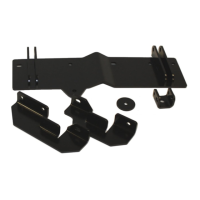
2. Disconnect both cables from winch. Remove
hardware to free winch from bottom bracket, as
shown in Figure 2. Remove capscrews, which
connect top bracket to bottom bracket and the u-
bolts at bottom, which connect bracket to vehicle
frame. Keep the top mounting hardware and
discard the lower hardware as longer u-bolts will
be required. Remove winch and bottom bracket
from vehicle.
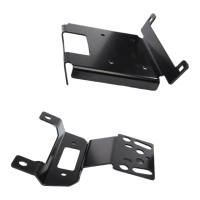
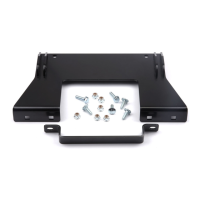
3. Place winch inside plow mount, as shown in
Figure 3 and carefully slide into vehicle frame
from the side.
Figure 1
Remove
fasteners
Figure 3
Figure 2
III. Torque Specifications
1/4, 6mm 8 lb. ft. (10.8 N-m)
5/16, 8mm 17 lb. ft. (22.5 N-m)
3/8,10mm 30 lb. ft. (40.7 N-m)
7/16, 11mm 50 lb. ft. (67.8 N-m)
1/2, 12mm 75 lb. ft. (101.7 N-m)
Remove hardware to free bottom
bracket and winch