Do you have a question about the Warn T2500 and is the answer not in the manual?
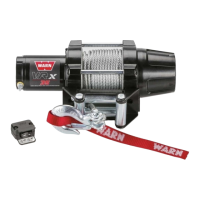
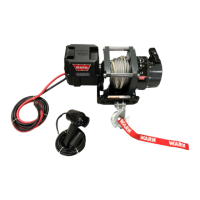
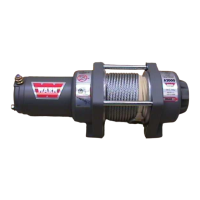
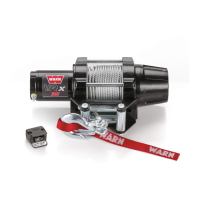
Identifies winch model and part number for ordering replacement parts and obtaining service information.
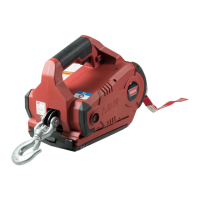
Defines key winch components and explains the basic principles of winch operation.
Critical safety information and guidelines intended specifically for authorized service technicians.
Lists the essential tools recommended for performing disassembly and reassembly procedures safely and effectively.
Outlines crucial safety precautions and the initial steps required for disassembling the winch components.
Detailed procedure for safely removing the winch motor from the main assembly.
Instructions on how to properly remove the armature from the motor housing.
Guidance for correctly installing a new armature into the motor, ensuring proper alignment and connection.
Step-by-step instructions for reinstalling the winch motor into its housing.
Procedure for replacing the motor cap assembly, emphasizing correct alignment and indexing.
Instructions for reassembling the motor housing, including gear train and sun gear installation.
Detailed steps for safely disassembling the winch clutch housing and its internal parts.
Guidance for correctly reassembling the clutch housing and its components after service.
Lists the specific tools required for performing brake removal and replacement procedures.
Provides the procedural steps for disassembling the winch's brake system for inspection or replacement.
Instructions for correctly reassembling the brake system or installing a new brake assembly.
General overview of how the different winch control systems and their operations function.
Details the wiring diagram and operational principles of the dial control switch for winch operation.
Explains the electrical operation, wiring, and components of the contactor control pack assembly.
Describes the wiring and functionality of the solenoid control pack specific to winch operation.
Details the components and wiring diagram for the solenoid control pack used in pull pack winches.
Wiring schematic and instructions for connecting the 3-wire remote control plug and harness.
Troubleshooting steps for diagnosing and resolving issues where the winch fails to hold a load.
Steps to troubleshoot brake overheating and failure to maintain holding capacity.
Guidance for resolving problems encountered when manually spooling wire rope off the winch drum.
Comprehensive troubleshooting for power loss, slow operation, stalling, or complete winch failure.
Diagnosing and rectifying issues causing a reduction in the winch's pulling power capacity.
Troubleshooting a common issue where the remote switch produces a click but no winch operation.
Steps to identify and resolve the cause of electrical sparks occurring near the winch motor.
Troubleshooting guide for when the winch operates in only one direction upon remote control activation.
Procedures to fix a dial switch that is unresponsive or fails to operate the winch.
Troubleshooting and resolution steps for a burned winch control switch.
Diagnosing and correcting melted insulation on the winch wire harness.
Corrective actions to address wire rope becoming lodged behind the drum flange.