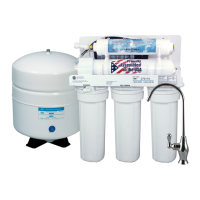
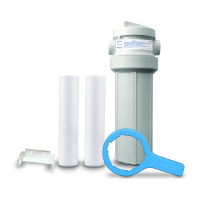
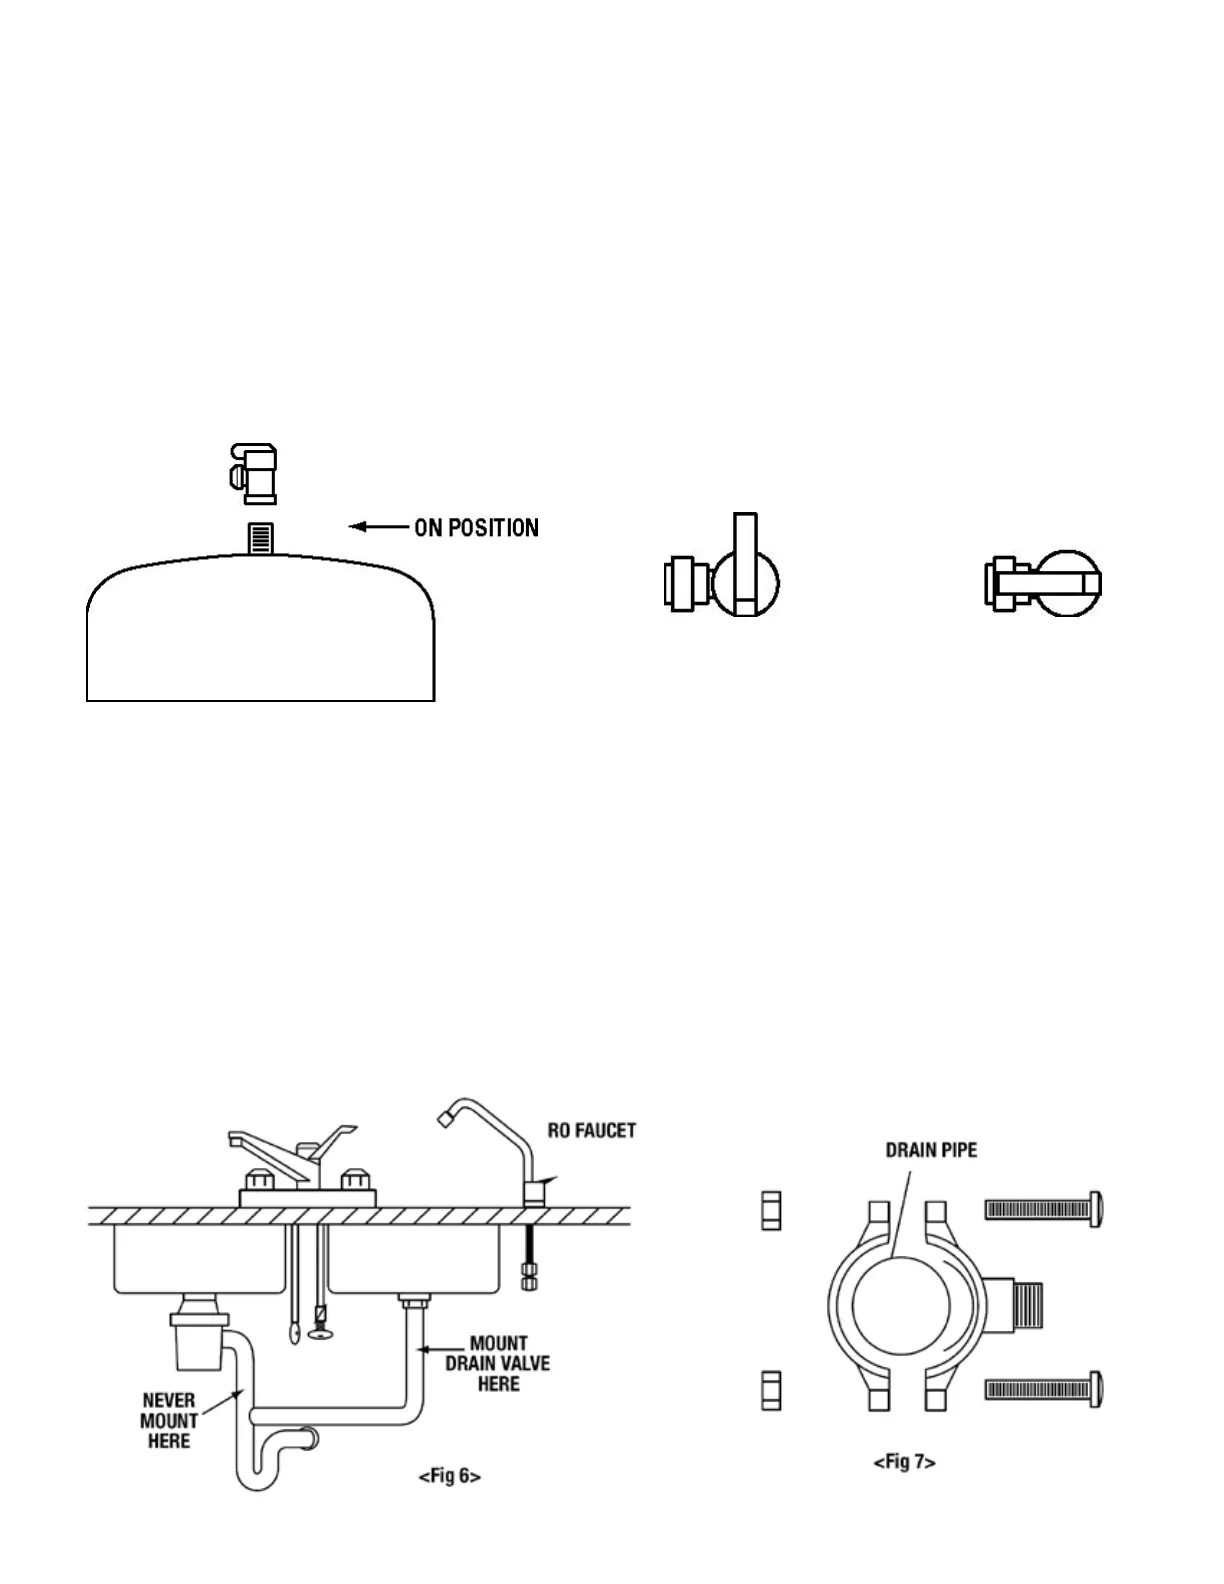
STEP 3: MOUNTING THE TANK BALL VALVE
Note: Do not tamper with the air valve on low side of storage tank. It has been preset at 5-7 psi by the
manufacturers.
1) With the provided teon tape wrap 3-4 turns in a clockwise direction around the male threaded
connection on the top of the storage tank,
2) Connect the ball valve to the thread. Make sure it is tight but not over tight. See <Fig. 5>.
4) Connect the yellow tubing from to the tank ball valve. Push the tubing in all the way to make sure it is
properly seated.
5) Turn the tank ball valve off.
TOP VIEW OF TANK BALL VALVE
(PPSV501222W)
OFF POSITION ON POSITION
<Fig 5>
STEP 4: MOUNTING THE DRAIN CLAMP
The drain clamp (SC500B14/38) will t most standard drain pipe 1/4”. It should be installed above the trap and
on the vertical tailpiece. See <Fig. 6>
1) Position the drain saddle in desired location, mark spot through thread outlet, remove saddle.
2) Drill 1/4”(6.3mm) hole into the drain pipe above the water line of trap.
3) Align the hole drilled in the drain pipe with the drain saddle using a drill bit or other narrow straight
object and tighten clamp.
4) Make sure to align drain saddle to drilled hole. Attach drain saddle to drain pipe and tighten the two
screws evenly. See <Fig. 7>.
5) Connect black tubing to drain clamp.
11