Marine heating system Installation Instructions
8 © Webasto Global Comfort Solutions
®
4.3 Heater mounting
• Securely mount the equipment (vibration, swell)!
• Use a mounting assembly or bracket
Air heaters: use the bracket and rubber seals provided under the feet of the equipment.
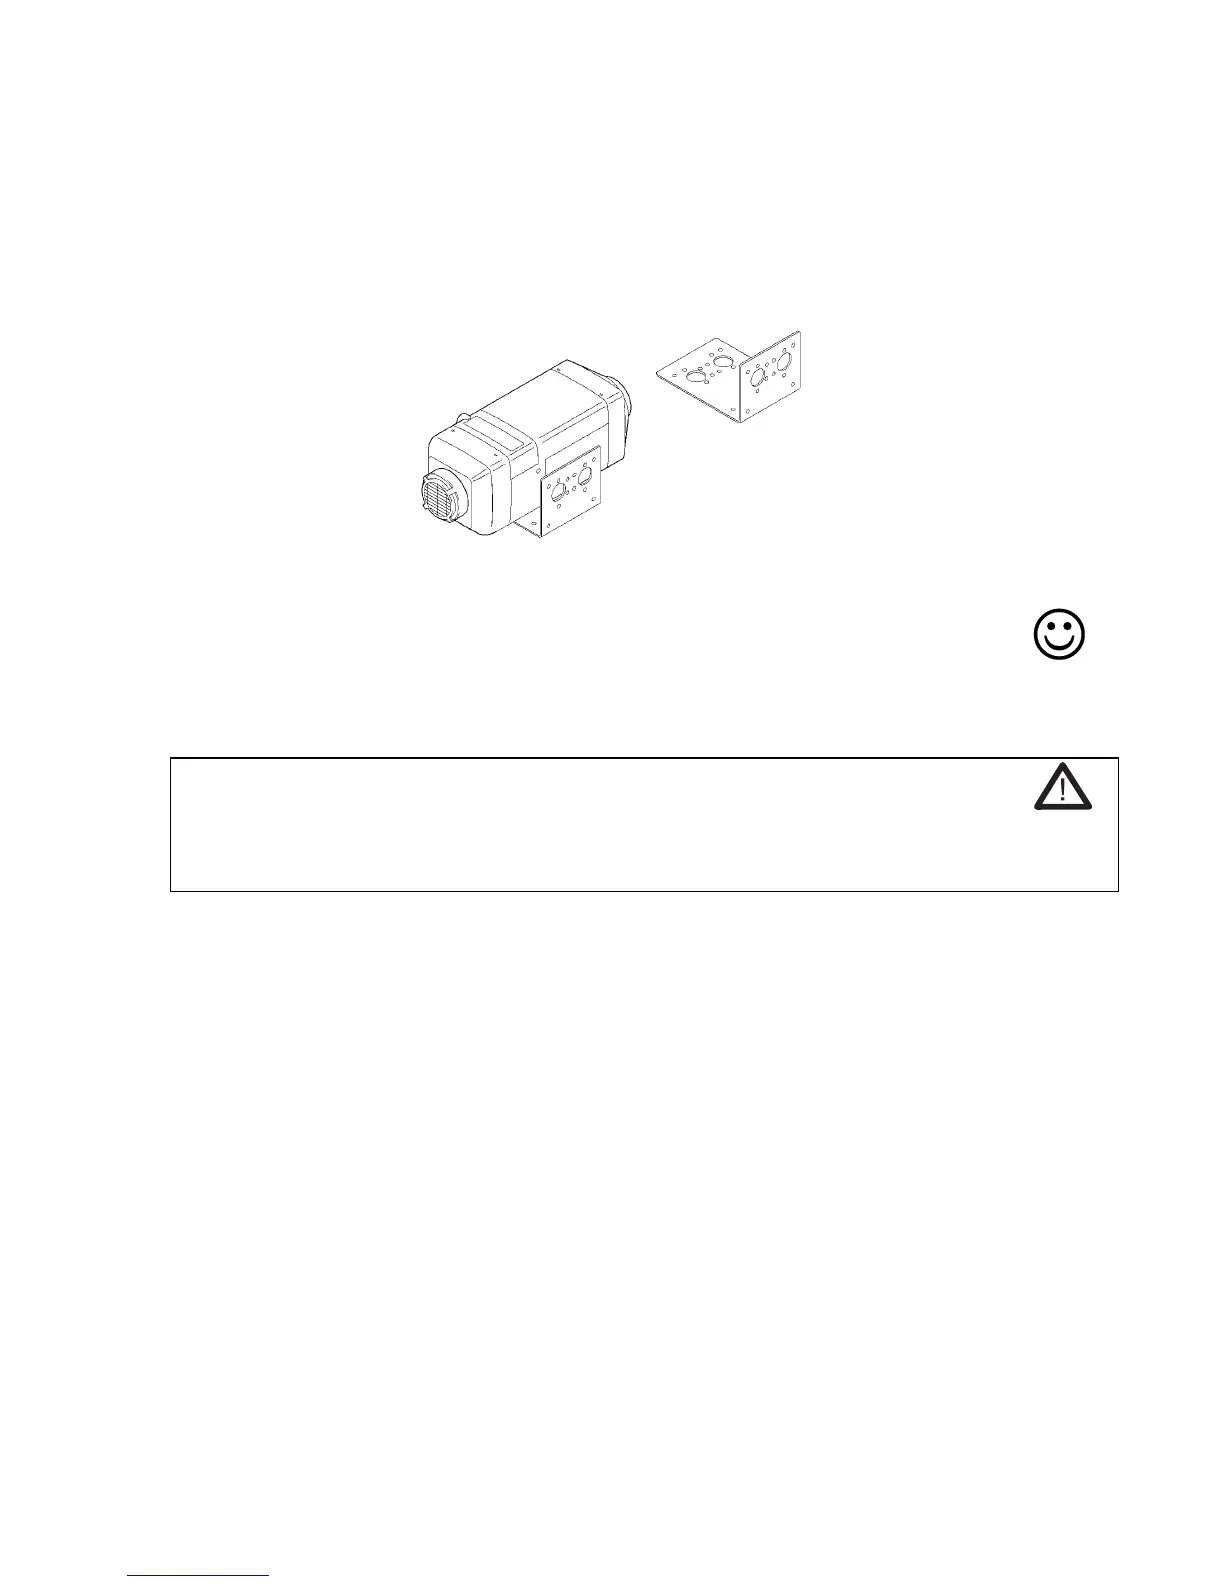
Securing Air Top
®
using the mounting bracket
• Recommendation: flexible mountings (decoupling oscillations, noise reduction)
• Secure the heater unit with screws to the mounting assembly.
• Recommendation, if attached to the outside skin of GRP boats: Laminate a wooden plate on
the inside at the mounting location to avoid having to drill through the outer skin.
WARNING! When drilling into the outer skin of the ship there is a risk of drowning!
Drilling under the water line can cause the ship to sink.
If the boat is in the water: check the drilling location. Keep leak sealing equipment
available and familiarize yourself with the possible escape routes.
 Loading...