3.1.4 Auto ID Assignment and DIP Configuration for LOW Voltage Single Cluster (Parallel
Connection)
STEP 1
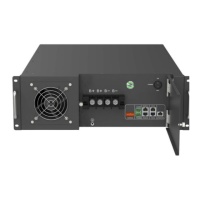
ACTIVATING THE BMS FROM THE POWER SWITCH
It will be necessary to activate all the batteries by switching on the POWER SWITCH (ON= position I)
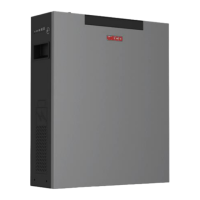
STEP 2
AUTO WAKE-UP PROCESS (Pressing the RUN BUTTON )
Once all the connections have been checked, it is possible to start the Battery Module by enabling the automatic wake-up process.
Press the RUN button of the MASTER battery only, the RUN BUTTON will Blink and will wake-up all the slaves batteries connected.
This process might take around 2-3 seconds per battery (Do not turn on the SUB manually as the automatic process will assign a battery ID in
sequence).
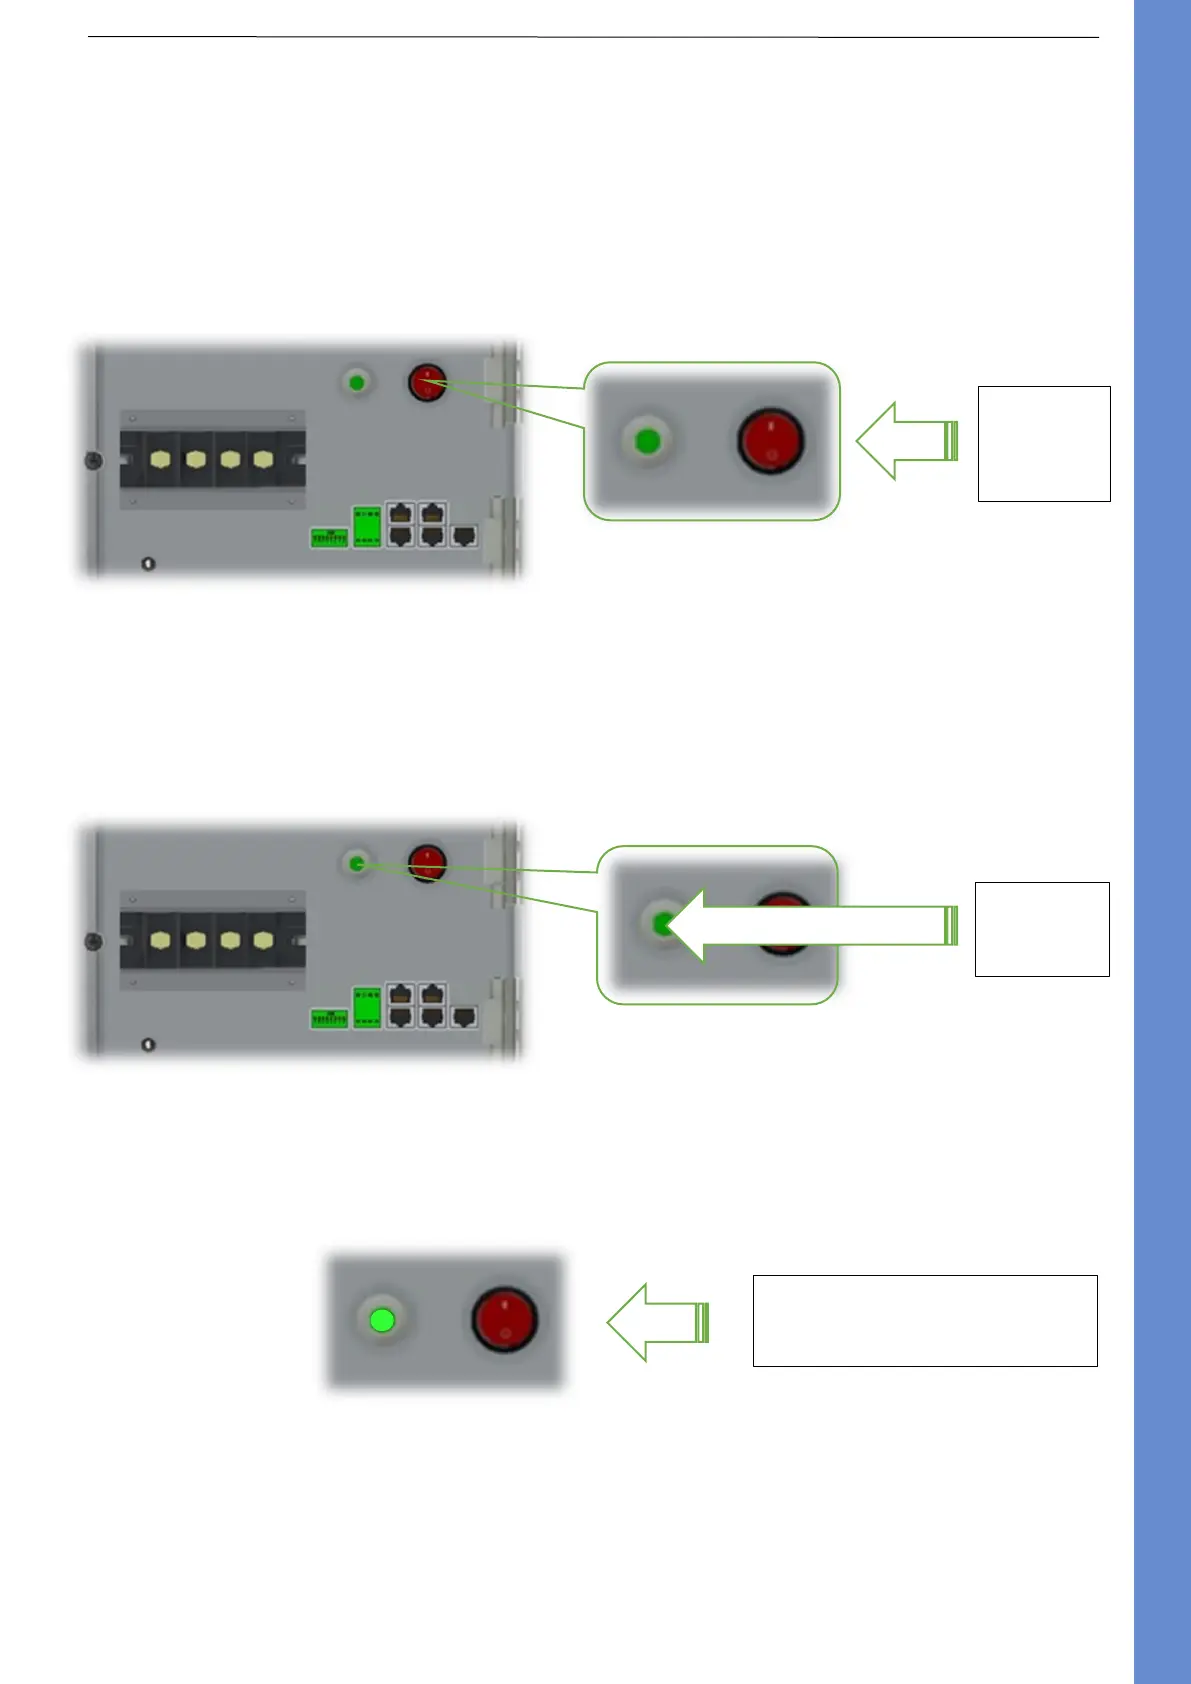
It is essential to check the startup progression and make sure that all LEDs of the RUN BUTTON are ON and showing steady GREEN lights after
the wake-up process (the entire process might take up to 30-45 seconds in case of 15 batteries).
During the startup process, all the RUN BUTTONS will blink until the last module sends the final consent to the MASTER to enable the
contactors.
If during the process, one or more Battery Modules will not turn ON or if the LED does not become steady it is mandatory to
switch off the MASTER and check all the connections between PORTS RS485B and A.
Make sure to turn ON and OFF every Battery Module after setting up the DIP switches.
Make sure all the Battery Modules remain active after the first cycle of charge and discharge.
In case of any anomaly during this process, it is necessary to shut down the entire cluster and repeat the procedure from STEP 1.
 Loading...