16
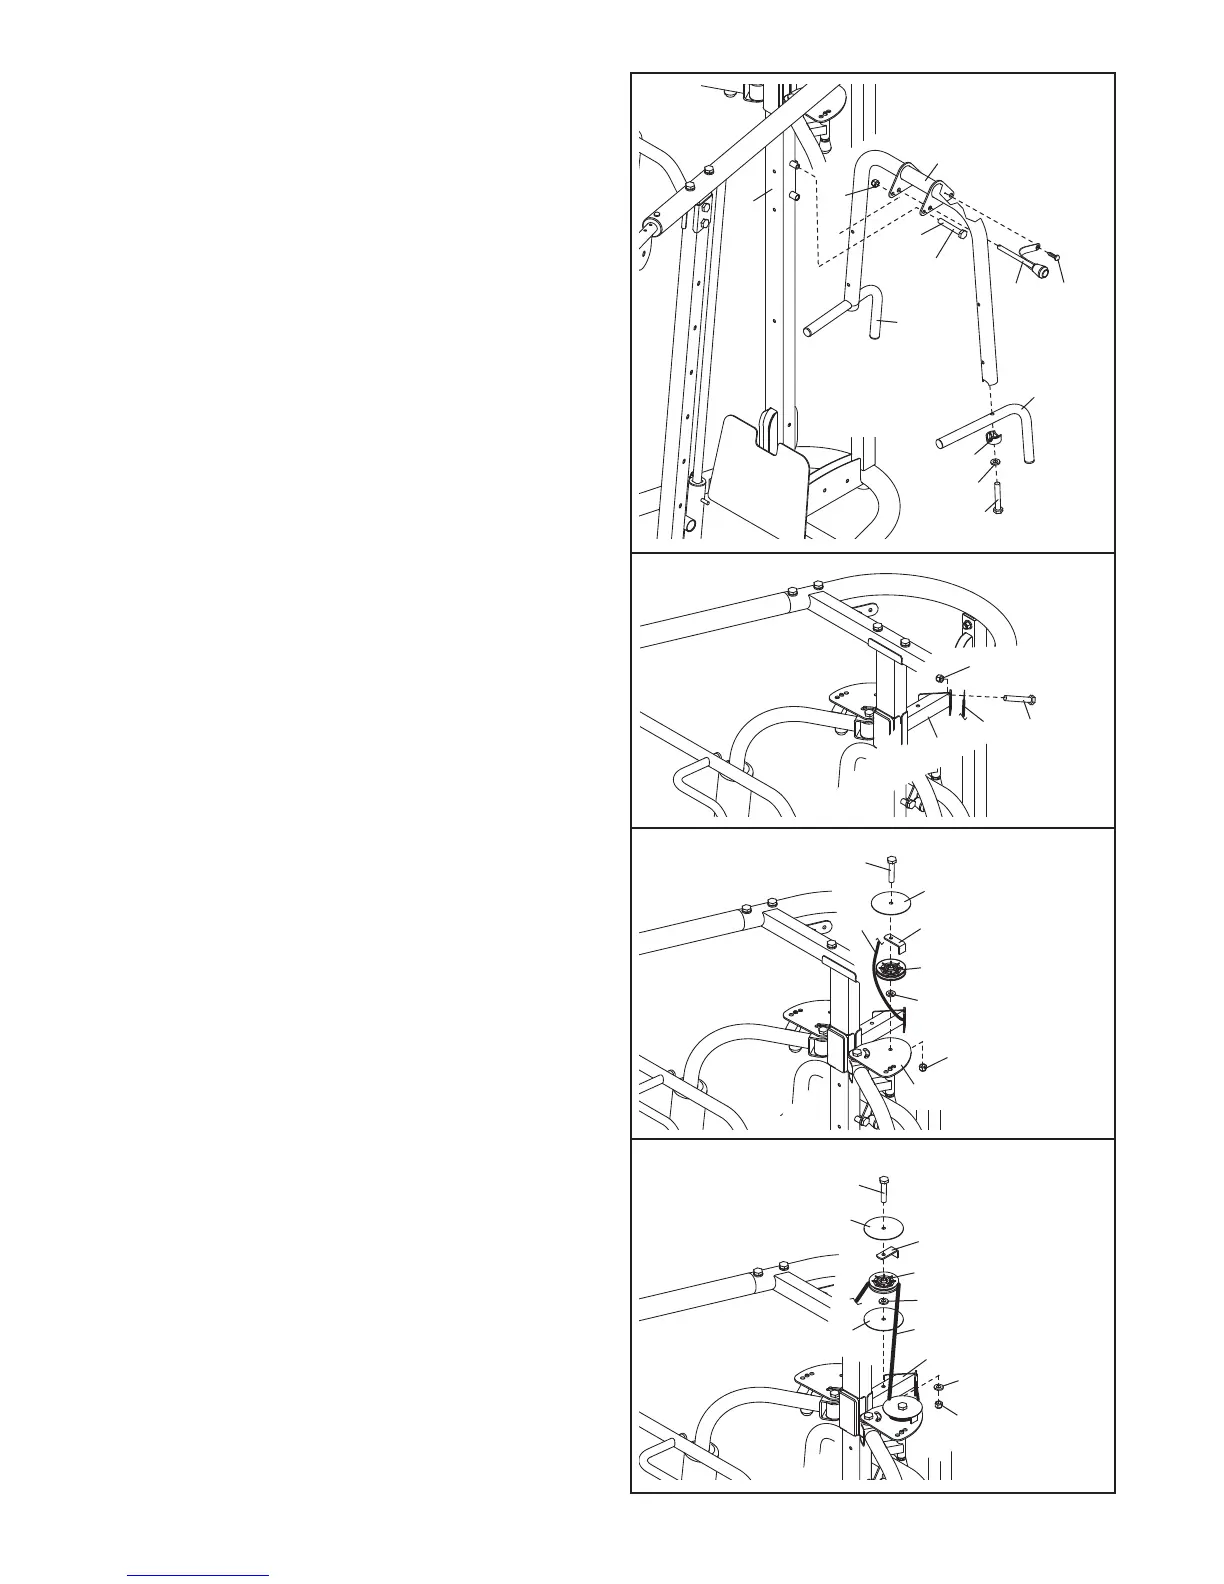
27. Wrap the Cable (66) around a Small Pulley (59).
Attach the Small Pulley, a Guard (61), a Cable
Trap (76), and an M10 Washer (96) to the left
Adjustable Pulley Plate (67) with an M10 x 50mm
Bolt (111) and an M10 Nylon Locknut (94).
28. Wrap the Cable (66) around a Small Pulley (59).
Attach the Small Pulley
, two Guards (61), a Cable
T
rap (76), and an M10 Washer (96) to the Center
Frame (51) with an M10 x 95mm Bolt (114), an
M10 W
asher
, and an M10 Nylon Locknut (94).
27
28
94
96
76
61
111
59
66
67
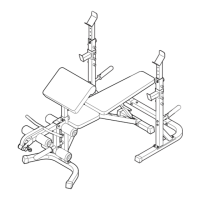
61
61
76
59
51
94
1
14
96
66
96
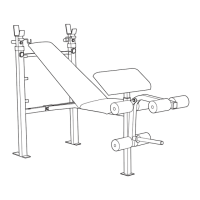
26. See the CABLE DIAGRAM on page 28 as you
identify and assemble the cables.
Locate the Butterfly Cable (66).
Attach the
Cable to the Center Frame (51) with an M10 x
20mm Bolt (110) and an M10 Nylon Locknut (94).
Make sure the flat edge of the Cable is against
the Center Frame.
26
94
51
66
110
25. Attach a VKR Handle (53) to the VKR Arm (52)
with an M10 x 60mm Button Bolt (126), an M10
W
asher (96), and a VKR Cap (83).
A
ttach the other VKR Handle (53) to the VKR
Arm (52) in the same way.
Apply grease to an M10 x 150mm Bolt (127).
Attach the VKR Arm (52) to the Center Upright
(29) with the Bolt and an M10 Nylon Locknut (94).
Do not overtighten the Nylon Locknut; the
VKR Arm must pivot easily.
Then, insert the
Long Pin (77) into the VKR Arm. Attach the tether
on the Long Pin to the VKR Arm with an M4 x
16mm Self-tapping Screw (102).
25
2
9
5
2
94
127
G
rease
1
02
126
7
7
53
53
83
96