9
7
8
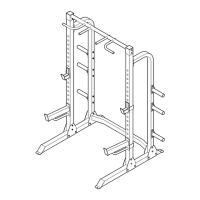
9. Make sure that all parts of the weight rack are properly tightened. Extra parts may be included. Place a
mat under the weight rack to protect the floor.
5
14
14
14
9
11
19
20
21
16
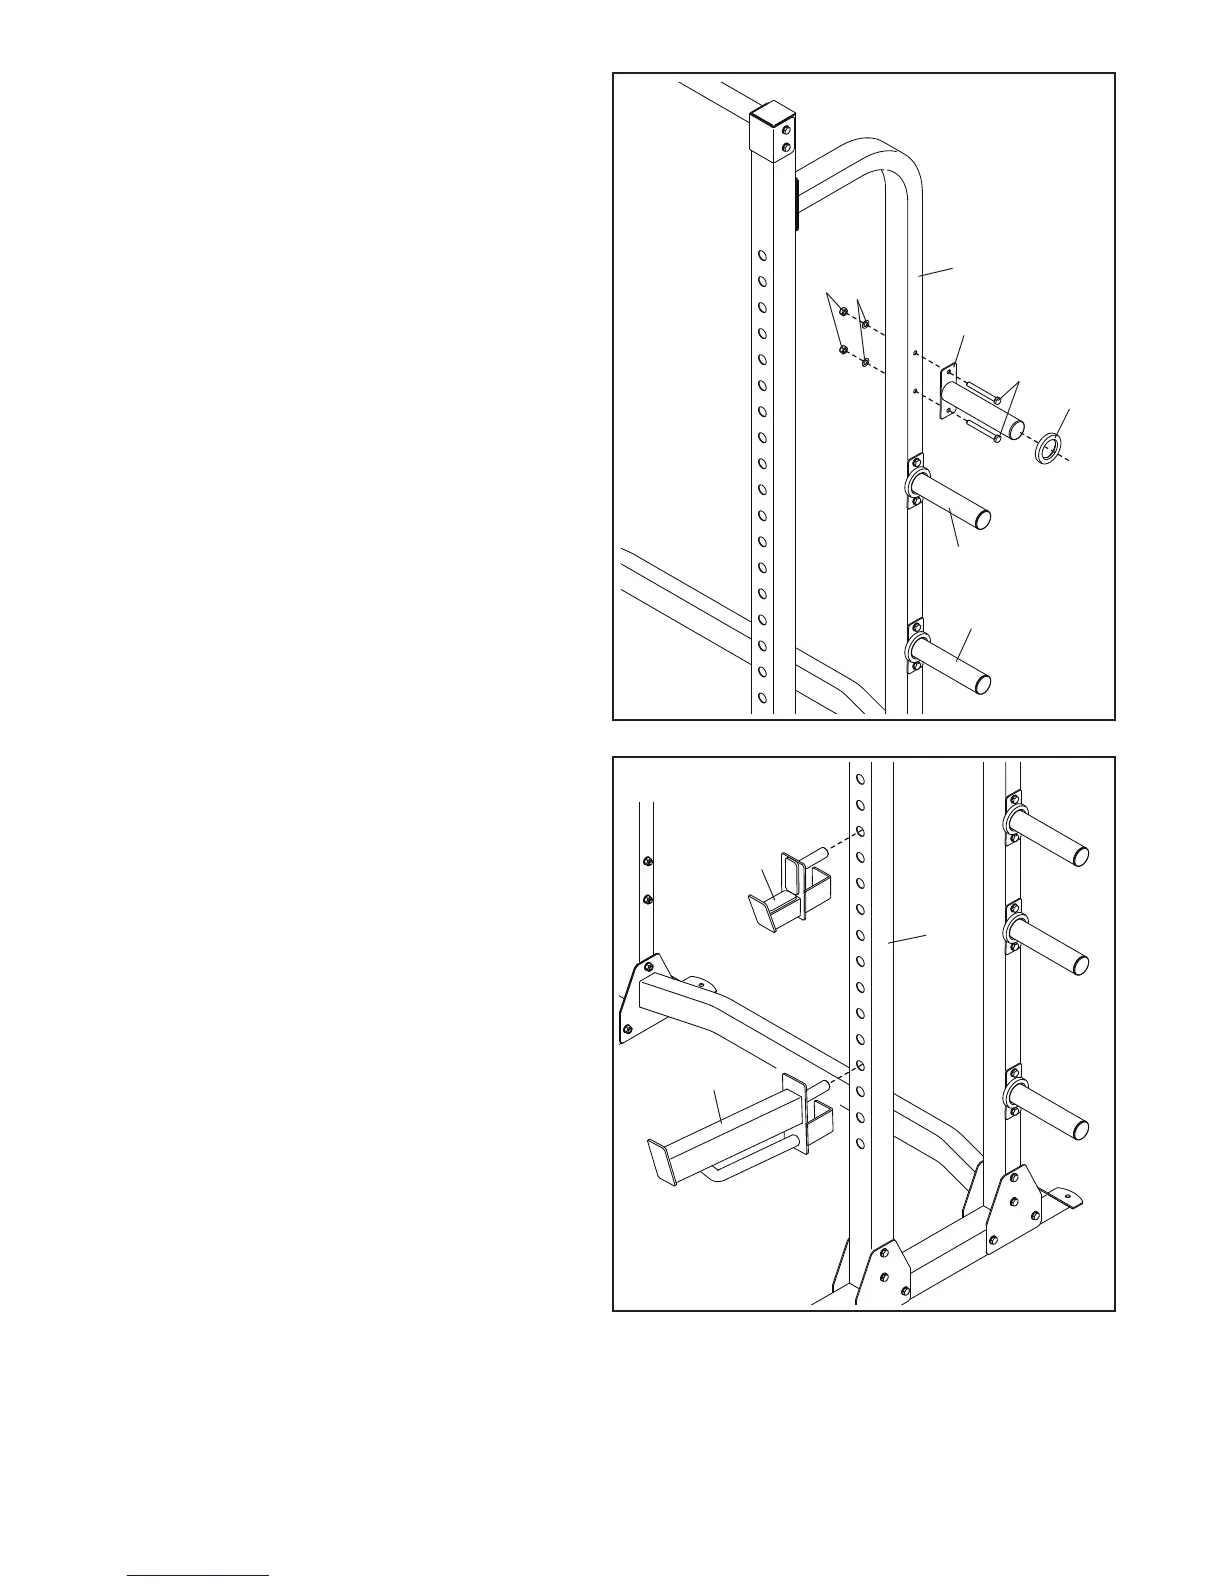
7. See steps 2–6. Tighten all the M10 Locknuts
(21), M10 x 95mm Bolts (19), and M10 x 20mm
Screws (22).
Next, attach a Storage Tube (14) to the Right
Rear Upright (5) with two M10 x 95mm Bolts
(19), two M10 Washers (20), and two M10
Locknuts (21).
Then, slide a Bumper (16) onto the Storage
Tube (14).
Attach two more Storage Tubes (14) to the
Right Rear Upright (5) in the same way.
Repeat this step on the other side of the
weight rack.
8. Insert the Right Weight Rest (9) into the desired
adjustment hole in the Right Front Upright
(3). Then, insert the Right Spotter (11) into an
adjustment hole below the Right Weight Rest.
Repeat this step on the other side of the
weight rack.
Make sure to insert both Weight Rests (9, 10
[not shown]) and both Spotters (11, 12 [not
shown]) at the same height.
3