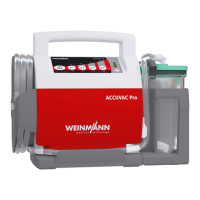
ACCUVAC Rescue/ACCUVAC Basic
Remarques générales
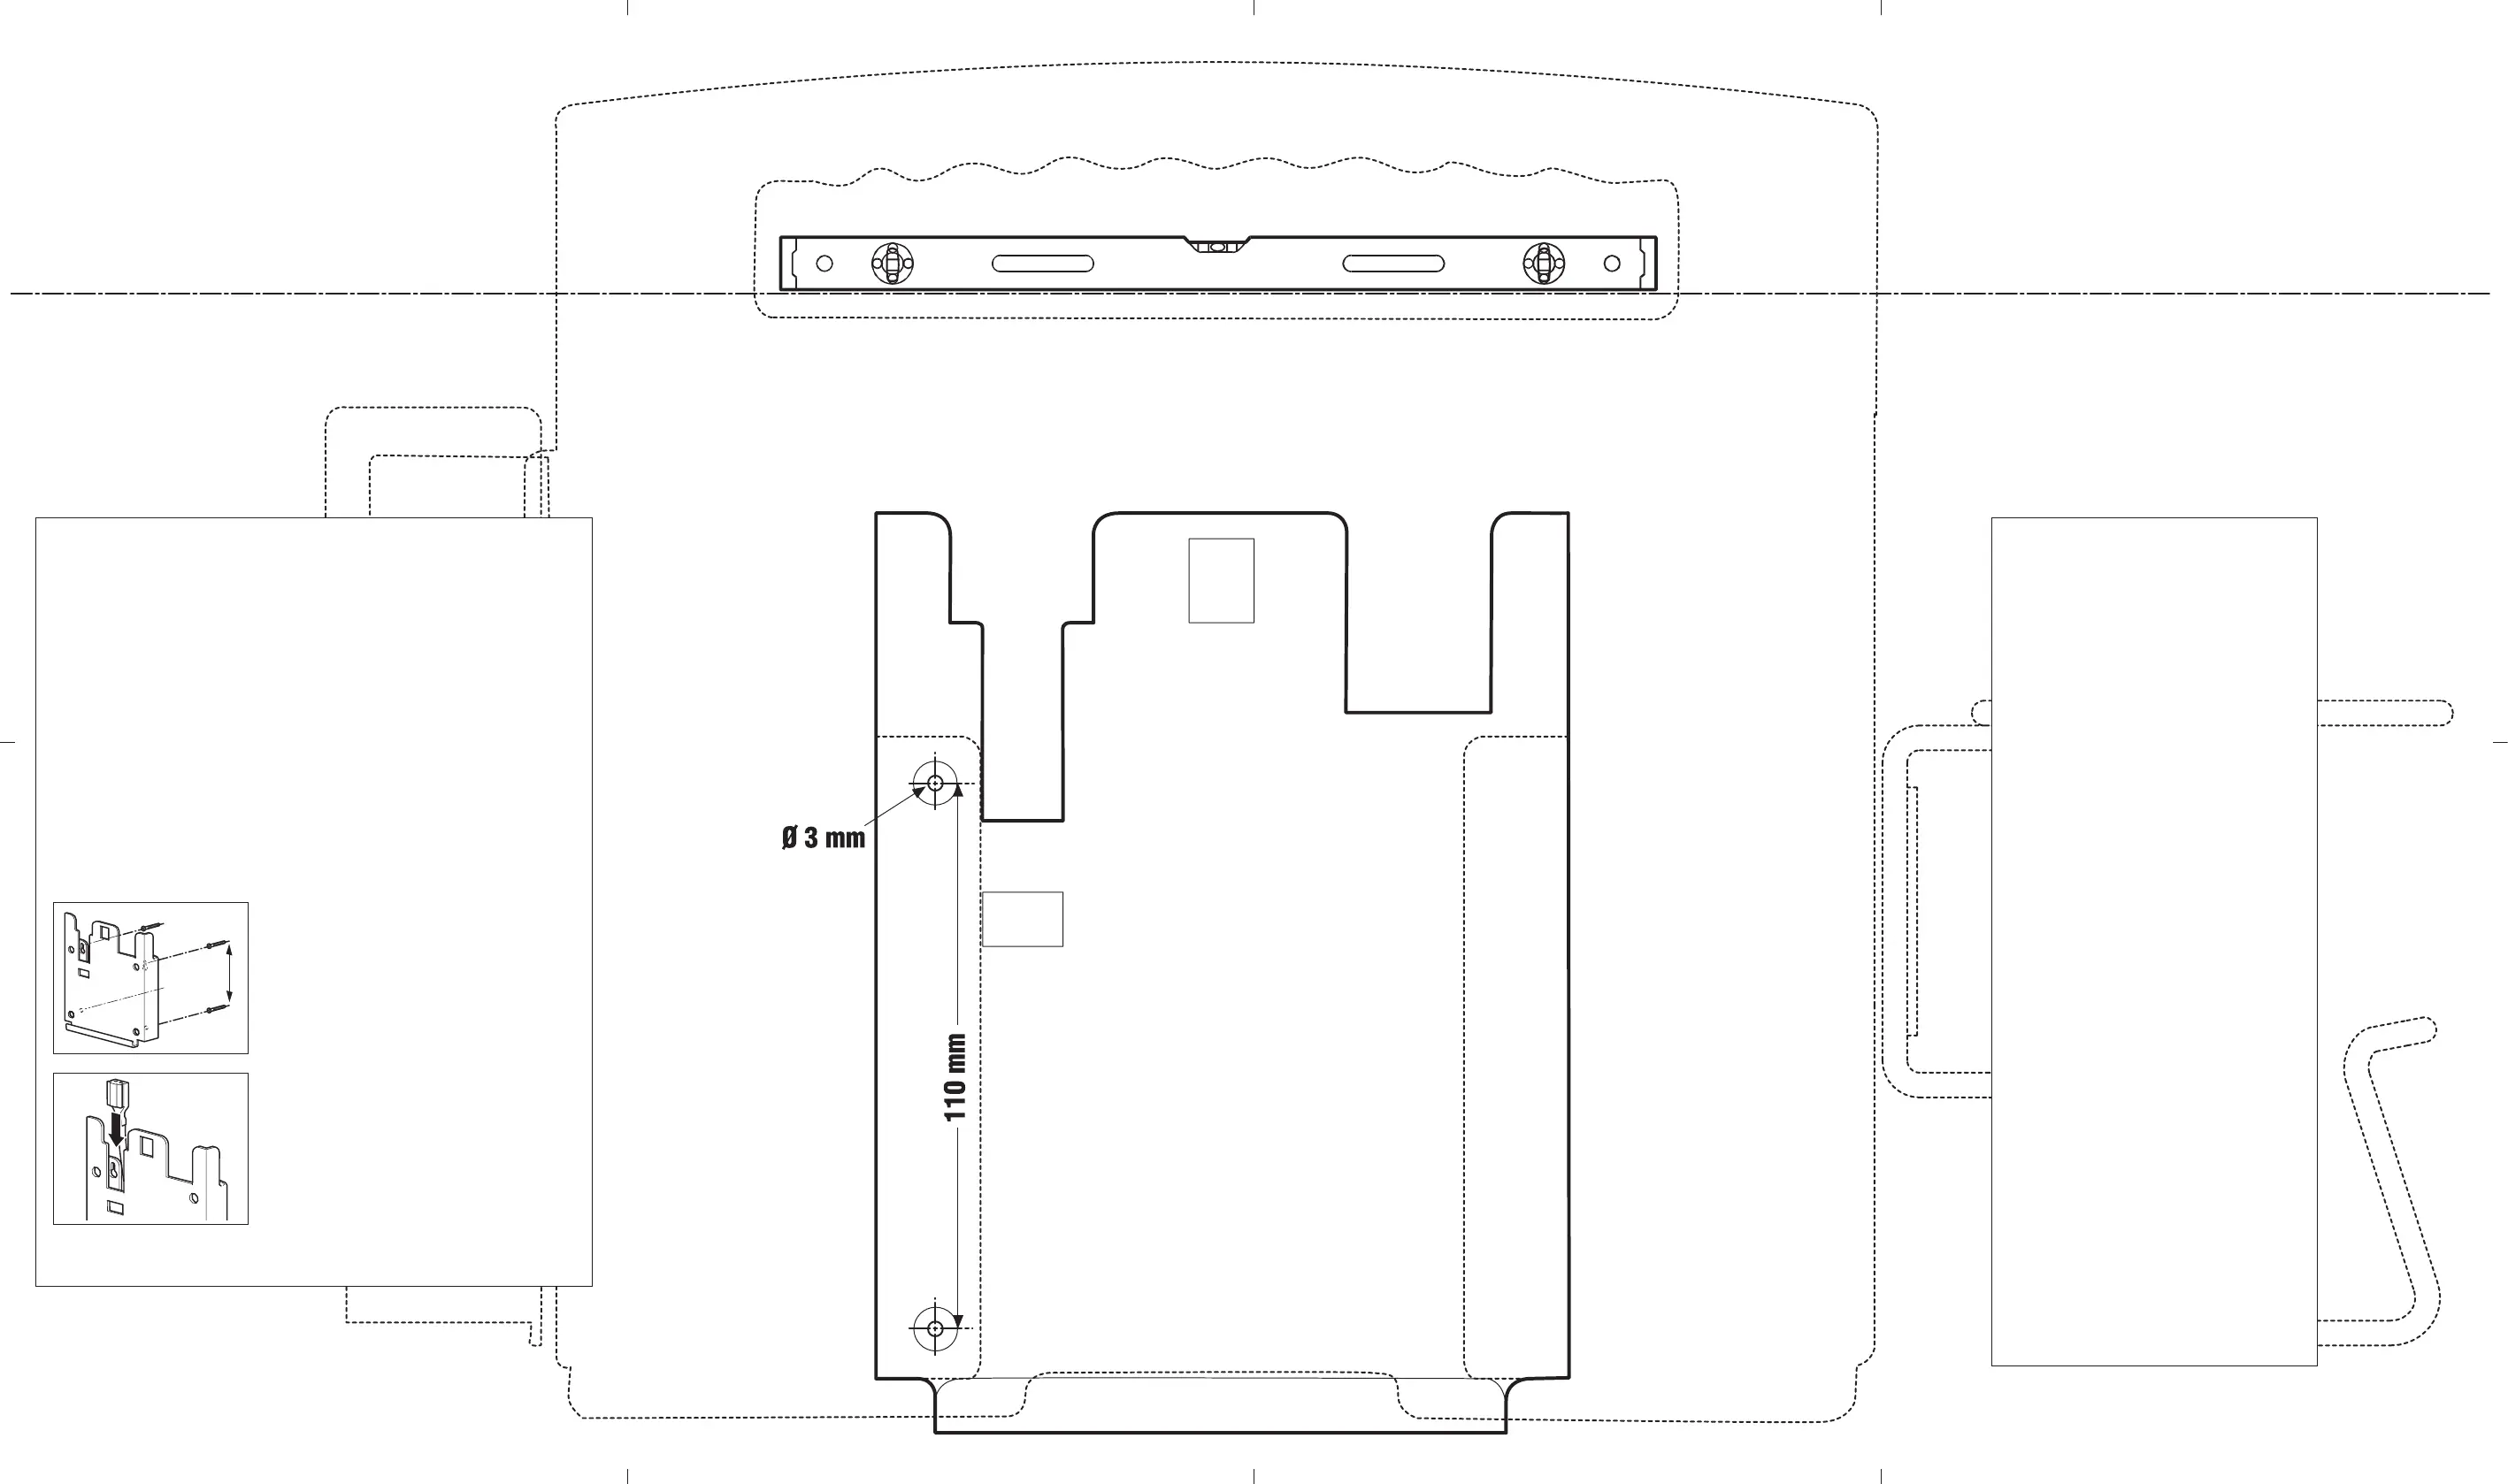
– Le contour de l'ACCUVAC sur ce gabarit
de perçage représente la place nécessaire
à l'appareil et ses composants.
– Lors du montage, tenez compte également
des conditions spéciques d'accès pour le
retrait et de la place nécessaire aux mains
lors du retrait.
– Le support de xation doit être sufsam-
ment solide pour maintenir de manière sûre
le support mural et l'ACCUVAC conformé-
ment aux exigences de la norme EN1789
relative aux véhicules de transport sanitaire
et leurs équipements.
– Utilisez les vis à tôle fournies uniquement
pour des supports métalliques, par ex. dans
des véhicules. Dans le cas des supports non
métalliques, utilisez des vis convenant au
support concerné (non fournies).
Montage du support mural
1. Choisir une surface plane et un emplacement
de xation vertical.
2. Maintenir le gabarit de perçage et ajuster la
position de montage au moyen d'un niveau
à bulle.
3. Repérer les deux perçages de gauche sur
l’emplacement de xation.
4. Retirer le gabarit de perçage de l’emplacement
de xation.
5. Maintenir le support mural sur l'emplacement
de xation.
6. Repérer les deux perçages de droite à l'aide
du support mural.
7. Percer les trous de xation au moyen d'un
foret d'un Ø de 3mm.
8. Visser le support mural au moyen des vis à
tôle fournies.
9. Insérer le connecteur du câble de raccorde-
ment 12V (tous les ACCUVAC) ou du bloc
chargeur (ACCUVACBasic uniquement) dans
le rail de guidage du support mural jusqu'à
ce qu'il s'enclenche.
General information
– The outline of the ACCUVAC on this drilling
template represents the space required by
the device and its components.
– When tting, take account of the specic
route of removal and the space required for
the hands when removing it.
– The fixing surface must be sufficiently
strong to reliably carry the wall mounting
and the ACCUVAC to EN 1789 Ambu-
lances.
– Only use the sheet-metal screws enclosed
on metal mounting surfaces, e.g. in vehi-
cles. For non-metal mounting surfaces, use
screws to suit the surface in question (not
included in scope of supply).
Fitting the wall mounting
1. Select a level surface and vertical mounting
location.
2. Hold up the drilling template and align it using
a spirit level.
3. Mark the two left-hand holes at the mounting
location.
4. Remove the drilling template from the
mounting location.
5. Hold the wall mounting up to the mounting
location.
6. Mark the two right-hand holes with the aid
of the wall mounting.
7. Drill the holes for mounting using a Ø 3 mm
drill bit.
8. Screw the wall mounting tight using the
enclosed sheet-metal screws.
9. Push the connector of the 12 V connecting
cable (all ACCUVAC models) or of the plug-in
charger (ACCUVAC Basic only) into the guide
rail of the wall mounting until it engages.