© weinor GmbH & Co. KG 6 | EN © weinor GmbH & Co. KG EN | 7
Device explanation
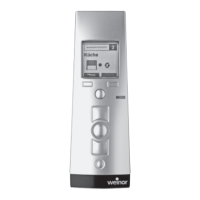
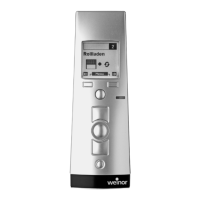
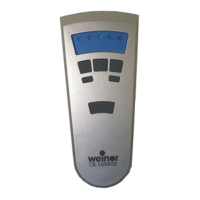
Front of unit
1 Channel indicator
2 Operating mode indicator
3 UP button
4 STOP button
5 Status indicator
6 DOWN button
7 Select button
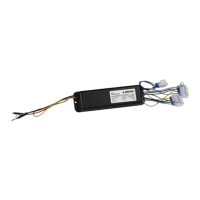
Rear of unit
8
9
10
8 Learn button P
Only for experts:
9 DIP switch 1
10 DIP switch 2
Mounting of wall bracket
• The wall bracket must be fi xed so
that the holes drilled avoid any
electrical cables.
• Before installing the unit in the
required position, check that
the transmitter and receiver are
functioning perfectly.
• Attach the bracket to the wall
with the wall plugs and screws
provided.
The top part of the wall bracket can be
moved.

 Loading...