TM 262
3-6 Revised 4/11/08
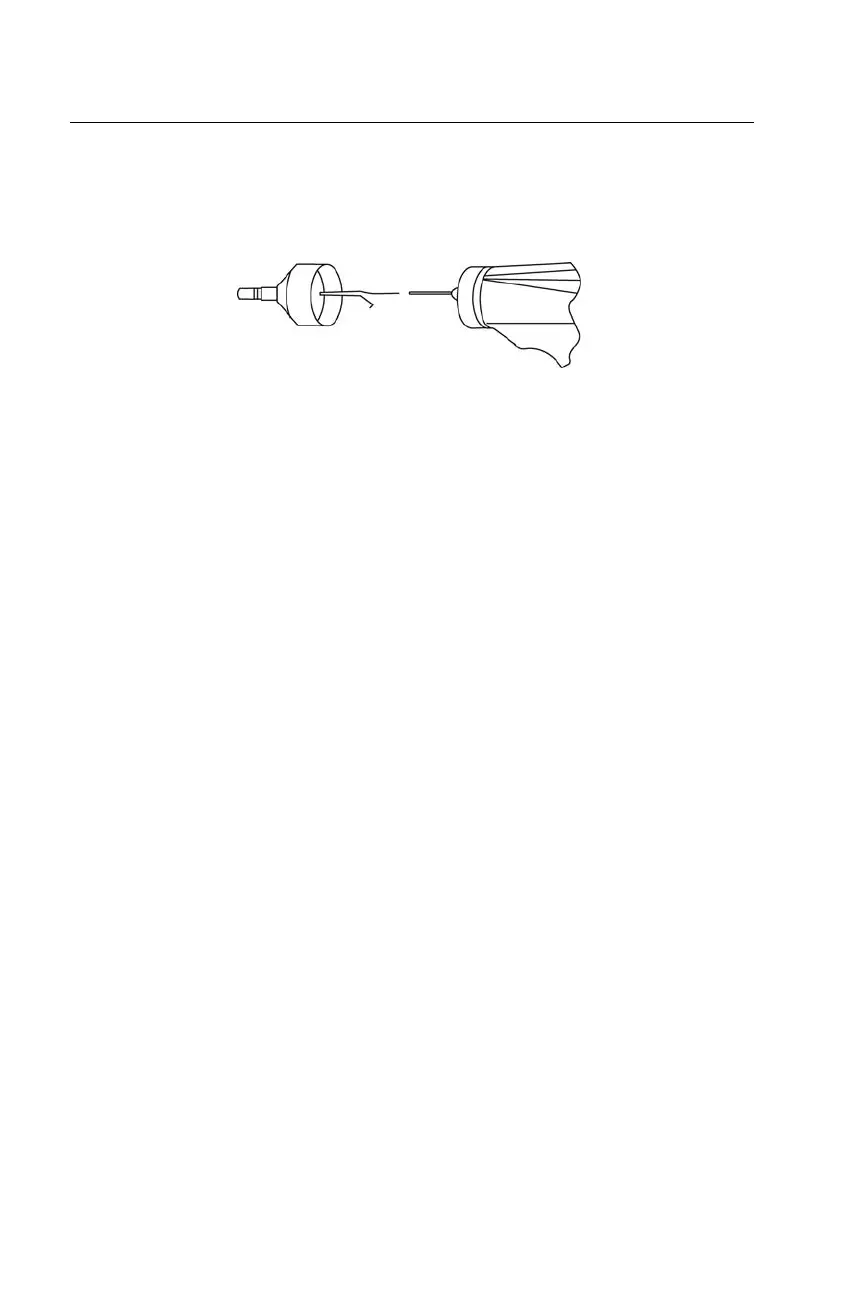
The probe wire
Inside the probe body there is a metal tube that contains a wire required for cleaning purposes.
1. Carefully remove this wire from the metal tube (Figure 3). This will pull any cerumen out
of the metal tube.
Figure 3: Probe wire removal.
2. Examine the wire for cerumen.
3. If necessary, clean the wire with a lint-free tissue.
4. Reinsert the wire into the metal tube and push it in as far as it can go.
NOTE: The wire must be inserted into the metal tube for the instrument to function properly.
Probe reassembly
After cleaning, reassemble the probe nose cone to the probe body by screwing the cone back
onto the probe. Take care to align the threads on both the probe body and the nose cone before
screwing the pieces together. Only screw the nose cone on until it is finger tight. You might find
it helpful to gently squeeze the two sides of the probe case together while screwing the nose
cone into place.
NOTE: The probe nose cone must be screwed firmly in place to guard against any air leaks.
 Loading...