13
MAINTENANCE
1
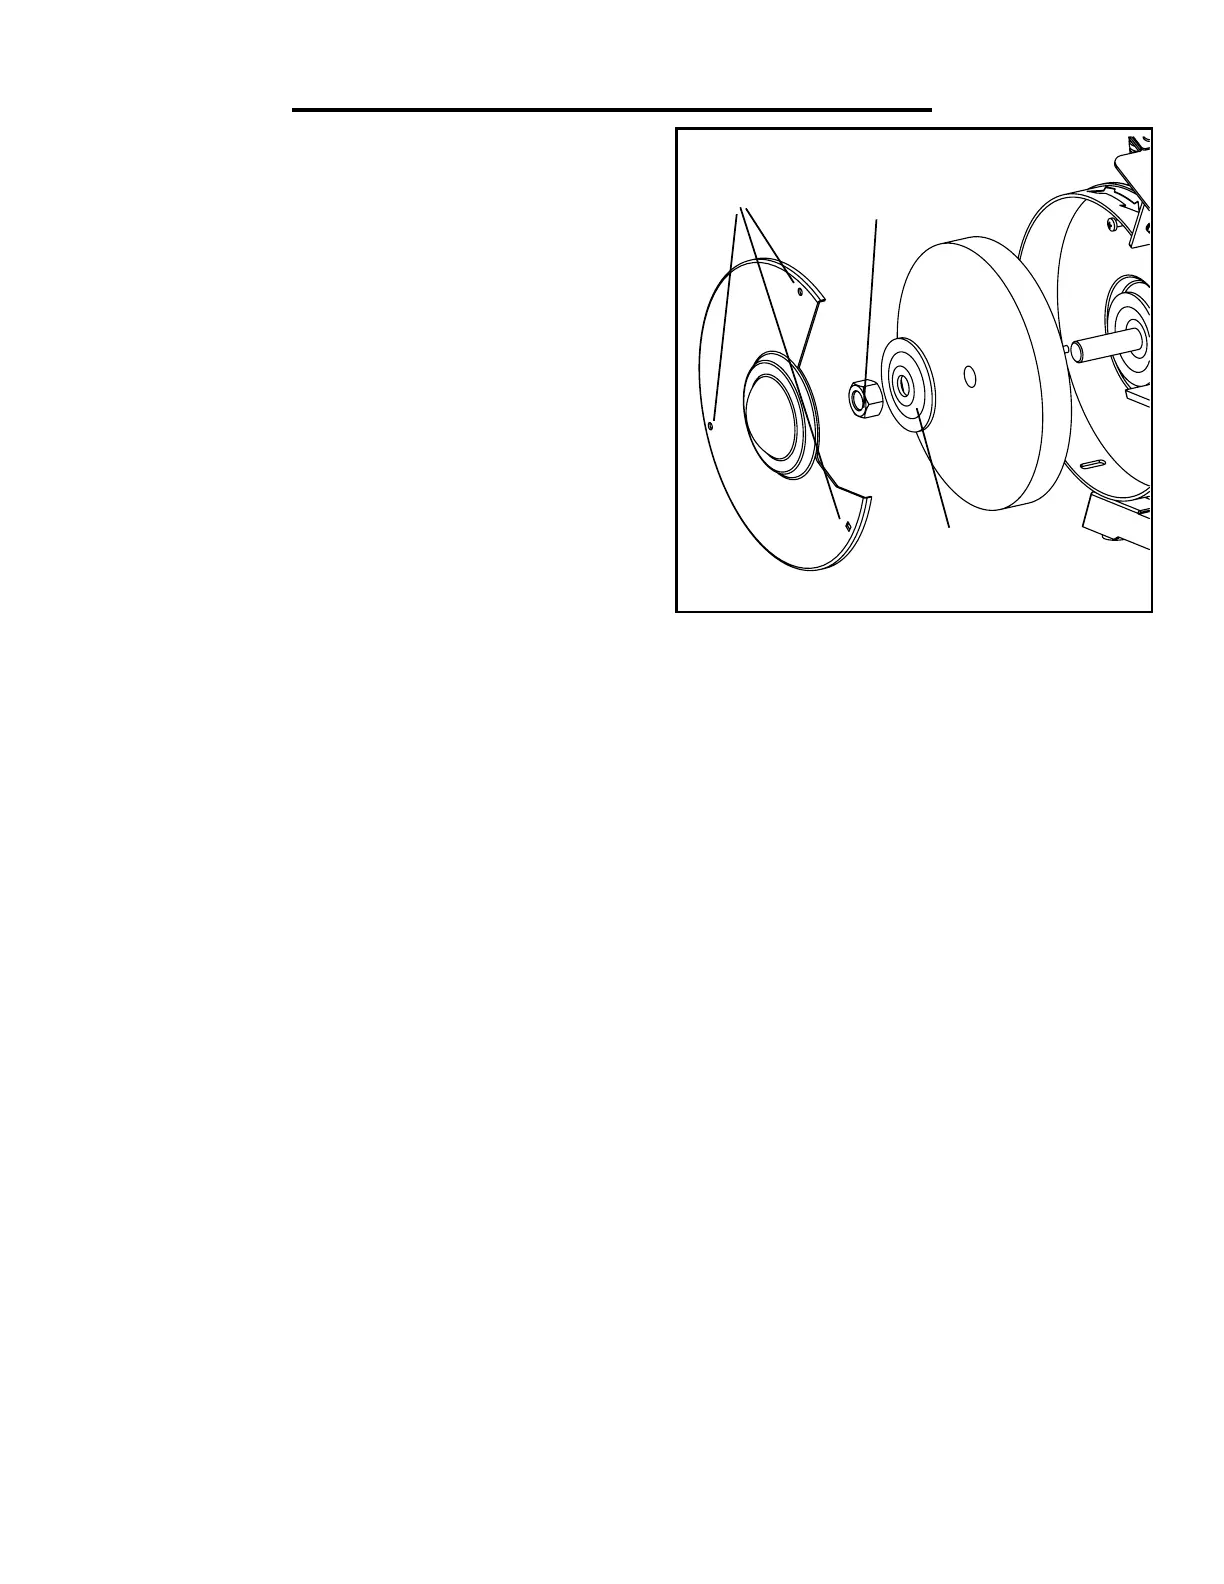
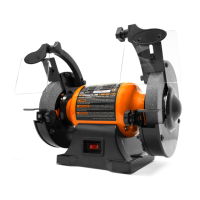
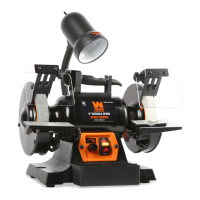
Fig. F
2
3
CHANGING THE GRINDING WHEELS
Grinding wheels should be inspected before each use. Store
the grinding wheels to prevent them from the potential haz-
ards of moisture, containments and other damage.
REPLACING THE GRINDING WHEELS
1. Disconnect the grinder from the power supply.
2. Rotate the eye shield out of the way in order to access the
tool rest.
3. Loosen the tool rest knob and remove the tool rest from
the grinding wheel. (Refer to Tool Rest Assembly on Page 8)
4. Remove the carriage bolt and two screws (Fig. F - 1) found
around the outside of the wheel guard in order to remove the
wheel cover. Repeat for the other side.
5. Using 2 15/16-inch or 24mm wrenches, remove the arbor hex nut (Fig. F - 2) found on the outside edge of the
grinding wheel. Use a snapping motion to loosen the nut.
NOTE: The left side hex nut is loosened by using a clockwise wrench rotation while the right side hex nut is loos-
ened with a counterclockwise rotation. If you are having difficulty with the two-wrench method, you may try holding
one wheel while loosening the nut. Wear gloves if you decide to use this method to avoid scraping your hand or
fingers.
6. Remove the outer wheel flange (Fig. F - 3) and set it to the side. Now you can freely remove the old grinding
wheel.
7. Replace the abrasive wheel with a new grinding wheel rated to safely operate at a higher RPM than the max speed
of the grinder (over 1750 RPM). Make sure both the outer diameter and the arbor size of the replacement wheel
adequately meet the standards of this grinder. Do not remove labels from the grinding wheels.
NOTE: Tightening the grinding wheels should not be done with an impact driver or drill, as over-tightening may
damage the grinding wheel. It should be done by “snapping” the wrench with a quick motion to bring it to full tight-
ness. This can be done by (with gloved hands) holding the grinding wheel on the same side you’re tightening (so if
tightening the left nut, hold the left wheel). If you are having difficulty tightening both nuts, try removing one nut
from the arbor entirely, and tightening the other nut as tight as possible while holding the opposite end of the ex-
posed arbor with a pair of locking pliers or a similar tool. Once it is tight, reattach the other nut and bring to proper
tightness.
8. Once the wheel has been replaced, reattach the outer flange and the arbor hex nut. Do not overtighten any flanges
or nuts, as this can dig into the abrasive wheel, creating a risk of injury. If the nut cannot be tightened any more with
the wrench, it is properly tightened.
9. Replace the wheel cover, the knobs, the tool rest and the eye shield. Make sure all guards, shields and tool rests
are correctly positioned before operation.