88
ASSEMBLY AND ADJUSTMENTS
SELECTING A SANDING SLEEVE
Select a sleeve that is an appropriate size for sanding your workpiece, and install the corresponding throat plate.
THROAT PLATE SELECTION (Fig. 5)
WARNING: Failure to install the correct throat plate for the sleeve size being used can lead to both
personal injury and damage to the spindle sander.
Use the throat plate with the smallest amount of clearance between the plate and the spindle sleeve (Fig. 5). Use
the chart below to help you determine which throat plate and upper spindle washer to use with each spindle sleeve.
Sanding Throat plate Upper spindle
sleeve diameter size washer size
1/2" .5" small
3/4" .75" medium
1" 1" medium
1 1/2" 1.5" large
2" 2" large
3" 3" large
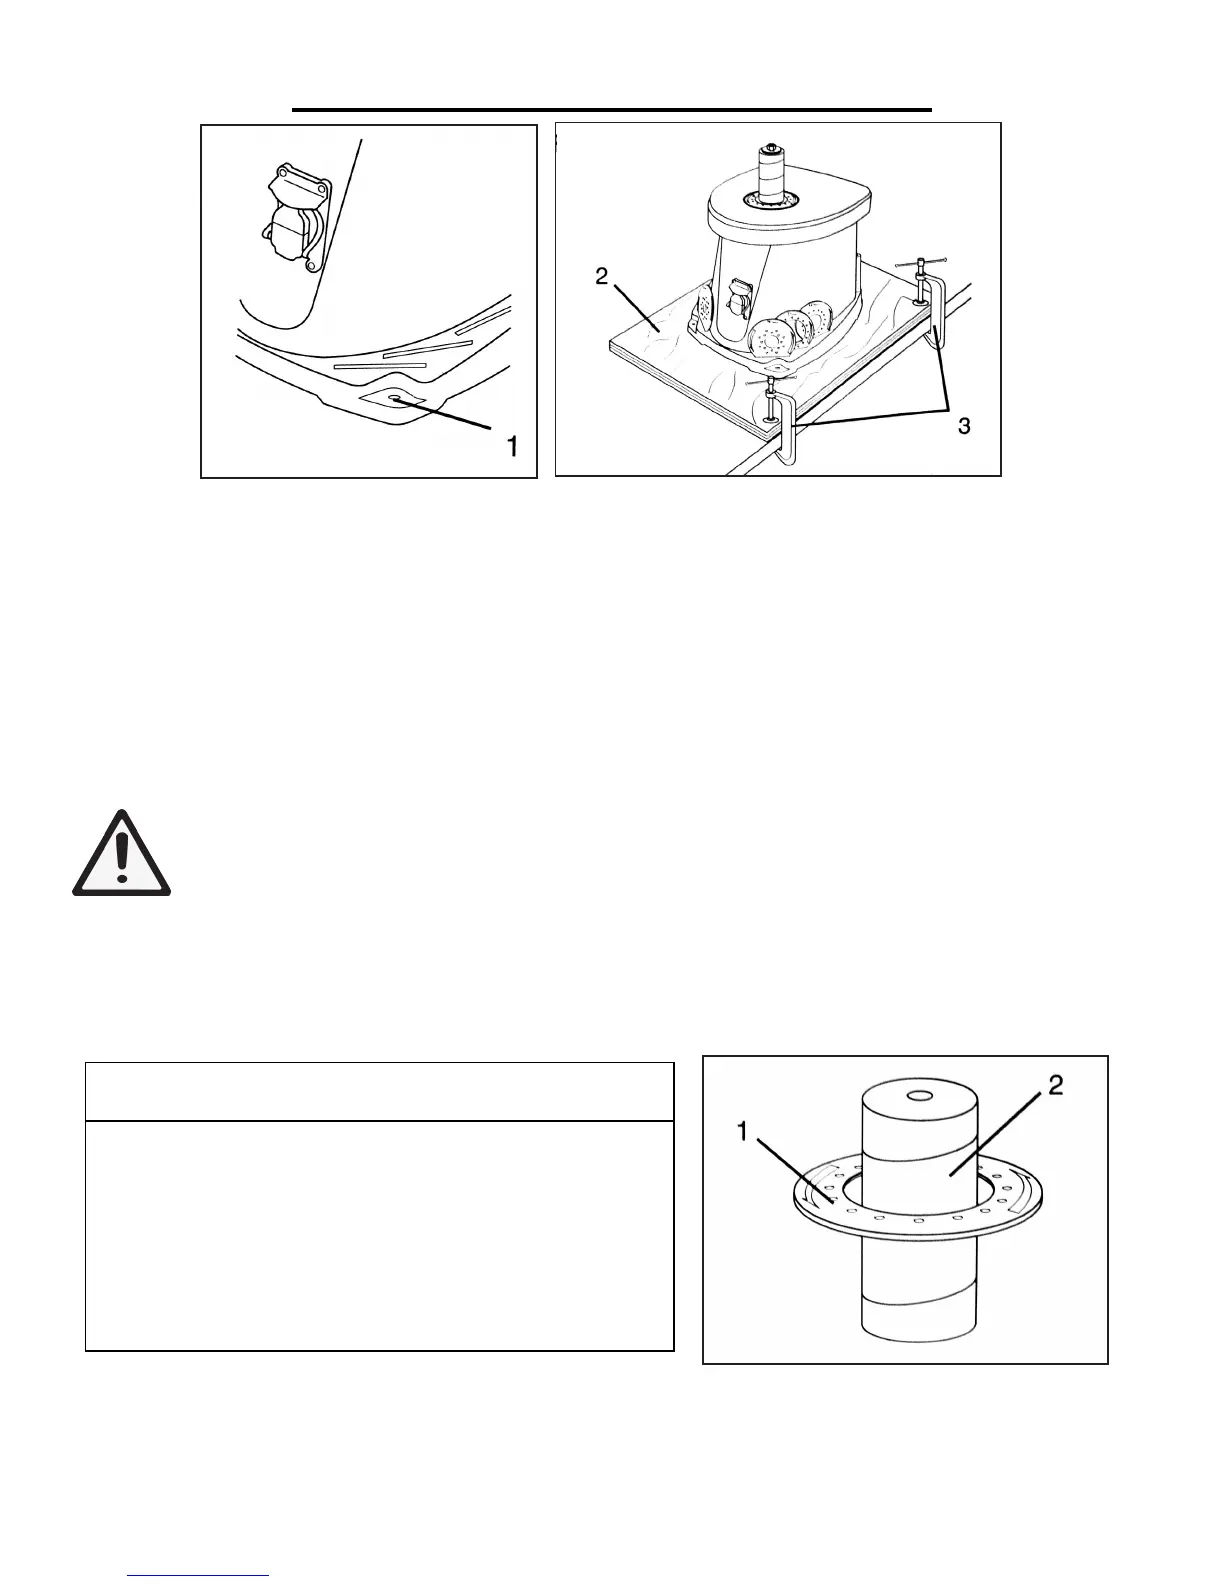
SPINDLE SANDER MOUNTING (Figs. 3 and 4)
To mount the spindle sander permanently, choose a solid benchtop. If the sander is to be used portably, mount
the sander to a mobile mounting board and use clamps to secure it to a solid surface (Fig. 4). When mounting the
sander on either a board or a benchtop, use the corner holes as guides (Fig. 3) and secure the sander using bolts (not
included). Lag bolts should go far enough into the bench in order to secure the sander, while machine bolts must
pass through the benchtop completely.
Fig. 3
Fig. 4
Fig. 5