Direction of Grain
Face
Grain
Side
Grain
End Grain
OPERATION
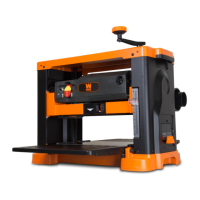
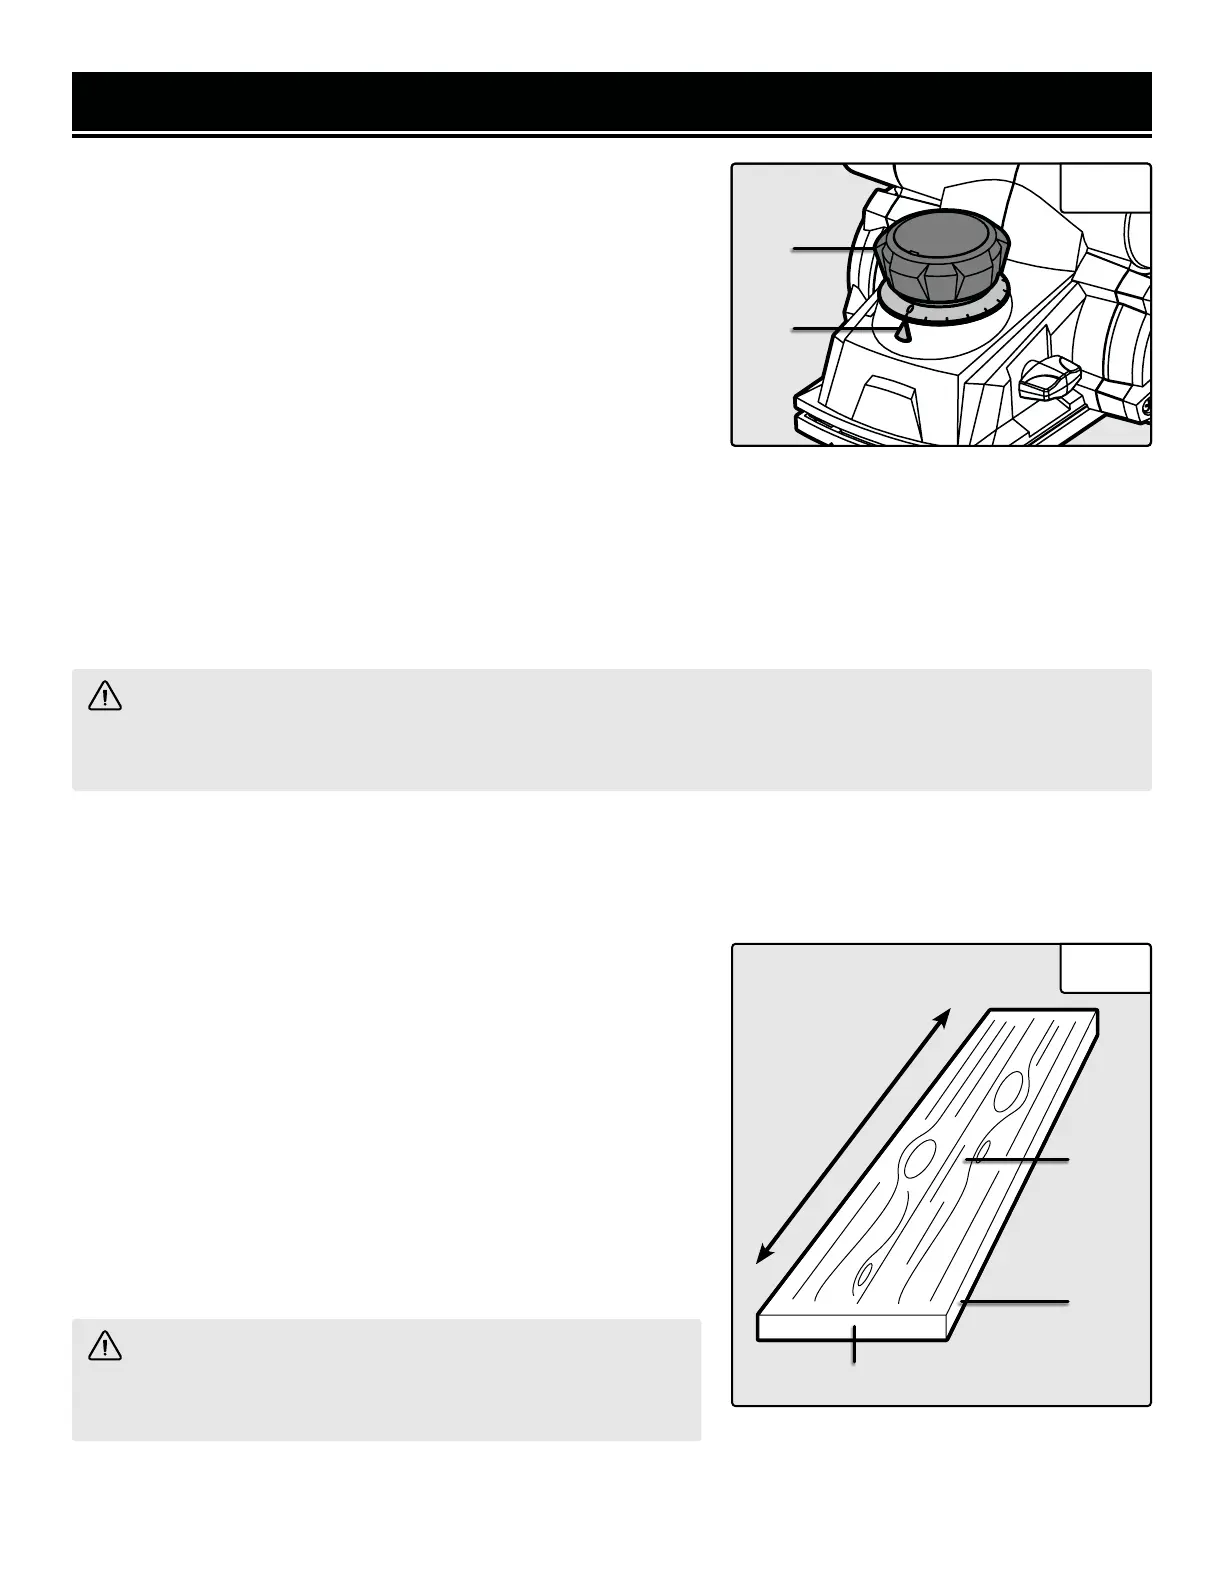
ADJUSTING THE CUTTING DEPTH
The cutting depth of a planer is determined by the height difference
between the adjustable front shoe and the cutting edge of the blade.
The depth adjustment knob retracts the front shoe to adjust how
much blade is exposed, which determines the amount of material
that will be removed. To adjust the cutting depth:
Rotate the depth adjustment knob (Fig. 4 - 1) until the indicator ar-
row (Fig. 4 - 2) aligns with the desired cutting depth on the depth
gauge. Turn the depth adjustment knob clockwise for a deeper cut
and counter-clockwise for a shallower cut.
WARNING! Always ensure that the number on the depth gauge is at the “0” position when the tool is not in
use. However, even at “0”, a slightly protrusive blade could still make contact depending on how the blade was
installed. Engage the safety kickstand to prevent the blade from contacting the workpiece.
NOTE: The minimum cutting increment is 1/128 inch (0.2 mm). The maximum cutting depth of the planer is 1/8
inch. However, the more material you attempt to take off with each pass, the less even the final board will be. The
appropriate cutting depth depends on the material of your workpiece. For optimum planing performance, the maxi-
mum cutting depth should be 1/64 of an inch per pass. Make multiple progressive cuts, removing less than 1/64
inch per pass to achieve the total cutting depth. To accurately determine the depth of cut, plane a similar piece of
scrap material and adjust the settings accordingly.
DETERMINING THE FEED RATE
The proper feed rate will depend on the type of material being cut and the depth of the cut. Moving the planer too
fast may cause a poor quality of cut and can damage the blades or the motor; moving the machine too slowly may
burn or mar the cut. Practice first on a scrap piece of material to gauge the correct feed rate and cutting dimensions.
THE DO’S AND DONT’S OF GRAIN DIRECTION
It is important that the planer should always be cutting in the same
direction as the grain of the wood (Fig. 5). There are six sides to
every board: two face grains, two side/edge grains, and two end
grains. You can plane along the direction of the grain with the face
grain or side/edge grain facing upwards, but never plane with the
end grain side facing upwards. Otherwise, the board has a chance
of splintering and exploding inside of the planer, which could cause
serious injury and damage.
When planing the face and side/edge grain, always plane in the di-
rection of the grain. Do not plane perpendicular to the grain, other-
wise the board also has a chance of splintering and exploding.
WARNING! Never plane against the grain direction of the
wood. Do not plane end grain, as the wood could splinter or
possibly explode.
Fig. 4
Fig. 5
1
2
11

 Loading...