MAINTENANCE
13
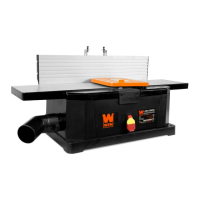
CHECK FOR WORN BLADES
The condition of blades will affect the precision of the cuts. Observe the quality of the cut that the jointer pro-
duces to check the condition of the blades. Dull blades will tear, rather than sever wood fibers and produce fuzzy
appearances. Raised grain will occur when dull blades pound on wood that has varying density. Raised edges will
also be produced where the blades have been nicked. Blades on this jointer are reversible and should always be
reversed or replaced as a matched set. Keeping a spare set of blades on hand is recommended. Replacement
blades can be ordered from wenproducts.com
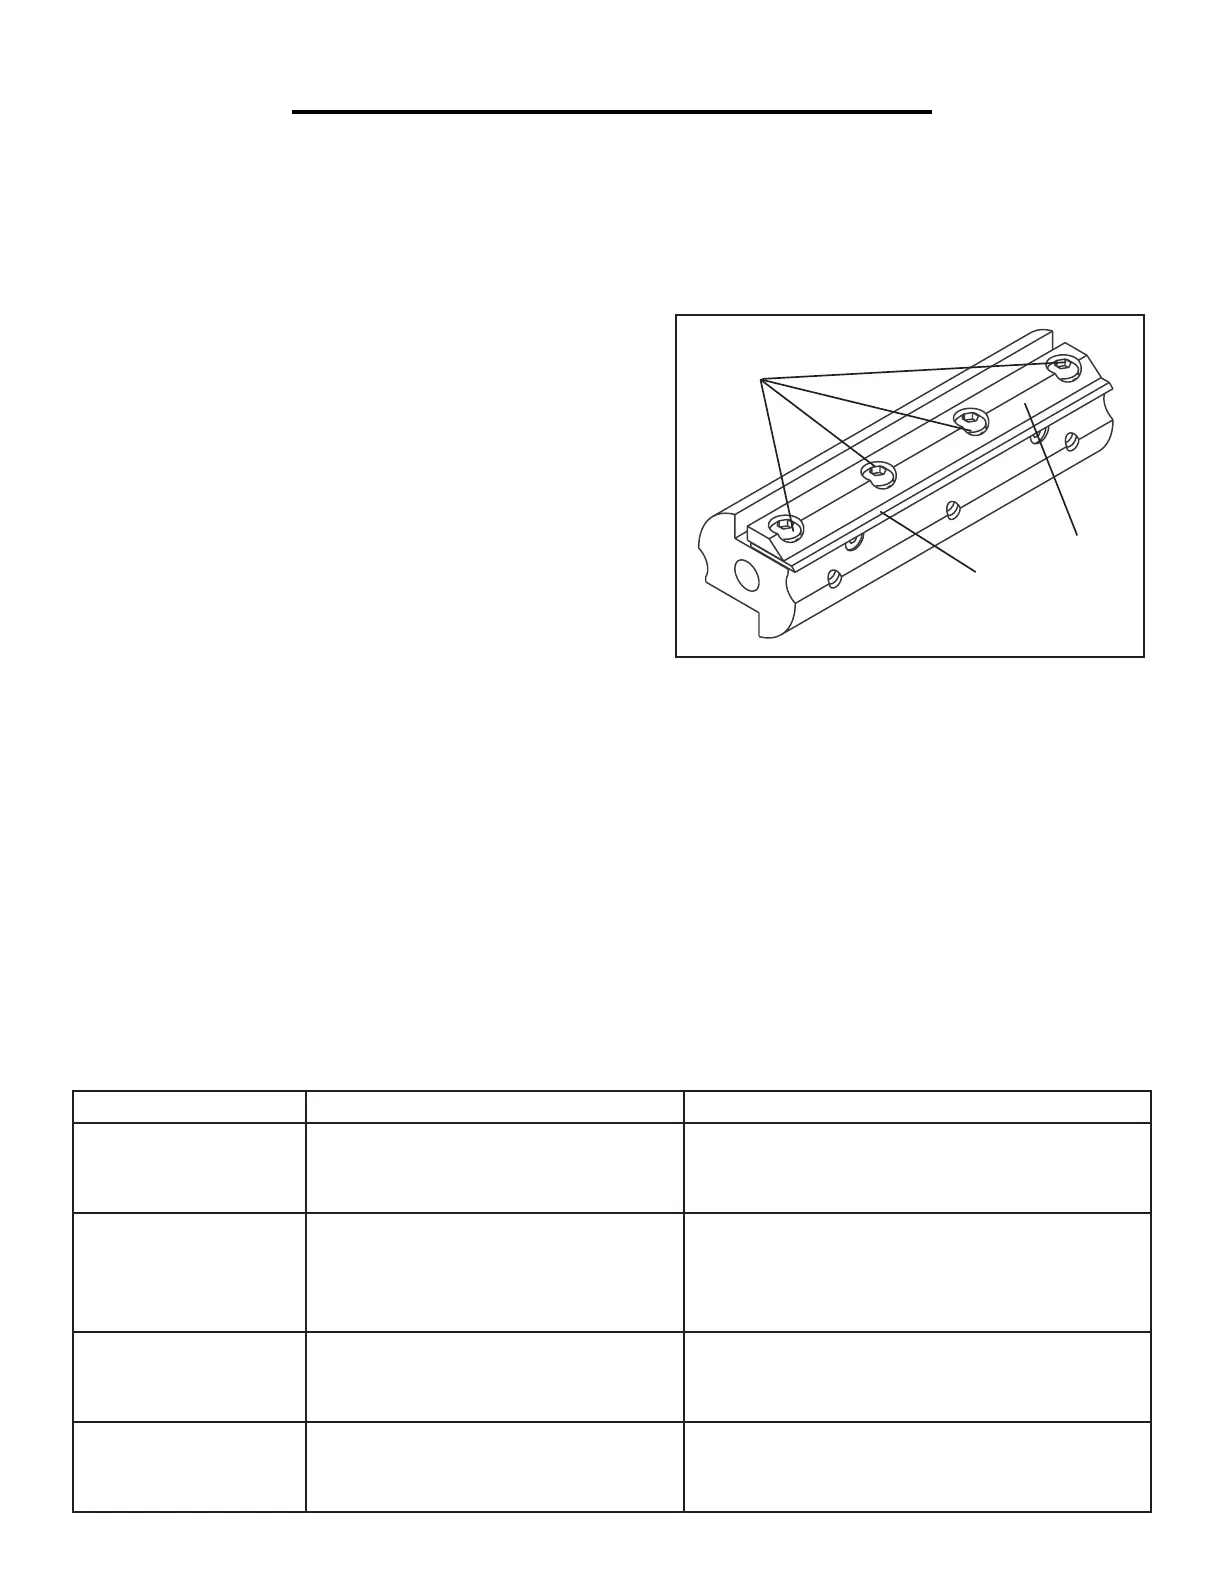
REPLACING BLADES
1. Unplug the jointer from the power source. Block the blade
guard from closing.
2. Loosen and remove the four blade lock screws (Fig. N - 2)
securing the blade (Fig. N - 1) and the blade clamp (Fig. N - 3).
3. Lift the blade and the blade clamp from the cutterhead,
cleaning any sawdust and resin buildup from the cutterhead,
the blade and the blade clamp.
4. Place the new blade against the blade clamp and replace it
S
1fi
借(通)用件登记
爆炸图序号
机
种
旧底图总号
底图总号
签 字
日 期
区
1
Fig. N
2
3
in the cutterhead, securing it in place with the four blade lock screws. Do not tighten the blade lock screws until
you have checked that the blade height is level and properly aligned.
5. Adjust as required, using a straight edge as described in testing the blade height on page 11 of this manual.
Tighten the blade lock screws, check the blade adjustment and make sure the blade is still level with the outfeed
table. Repeat this procedure to replace the other blade. Remove the scrap wood and release the blade guard.
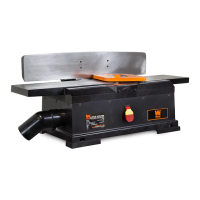
BRUSH INSPECTION AND REPLACEMENT
1. Unplug the jointer from the power source. Brush life depends on the amount of load being taken on by the
motor. Regularly inspect the brushes after 50 hours of use. To inspect or replace the brushes, undo the fours
screws of the bottom cover. The brushes are located on either side of the motor. Loosen the brush cap and re-
move them from the motor. Replace the brushes if the springs or the carbon seem worn (if the carbon is down to
10mm in length or less). Always replace the brushes in sets. Tighten the brush caps and replace the bottom cover
and the four screws.
SYMPTOM POSSIBLE CAUSES CORRECTIVE ACTION
Motor does not start. 1. Defective switch
2. Defective motor
3. Low line voltage
1. Have the switch replaced.
2. Have the motor replaced.
3. Correct low line voltage condition.
Motor starts slowly or
fails to come to full
speed.
1. Defective motor windings
2. Clogged wood chips
1. Have the motor replaced/repaired.
2. Make a shallower cut and attach a dust col-
lection device to the exhaust port. Inspect the
chip blower assembly and the fan belt.
Motor running too hot 1. Motor overloaded
2. Restricted air circulation due to
dust accumulation
1. Reduce the load on the motor.
2. Clean out the dust and restore normal air
circulation.
Snipe (gouging at end
of boards)
1. Dull blades
2. Inadequate support of long boards
3. Uneven feed.
1. Replace or sharpen blades.
2. Support long boards.
3. Feed the workpiece at a consistent rate.
 Loading...