ASSEMBLY & ADJUSTMENTS
CHOOSING SANDING BELTS
Sanding belts come in different grades from rough to smooth. Select the grade required for the particular job. Refer
to the table below for the type and applications of different grades. Also refer to the table to select the suitable op-
erating speed setting for your intended use (for model HB632V only). Model HB6319 is a single-speed model; you
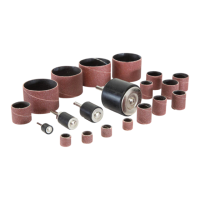
cannot change its speed. Your sander comes with one 80-grit sanding belt. Additional sanding belts of various grits
can be purchased from wenproducts.com.
NOTE: Do not use the same sanding belt for wood and metal. Avoid creasing by storing belts in hanging positions.
Material Grit Rotation Speed
Sanding Softwood 60 - 240
High (5-6)
Sanding Hardwood 60 - 180
High (5-6)
Sanding Chipboard 60 - 150
High (5-6)
Removing Paint/Varnish 60
High (5-6)
Whetting Paints 150 - 320
Low (1-2)
De-Rusting Steel 40 - 120
Med/High (3-4)
Sanding Plastics 120 - 240
Low/Med (2-3)
Nonferrous Metals (ie. Aluminum) 80 - 150
Med/High (3-4)
Table 1 - Choosing the correct grit and speed for operation for HB632V.
CHOOSING SANDING BELTS
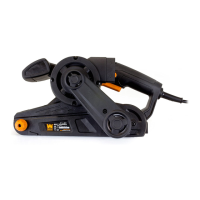
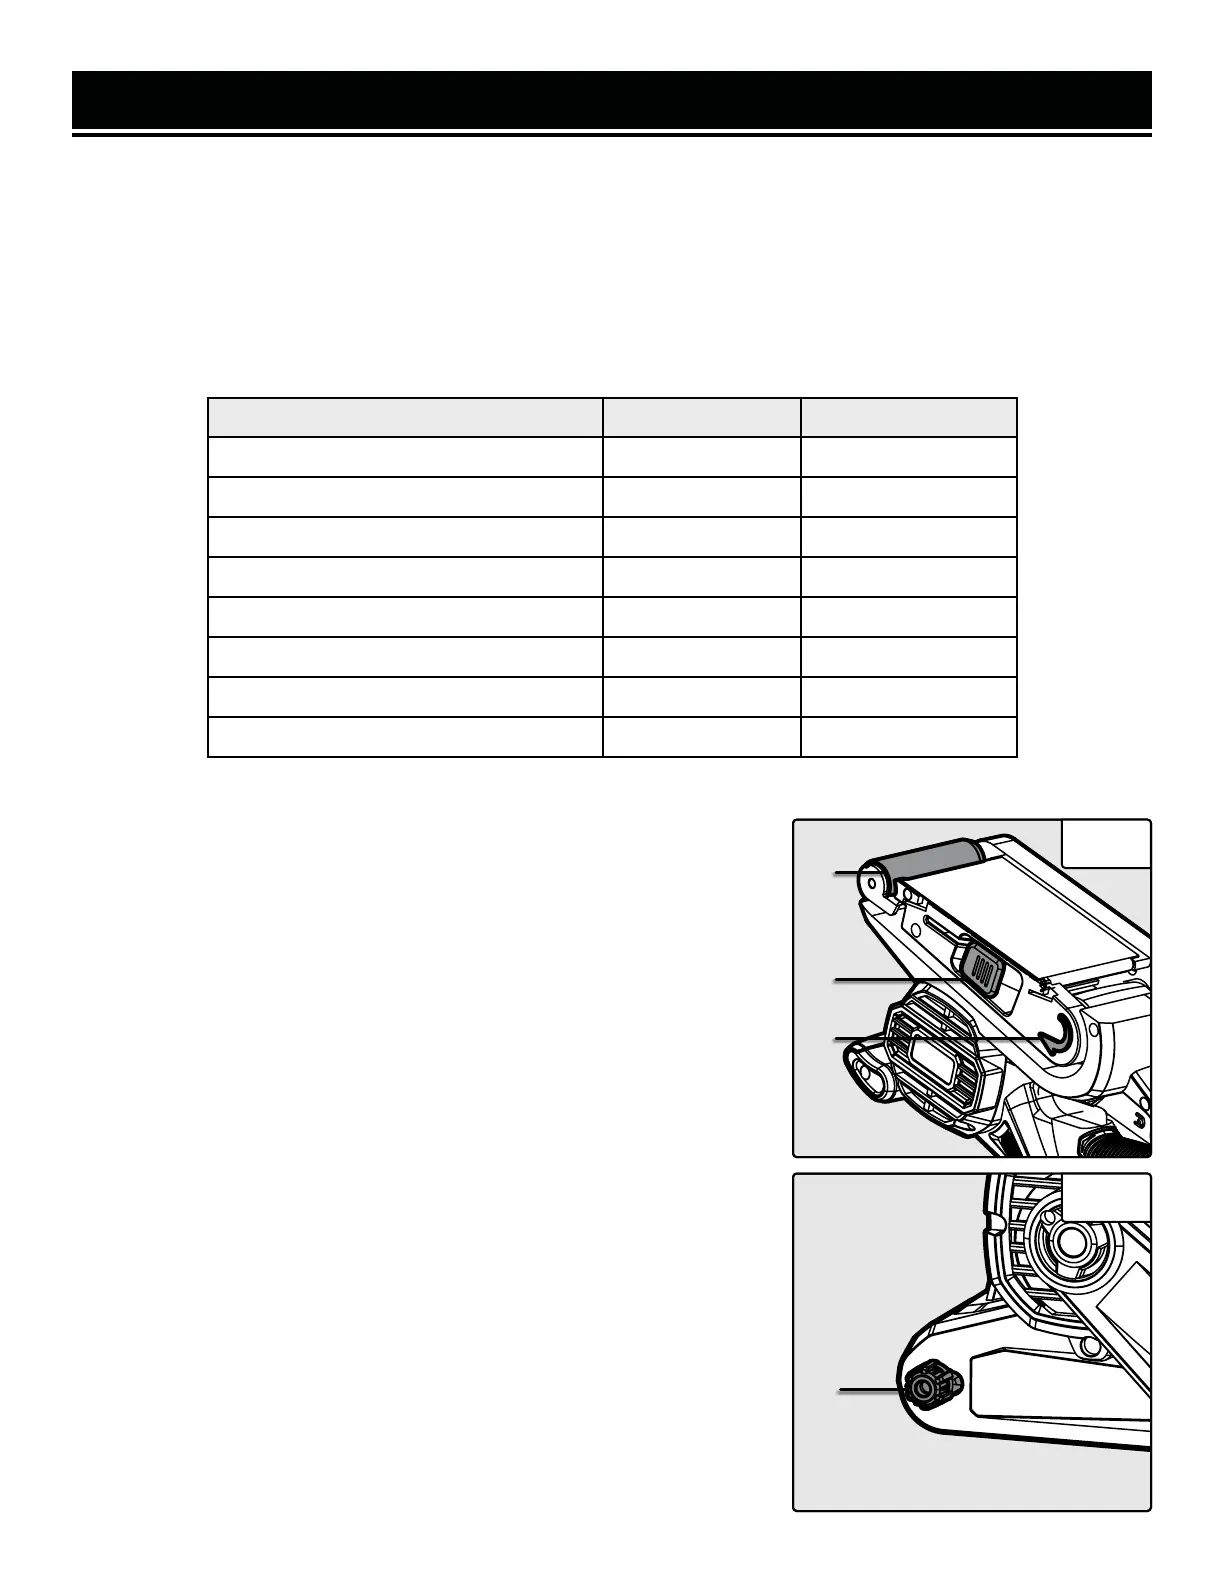
1. Unplug the sander, turn it upside down, and set it on a stable surface.
2. Pull out the belt tension lever (Fig. 1 - 1) to retract the front roller (Fig.
1 - 2) and loosen the belt’s tension.
3. Slide the sanding belt off.
4. Mount a new sanding belt on the rollers. Make sure that the arrow on
the inside of the belt is pointing the same direction as indicated on the tool
(Fig. 1 - 3). Check to make sure that the sanding belt does not touch the
sides of the casing before turning on the machine.
5. Carefully push the tension lever (Fig. 1 - 1) back to the original position,
making sure that it has fully closed.
6. Check that the new belt runs on the center of the rollers. Do this by
starting the belt sander to watch how the sanding belt runs. If it shifts
along the rollers towards the left or the right, it will require adjustments.
7. To adjust the sanding belt, use the tracking adjustment knob (Fig. 2 - 1),
turning it either clockwise or counterclockwise to adjust the angle of the
front roller. Run the sander for a short period of time and adjust the track
ing until the sanding belt is running in the center of the roller.
Fig. 1
Fig. 2
11
1
2
3
1
 Loading...