K
Kelsey SandovalJul 26, 2025
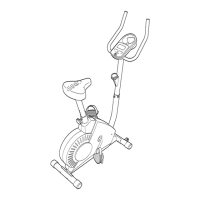
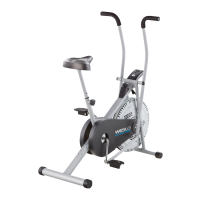
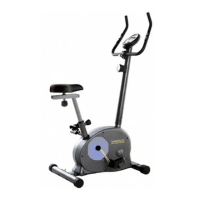
What to do if Weslo Pro 11.2x Bike pedals slip?
- MMatthew BakerJul 26, 2025
If you feel the pedals slip while pedaling your Weslo Exercise Bike, even at the highest resistance, the drive belt may need adjustment. To adjust it, you must remove the right pedal, the shield cover, and the right shield.