S.22
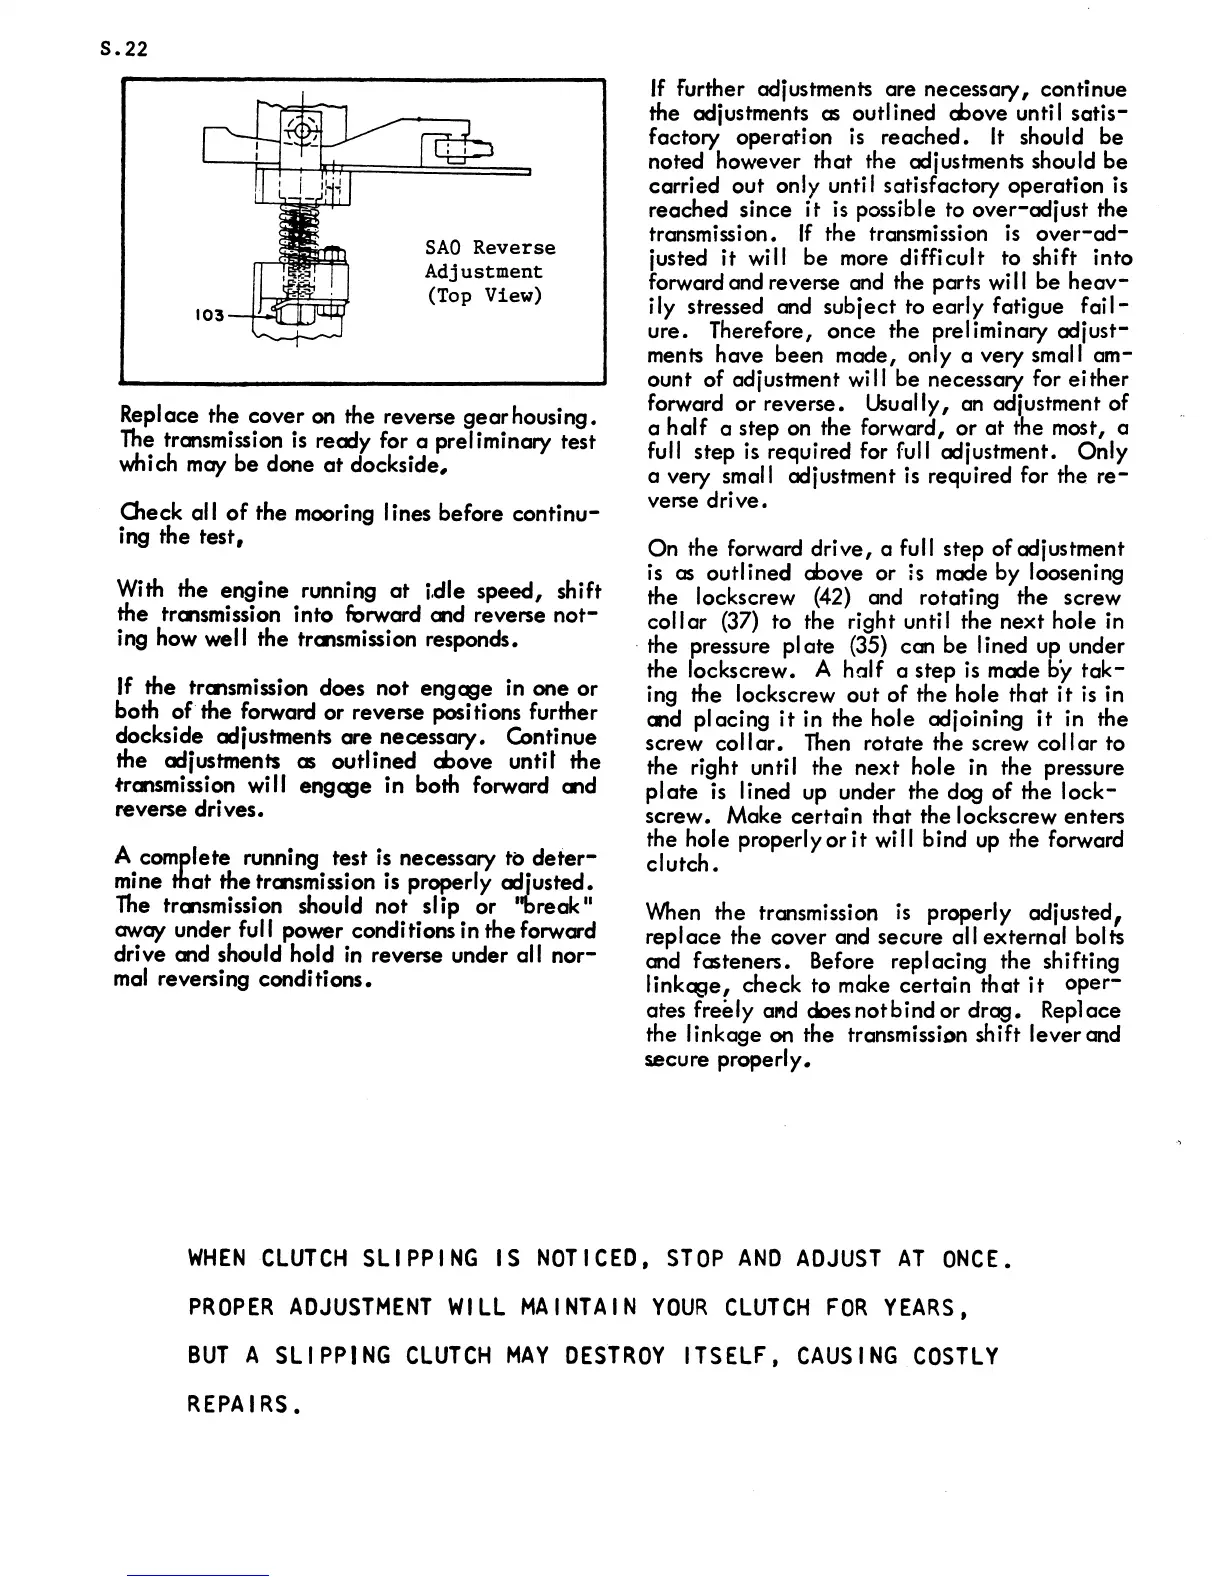
103
SAO
Reverse
Adjustment
(Top
View)
Replace the cover
on
the reverse
gear
housing.
The
transmission
is
reedy for a prel iminary test
which
may
be
done
at
dockside,
o,eck
all
of
the mooring I ines before continu-
ing the test,
With the engine running
at
i,dle speed, shift
the transmission into
forward and reverse
not-
ing how well the transmission responds.
If the transmission does not engage in one or
both
of
the forward or reverse positions further
dockside ediustments are necessary. Continue
the ediustments
as
outlined above untif the
transmission will engage in both forward and
reverse drives.
A complete running test
is
necessary to
deter-
mine that the transmission is properly edjusted.
The
transmission should not slip or ''break
II
away
under full power conditions in the forward
drive and should hold
in
reverse under all
nor-
mal
reversing conditions.
If
further adjustments are necessary, continue
the adjustments
as
outlined
a,ove
until
satis-
factory operation
is
reached.
It
should be
noted however that the edjustments should be
carried out only unti
I satisfactory operation
is
reached since
it
is
possible to over-adjust the
transmission.
If
the transmission
is
over-ad-
justed
it
will be more difficult to shift into
forward and reverse and the parts
wi
II
be
heav-
ily stressed and subject to early
~atigue
!ail-
ure. Therefore, once the prellmmary ad,ust-
ments have been made, only a very small am-
ount of adjustment will be necessary for either
forward or reverse.
Usually,
an
adiustment of
a half a step on the forward, or
at
the most, a
full step
is
required for full edjustment. Only
a very small edjustment
is
required for the
re-
verse drive.
On the forward drive, a full step of adjustment
is
as
outlined
a,ove
or
is
made by loosening
the lockscrew
(42)
and rotating the screw
collar
(37)
to the right until the next hole in
. the pressure plate
(35)
can be lined
up
under
the lockscrew. A
half a step
is
mede by
tak-
ing the lockscrew out of the hole that
it
is
in
and
pi
acing
it
in the hole adjoining
it
in the
screw
coil ar.
Then
rotate the screw coil ar to
the right until the next hole in the pressure
plate
is
lined up under the dog of the
lock-
screw. Make certain that the lockscrew enters
the hole
properlyorit
will bind
up
the forward
clutch.
When the transmission
is
properly adjusted,
replace the cover and secure
all external bolts
and fasteners. Before replacing the shifting
linkage, check to make certain that
it
oper-
ates freely
aJIId
doesnotbindor
drag. Replace
the linkage on the transmissiDn shift leverand
secure properly.
WHEN
CLUTCH
SLIPPING
IS
NOTICED.
STOP
AND
ADJUST
AT
ONCE.
PROPER
ADJUSTMENT
WILL
MAINTAIN
YOUR
CLUTCH
FOR
YEARS.
BUT
A
SLI
PPI
NG
CLUTCH
MAY
DESTROY
ITSELF.
CAUS
I
NG
COSTLY
REPAIRS.
 Loading...

