10
MOUNTING THE ENCLOSURE
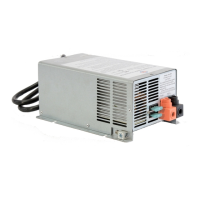
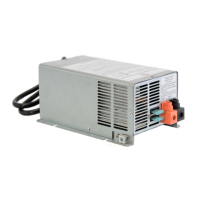
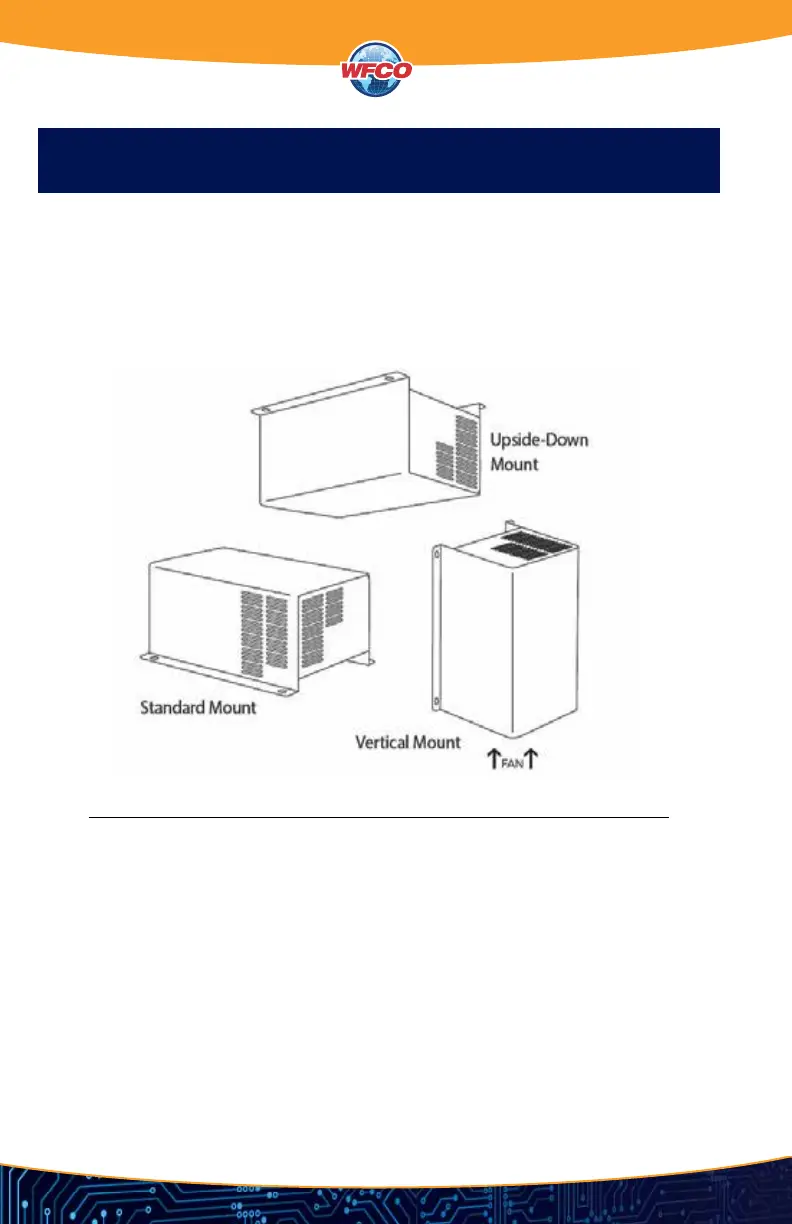
The WF-9800-AD Series Converter-Charger enclosure should be mounted in an accessible area
such as a wall or in the side of a cabinet. Select a mounting location near the shore power and
battery (batteries), in an area where the owner is unlikely to store items as this could reduce clear
-
ance requirements, obstruct ventilation openings and affect the performance of the
converter (Figure 6).
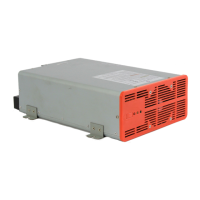
The location should be selected to prevent excessive heat, water, moisture, dust and dirt entering
the unit installed. As a rule, allow two cubic feet of clear airspace and or any additional venting as
necessary to prevent the unit from overheating. The front of the enclosure should not be ob
-
structed to allow free air ow for the cooling fan (Figure 6).
An 8AWG copper conductor shall be used to bond the WF-9800-AD Series Converter-Charger to
the vehicle frame.
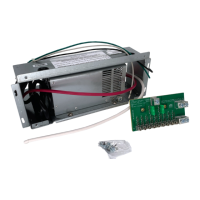
DC CONNECTIONS
Connect a Red 8 A
WG wire to the POS+ lug on the distribution center’s fuse board. Make sure
this lug is torqued properly. In a similar fashion, connect a Black 8 AWG wire to the NEG- lug on
the distribution center’s fuse board.
A battery IS NOT required for converter operation. The battery works in conjunction with the
converter to supply DC power to the RV. A battery is typically only necessary if you do a lot of dry
camping or have slide-outs and/or a leveling system.
Figure 6
INSTALLATION INSTRUCTIONS
Installing the WF-9800-AD Series Converter-Charger
 Loading...