
T
Todd AcevedoJul 30, 2025
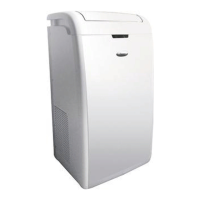
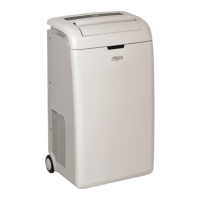
Why does my Whirlpool AMD034 Air Conditioner not operate immediately?
- BBradley MillerJul 30, 2025
A 3-minute delay will occur when changing modes during operation of your Whirlpool Air Conditioner. This is normal.
Why does my Whirlpool AMD034 Air Conditioner not operate immediately?
A 3-minute delay will occur when changing modes during operation of your Whirlpool Air Conditioner. This is normal.
Configures the auto-restart feature for the air conditioner, signaled by a buzz sound.
Explains the default RC preset to Heat pump and its behavior for cooling-only units.
Details the 100% recyclability of packaging and disposal regulations.
Explains WEEE directive compliance and proper disposal of the appliance as electronic waste.
Provides a key for understanding various symbols displayed on the remote control screen.
Guides users on correctly inserting batteries into the remote control, noting battery type and replacement timing.
Provides instructions for safely removing batteries from the remote control, with a warning for children.
Advises on the proper disposal of used batteries as municipal waste.
Details how to cycle through operation modes like COOLING, DRY, FAN ONLY, and HEATING.
Explains how to adjust fan speed settings (Auto, High, Medium, Low) within different operation modes.
Describes how to adjust the target temperature using the raise and lower buttons.
Explains how to power on the unit and what the RUNNING indicator signifies.
Instructions on using the remote control's SWING button to adjust vertical louvers for airflow direction.
How the vertical adjustment louvers swing automatically when the SWING button is pressed.
How to stop the automatic swing of vertical louvers at a desired angle.
Manual adjustment of horizontal louvers using control rods to change airflow direction.
Explains the automatic setting of temperature and fan speed based on room temperature.
Details user actions for adjusting airflow volume and direction within 6th Sense mode.
Step-by-step guide to setting a timer for the appliance to switch on at a specific time.
Instructions for canceling an active TIMER ON setting, confirmed by a beep.
Instructions for cleaning the indoor unit, including removing the front panel and wiping it.
Guidance on cleaning the air filter, including frequency and procedure for removal and cleaning.
Lists conditions where the protective device may trip, stopping the appliance.
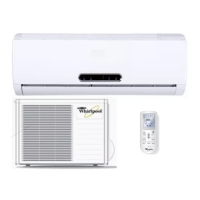
Advises on installing the unit to minimize noise and vibration issues.
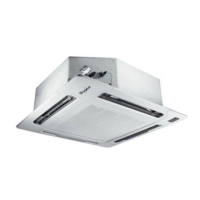
Criteria for selecting the best placement for the indoor unit, considering airflow and accessibility.
Criteria for selecting the best placement for the outdoor unit, focusing on ventilation and avoiding hazards.
Steps for securely installing the mounting plate for the indoor unit on the wall.
Instructions for drilling a wall hole for piping, including inclination and sleeve installation.
Details on fitting pipes and cables through the wall hole and connecting them to the unit.
Instructions for connecting the power cables to both the indoor and outdoor units.
Wiring diagram for power supply connections specific to 7K, 9K, and 12K indoor units.
Wiring diagram detailing power supply connections for the 18K model indoor unit.
Wiring diagram illustrating power supply connections for the 24K model outdoor unit.
Information on connecting the optional defrost cable for heat-pump models.
Instructions for installing a drain port and hose on the outdoor unit for condensate drainage in heating mode.
Steps for securely fixing the outdoor unit to a flat surface, considering wall/roof installation.
Guidance on connecting pipes to the 2-way and 3-way valves on the outdoor unit.
Reference to previous pages for connecting the outdoor unit's power cables.
Procedure for removing air and moisture from the refrigerant cycle using a vacuum pump.
| Brand | Whirlpool |
|---|---|
| Model | AMD034 |
| Category | Air Conditioner |
| Language | English |