8
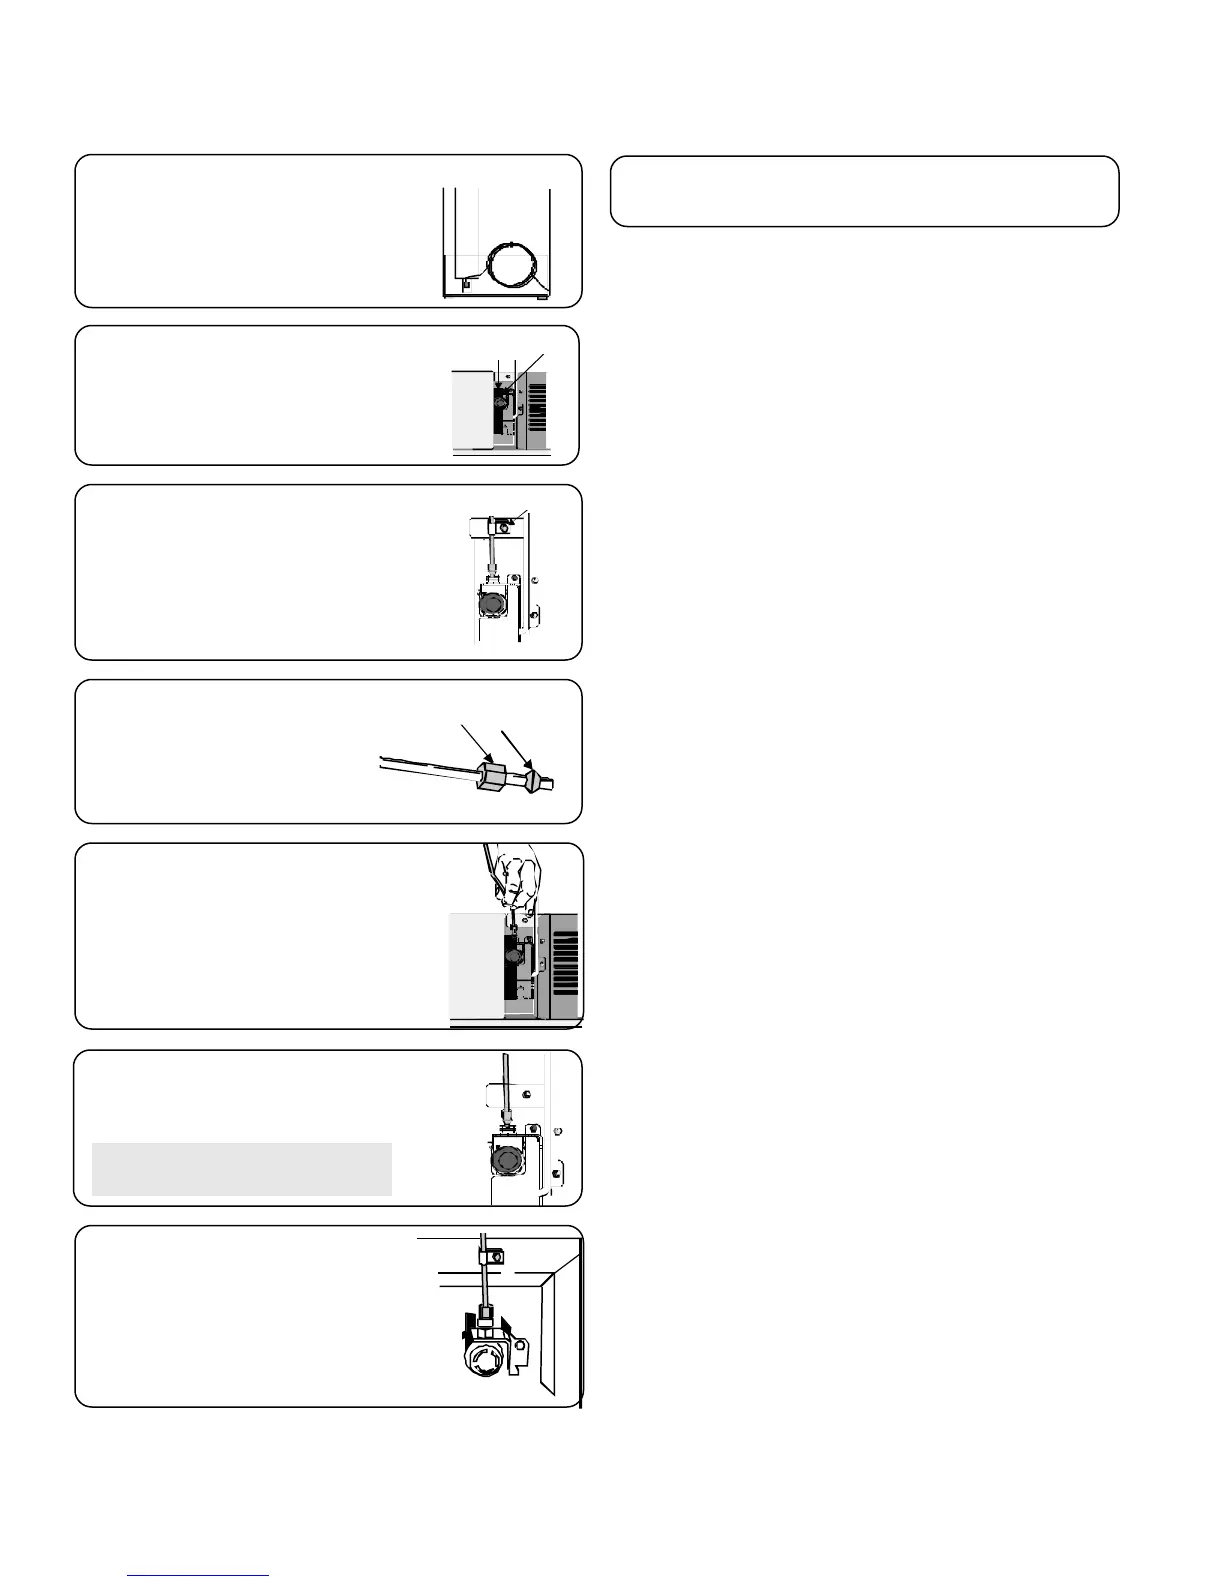
How to Connect the Water Supply
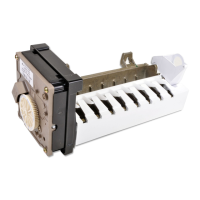
Remove plastic cap (A) from
water valve inlet port (B).
2
Place brass nut (D)
and
sleeve (E) on copper
tube end as
illustrated.
3
Place end of copper tubing into
water valve inlet port. Shape
tubing slightly–DO NOT
KINK–so that tubing
feeds straight into inlet port.
5
Create service loop with
8’ of tubing. Avoid kinking
of tubing.
1
Locate water tubing clamp (C)
in kit and install on back of
refrigerator with existing ¼"
hex head cover screw .
4
6
Slide brass nut over sleeve and
screw nut into inlet port.
Tighten nut with wrench.
7
Pull on tubing to confirm
connection is secure.
Connect tubing to frame with
water tubing clamp and turn
on water supply. Check for
leaks and correct, if present.
8
Monitor water connection for 24 hours.
Correct leaks, if necessary.
IMPORTANT: DO NOT overtighten.
Cross threading may occur.
D
E
A
B
C
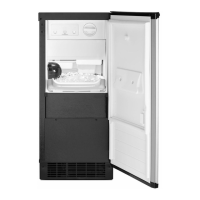
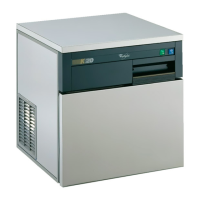
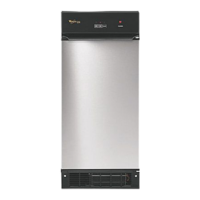
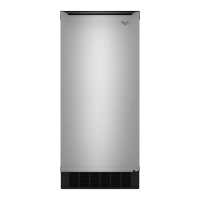
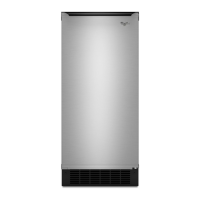
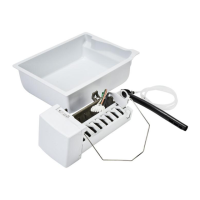
Installing Your Ice Maker