M
Manuel PerezJul 30, 2025
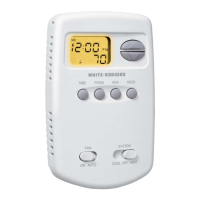
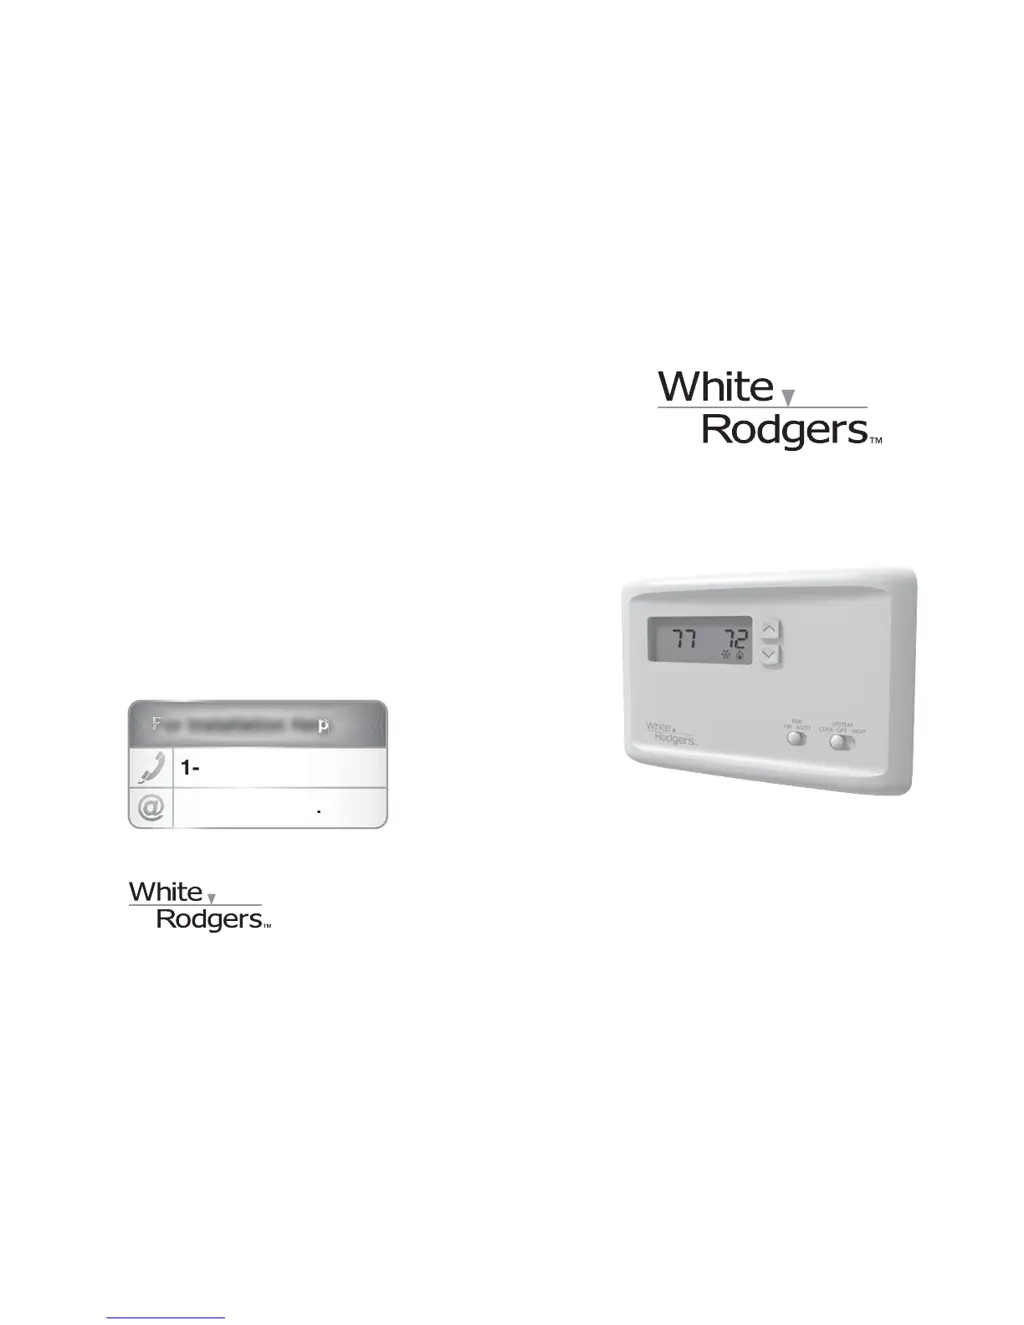
Why is the snowflake icon blinking on my White Rodgers NP100 Thermostat?
- AAlec PotterJul 30, 2025
The snowflake icon on your White Rodgers Thermostat might be blinking because the 5-minute lockout is enabled to protect the compressor. No action is needed; it should stop blinking after 5 minutes.