Do you have a question about the Wildgame L10b5 and is the answer not in the manual?
Accessory for data transfer and charging.
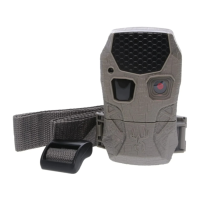
Two cords for securing the camera to trees or posts.
Printed guide for camera operation and features.
Optional software for viewing camera files on a computer.
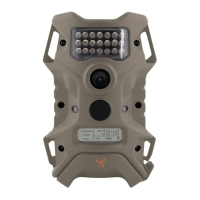
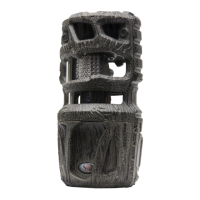
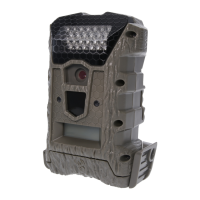
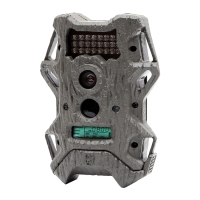
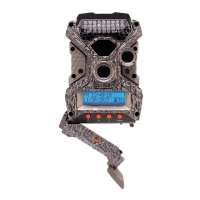
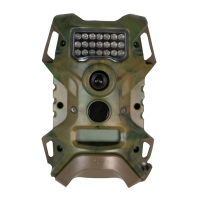
The primary device for capturing images and videos.
Max 10 MP resolution, 60 High Intensity Invisible IR LED's.
Passive Infrared Sensor (PIR) with up to 60 feet detection range.
JPEG/AVI format, supports SD cards up to 32GB (Class 4+ recommended).
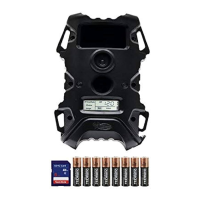
Uses 12 AA batteries; estimated 1 year battery life.
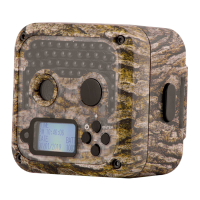
Weather-resistant housing with rubber gaskets and bungee cords.
Turn the compartment cover to the left to open.
Insert 6 AA batteries in each chamber, positive ends towards you.
Close the battery compartment cover and camera door securely.
Load SD card into slot with connectors facing down.
Press and release the power button to turn the unit ON.
Verify the battery icon shows adequate charge.
Camera enters Ready Mode; PIR LED signals events.
Camera enters power save mode after 30 seconds of inactivity.
Navigate menu to adjust camera's date and time settings.
Assign a location name for reference purposes.
Set image type, resolution, and exposure for still photos.
Select video resolution and desired video length.
Choose between PIR, Flextime, or Both capture modes.
Set PIR sensor sensitivity to High, Medium, or Low.
Set PIR sensor to activate 24 HR, DAY, or NIGHT.
Camera inactive before/after specific Flextime periods.
Camera active in PIR mode before/after Flextime periods.
Captures triggered by both PIR sensor and Flextime intervals.
Choose Flextime mode: P1, P2, or Interval.
Define the time interval between captured images in PIR mode.
Navigate, zoom, and delete still photos from SD card.
Navigate, play, pause, and delete video clips from SD card.
Provides live lens view for camera positioning.
Procedure to shut down the camera unit safely.
Displays location, time, date, and moon phase on captured images.
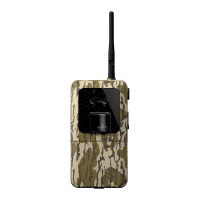
Connect a 6-volt battery accessory for extended power.
Use included bungee cords to securely attach the camera to a tree.
Disconnect USB from camera and PC to power off.
Instructions assume Microsoft OS; variations may occur.
Distance, sun direction, lens cleaning advice.
Check mounting, door seal, and battery for corrosion.
Connect camera via USB to transfer images directly.
Computer may automatically launch transfer window.
Locate images in MEDIA and Flextime files in FLEX folders.
Use right-click delete; confirm action as it's irreversible.
Remove SD card from camera and insert into card reader.
Computer recognizes card reader as a storage device.
Navigate MEDIA and FLEX folders for images and Flextime files.
Details product use responsibility and warranty coverage.
Register product online or mail proof of purchase within 14 days.
Obtain RMA number for service; pack carefully for return.
Contact representatives for assistance with parts or operation.
Device operates under FCC Part 15 rules, avoiding harmful interference.
Steps to correct radio or TV reception interference.
Complies with Industry Canada license-exempt RSS standards.
| Resolution | 10MP |
|---|---|
| Video Resolution | 720p |
| Battery Type | 8 AA batteries |
| Flash Type | Infrared |
| Storage | Up to 32GB SD card |