Select “ON”, press “OK”, to set the beginning time and end time
(hour/minute); camera will only work during the time period user set.
i.e.: 15:00 – 18:00; camera only works during 15:00 – 18:00
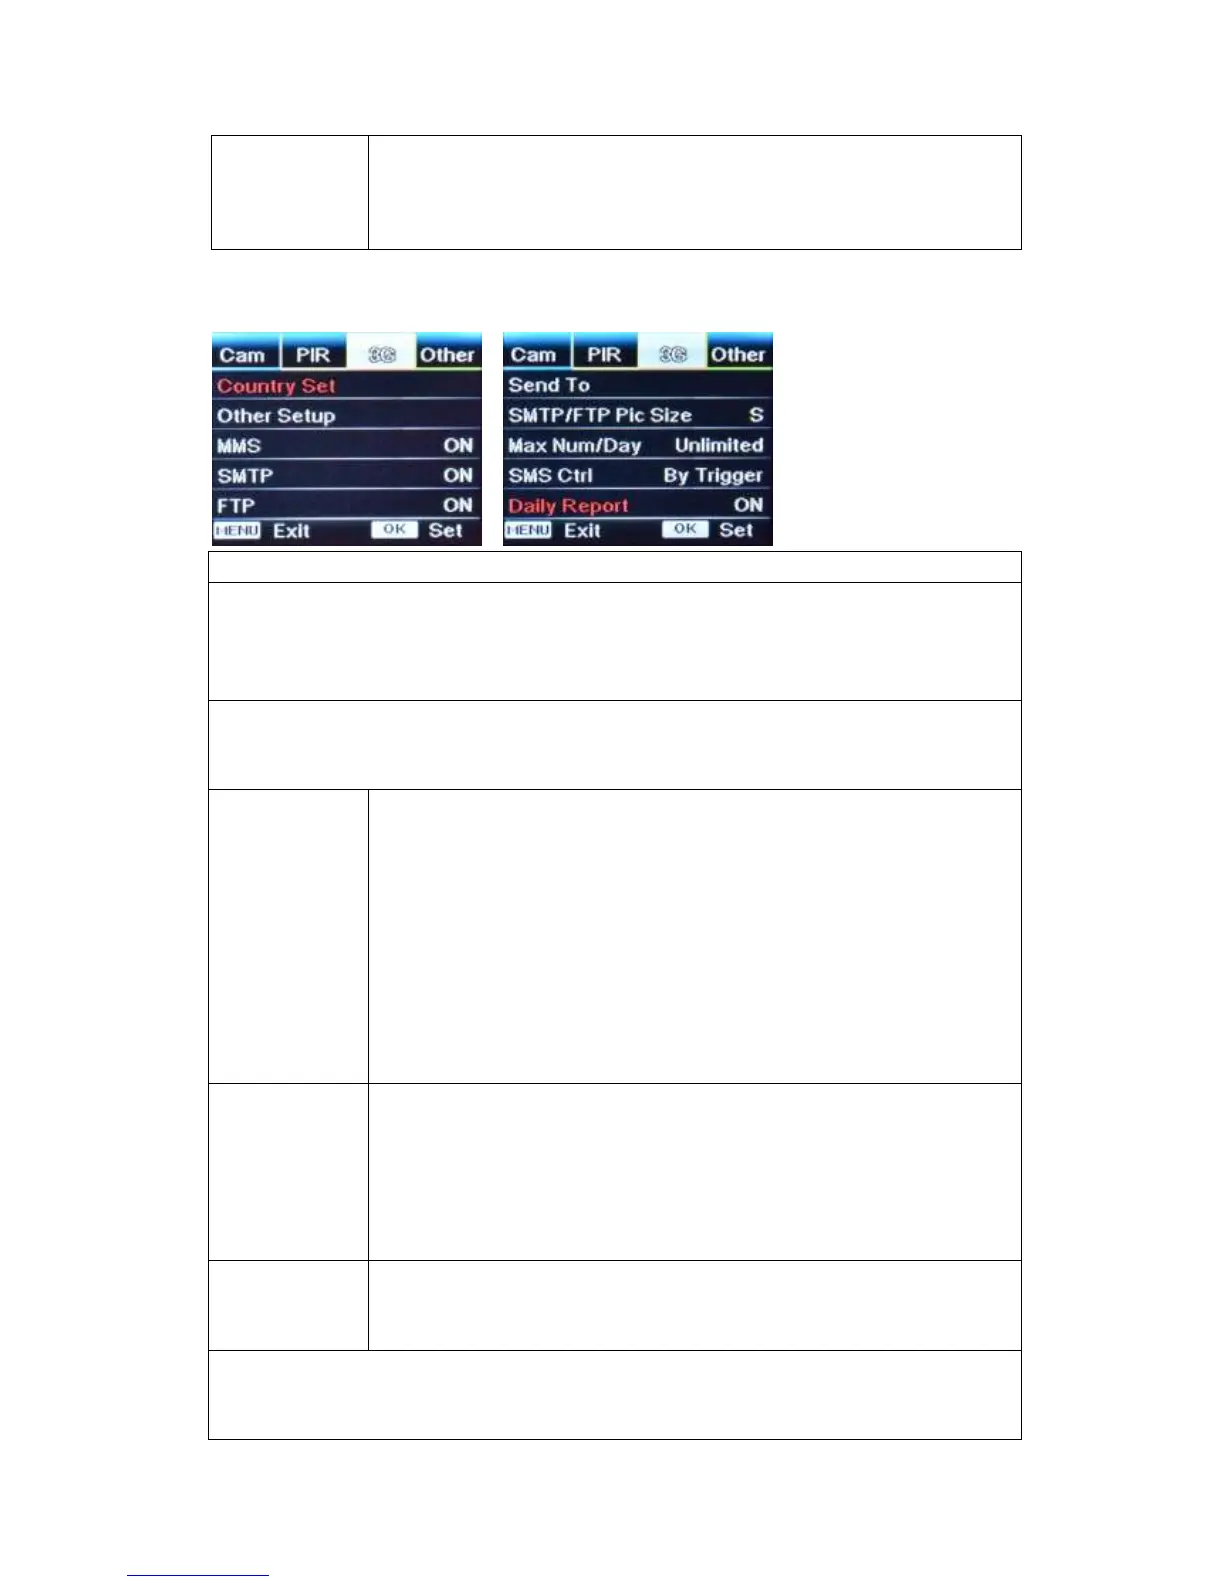
Country Set
1) Camera will automatically enter MMS & 3G setups when the SIM card is inserted;
2) If "SIM Automatch failed, pls enter setups manually" pops up on screen, pls switch “SIM
Auto Match” to “Manual” mode, then enter MMS & 3G setups in “Manual Setup”;
Manual Setup
(Pls enter setups below manually in “Manual” mode if your local operator can’t be
automatically matched by camera itself.)
If you can’t find your local operator from “Country Set” list, pls contact your
operator for URL/ APN/ IP/ Port (Username & Password if required); and
enter these info manually.
(We’ll add the needed operator info into “Country Set” list whenever we’re
informed with the detail effective information.)
Note: 1. With MMS setups added, camera can send photos to preset
phones/ email. If MMS is with wrong information entered, then phones/
email accounts will not be able to receive photos from camera.
2. Email box receive photos from camera via SMTP only when SMTP is
ON.
Enter your local operator’s 3G APN, and corresponding Username and
Password.
Note: Only with 3G setups added, can SMTP and FTP functions work.
Note: it’s not a must to enter Username and Password of APN. But some
operators may require this password access to enable GPRS function. For
details, plz contact your local operator.
ON/OFF
You can simply choose to allow pics to be sent to your phone number via
MMS by switch ON/ OFF MMS function here.
SMTP Setup
Camera comes with default SMTP setups; you only need to enter receiving email
accounts in “Send to”
 Loading...