Do you have a question about the Wilo STRATOS GIGA and is the answer not in the manual?
Provides info on document's purpose, adherence to standards, and scope.
Explains symbols and signal words used for safety warnings and notes.
Details qualifications required for personnel performing pump installation and maintenance.
Outlines consequences of not following safety instructions, including injury and damage.
Emphasizes compliance with safety instructions and regulations for safe operation.
Lists specific safety measures for operators to prevent hazards and injuries.
Provides safety guidelines for inspection and installation work on the pump.
Warns against modifications and unauthorized parts, voiding safety declarations.
States that operational safety is only guaranteed if used per instructions and within limits.
Describes pump packaging and delivery, advising checks for transport damage.
Provides instructions and warnings for safely transporting the pump unit for installation or dismantling.
Lists applications for Stratos GIGA pumps, such as heating and cooling systems.
Specifies limitations, prohibiting outdoor installation and warning about pacemakers.
Explains the components and meaning of the pump's type key for identification.
Provides detailed technical specifications for the pump, including operating ranges and approvals.
Lists the standard items included in the pump's delivery package.
Lists optional accessories available for purchase, such as IF-Modules and mounting brackets.
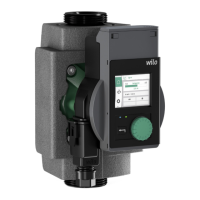
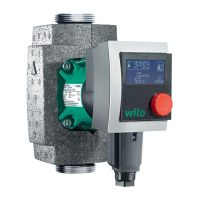
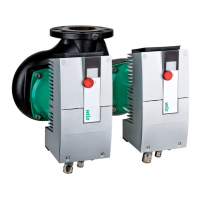
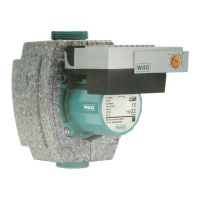
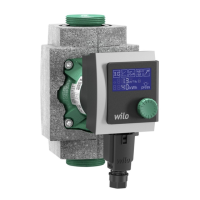
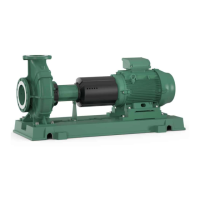
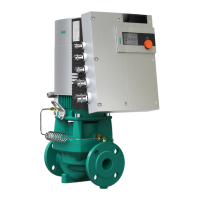
Describes the Wilo-Stratos GIGA pumps, their technology, and construction.
Highlights the danger of fatal injury from incorrect installation and electrical connection.
Shows allowed orientations for horizontal motor shaft installation, emphasizing bleed valve position.
Shows allowed orientations for vertical motor shaft installation, noting restrictions on motor facing down.
Guides on rotating motor impeller unit and positioning sensor holder for installation.
Details preparation steps before installation, like completing welding and ensuring environment.
Explains positioning requirements and the need for lifting equipment and clearance.
Emphasizes the risk of fatal shock from incorrect electrical connections and qualified personnel requirement.
Introduces the operating elements: red button and DIP switches for pump control.
Shows the layout of the pump's display, including menu numbers, values, and symbols.
Explains various symbols used on the pump display to indicate status and operations.
Illustrates symbols used in graphics and instructions for menu elements and actions.
Describes different display modes, including display test and error pages.
Explains the 2-second display test performed upon power-up.
Describes the default status page showing setpoint and symbols for operating modes.
Explains how to navigate the menu structure using "One level down/up" and "Information" elements.
Details how error codes are displayed on the error page, indicating fault conditions.
Outlines different menu groups: Basic, Info, Service, and Error acknowledgment.
Guides on how to adjust the pump's setpoint using the red button and turning the knob.
Explains how to enter menu mode from the status page by pressing the red button.
Details how to navigate through menu levels and select menu elements using the red button.
Explains the process for changing setpoints or settings, including navigating and confirming.
Describes how to view information in "Information" menu elements without making changes.
Explains how to activate/deactivate service mode using DIP switch 1 for advanced settings.
Details how to disable/enable changes to pump settings using DIP switch 2.
Explains how to activate/deactivate cable termination for double pump communication.
Provides a table referencing menu elements, their numbers, types, and functions.
Warns about electrical shock and rotating parts during commissioning, requiring safety devices.
Guides on filling and bleeding the pump and system to prevent dry running and damage.
Details the initial setup for Y-pump installations, including master/slave configuration.
Explains how to set the pump output (delivery head) according to the system's duty point.
Guides on setting control modes (Ap-c, Ap-v, Manual, PID) for optimal pump operation.
Highlights dangers of electrical shock, magnetic forces, and heavy parts during maintenance.
Stresses the importance of checking air supply to the motor and module for cooling.
Provides steps for dismantling and replacing the mechanical seal, including safety precautions.
Details the procedure for replacing the motor, including electrical safety and module handling.
Outlines steps for replacing the electronic module, emphasizing safety and O-ring installation.
Explains how to remove and install the fan wheel, noting bearing considerations.
Explains how faults are displayed and the priority of error types.
Provides a legend for error types and their priorities.
Lists common mechanical faults, their causes, and remedies, such as cable issues or bearing damage.
Presents a comprehensive table of error codes, causes, remedies, and error types for system, pump, motor, and module errors.
Explains the general procedure for navigating to and acknowledging errors using the control buttons.
Details the specific steps for acknowledging error types A and D using flow diagrams.
Details the specific steps for acknowledging error type B, including waiting for reset times.
Details the specific steps for acknowledging error type C, including manual acknowledgment.
Details the specific steps for acknowledging error types E and F, including emergency operation resumption.
Provides guidance on ordering spare parts, emphasizing the use of original parts and providing necessary information.
Instructs on proper disposal and recycling of the product to prevent environmental damage.
| Temperature range | -20°C to +140°C |
|---|---|
| Protection class | IP55 |
| Maximum operating pressure | 16 bar |
| Motor type | EC motor |
| Display | LCD |
| Connection type | Flange |
| Application | Heating, cooling, industrial circulation systems |
| Head | Up to 95 m |
| Motor efficiency | IE4 |
| Material | stainless steel |
| Operating mode | Continuous |
| Power supply | 3~400 V, 50/60 Hz |
| Control modes | Constant pressure |