en Maintenance and repair
86 WILO SE 2019-10
9.5.5.1 Test the resistor of the temper-
ature sensor
Measure the resistor of the temperature sensors with an ohmmeter. The following
measured values must be complied with:
ƒ Bimetallic strip: Measured value = 0ohms (continuity).
ƒ PTC sensor (PTC thermistor): Measured value depends on the number of sensors in-
stalled. A PTC sensor has a cold resistance range of 20to 100ohms.
– With three sensors in series, the measured value range is from 60 to 300ohms.
– With four sensors in series, the measured value range is from 80 to 400ohms.
ƒ Pt100 sensor: Pt100 sensors have a resistance value of 100ohms at 0°C (32°F).
Between 0°C (32°F) and 100°C (212°F), the resistance increases by 0.385ohms per
1°C (1.8°F) increase.
At an ambient temperature of 20°C (68°F), the resistance is 107.7ohms.
9.5.5.2 Testing the resistor of the ex-
ternal electrode for sealing cham-
ber control
Measure the resistor of the electrode with an ohmmeter. The measured value must ap-
proach “infinity”. For values ≤30kOhm, if there is water in the oil – change the oil!
9.5.6 Oil change in sealing chamber
WARNING
Operating fluid under high pressure!
A pressure of several bar can build up in the motor! This pressure escapes when the
screw plugs are opened. If screw plugs are opened without due caution, they can be
ejected at high speed! To avoid injuries, observe the following instructions:
• Adhere to the prescribed sequence of work steps.
• Unscrew the screw plugs slowly, but never unscrew them completely. As soon
as the pressure escapes (audible whistling or hissing of air), stop turning the
screw plug any further!
• When the pressure has completely dissipated, fully unscrew the screw plugs.
• Wear closed safety goggles.
WARNING
Scalding from hot operating fluids!
Hot operating fluids can also spray out when pressure is released. This can result in
scalding! To avoid injuries, the following instructions must be observed:
• Allow the motor to cool down to the ambient temperature before opening the
screw plugs.
• Wear closed safety goggles or face protection and gloves.
NOTICE
Slightly tilt the motor to fill the oil!
Slightly tilt the sealing chamber to completely fill it with oil. Secure the motor
against falling over and slipping during the filling process!
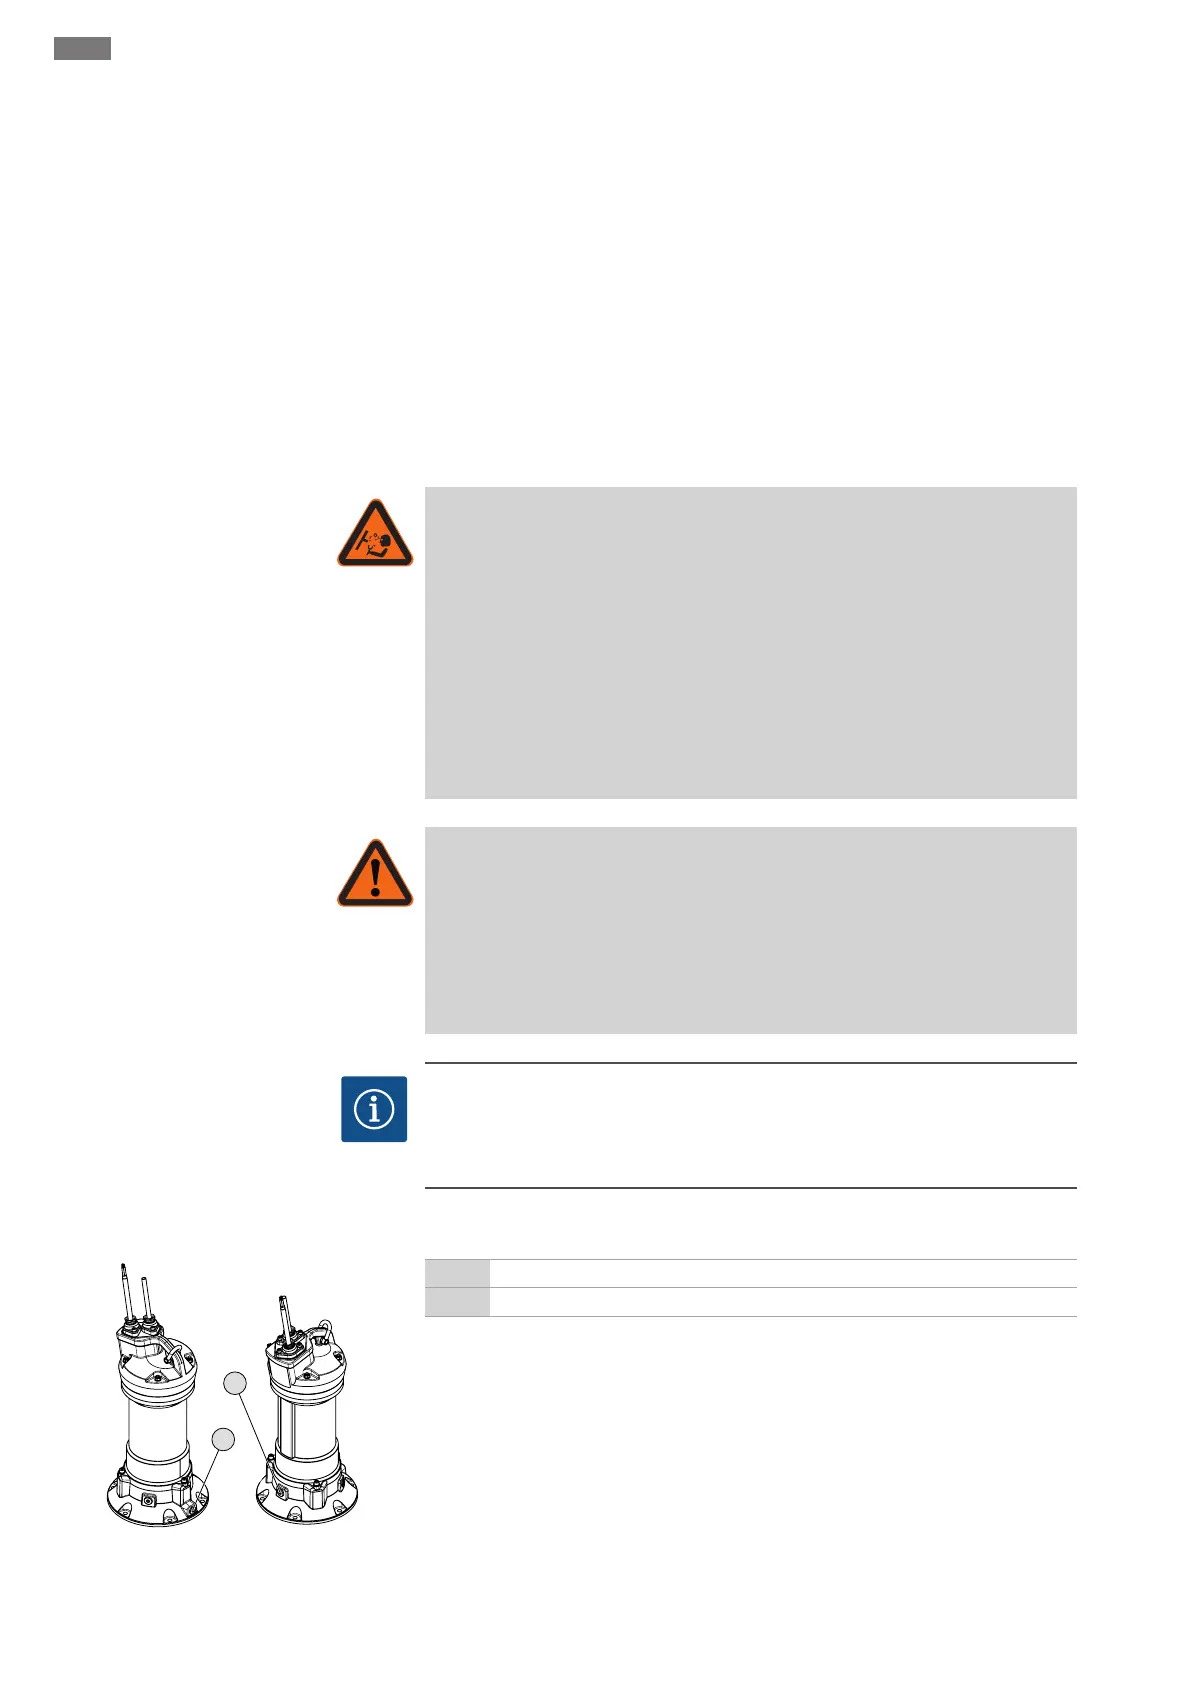
T17.3 motors
Fig.11: Sealing chamber: Oil change
+ Add the oil to the sealing chamber
- Drain the oil from the sealing chamber
‡ Use protective equipment!
‡ Pump has been dismantled and cleaned (decontaminated, if required).
1. Place the pump upright on a firm surface.WARNING!Risk of hands being crushed.
Make sure that the pump can not fall over or slip!
2. Position a suitable reservoir to collect the operating fluid.
3. Unscrew the screw plug (+) slowly, but do not unscrew it completely. WARN-
ING!Overpressure in the motor! Stop turning the screw plug further if you can
hear hissing or whistling! Wait until the pressure has completely dissipated.
4. Once the pressure has dissipated, fully unscrew the screw plug (+).
 Loading...