2. Attach the Mounting Bracket
A mounting bracket is provided for attaching the Sleek to your vehicle’s dash. Other options are also
available from Wilson Electronics.
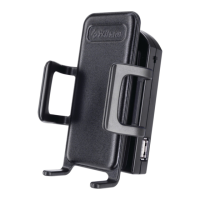
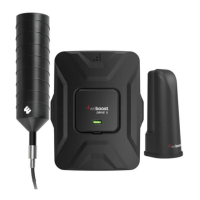
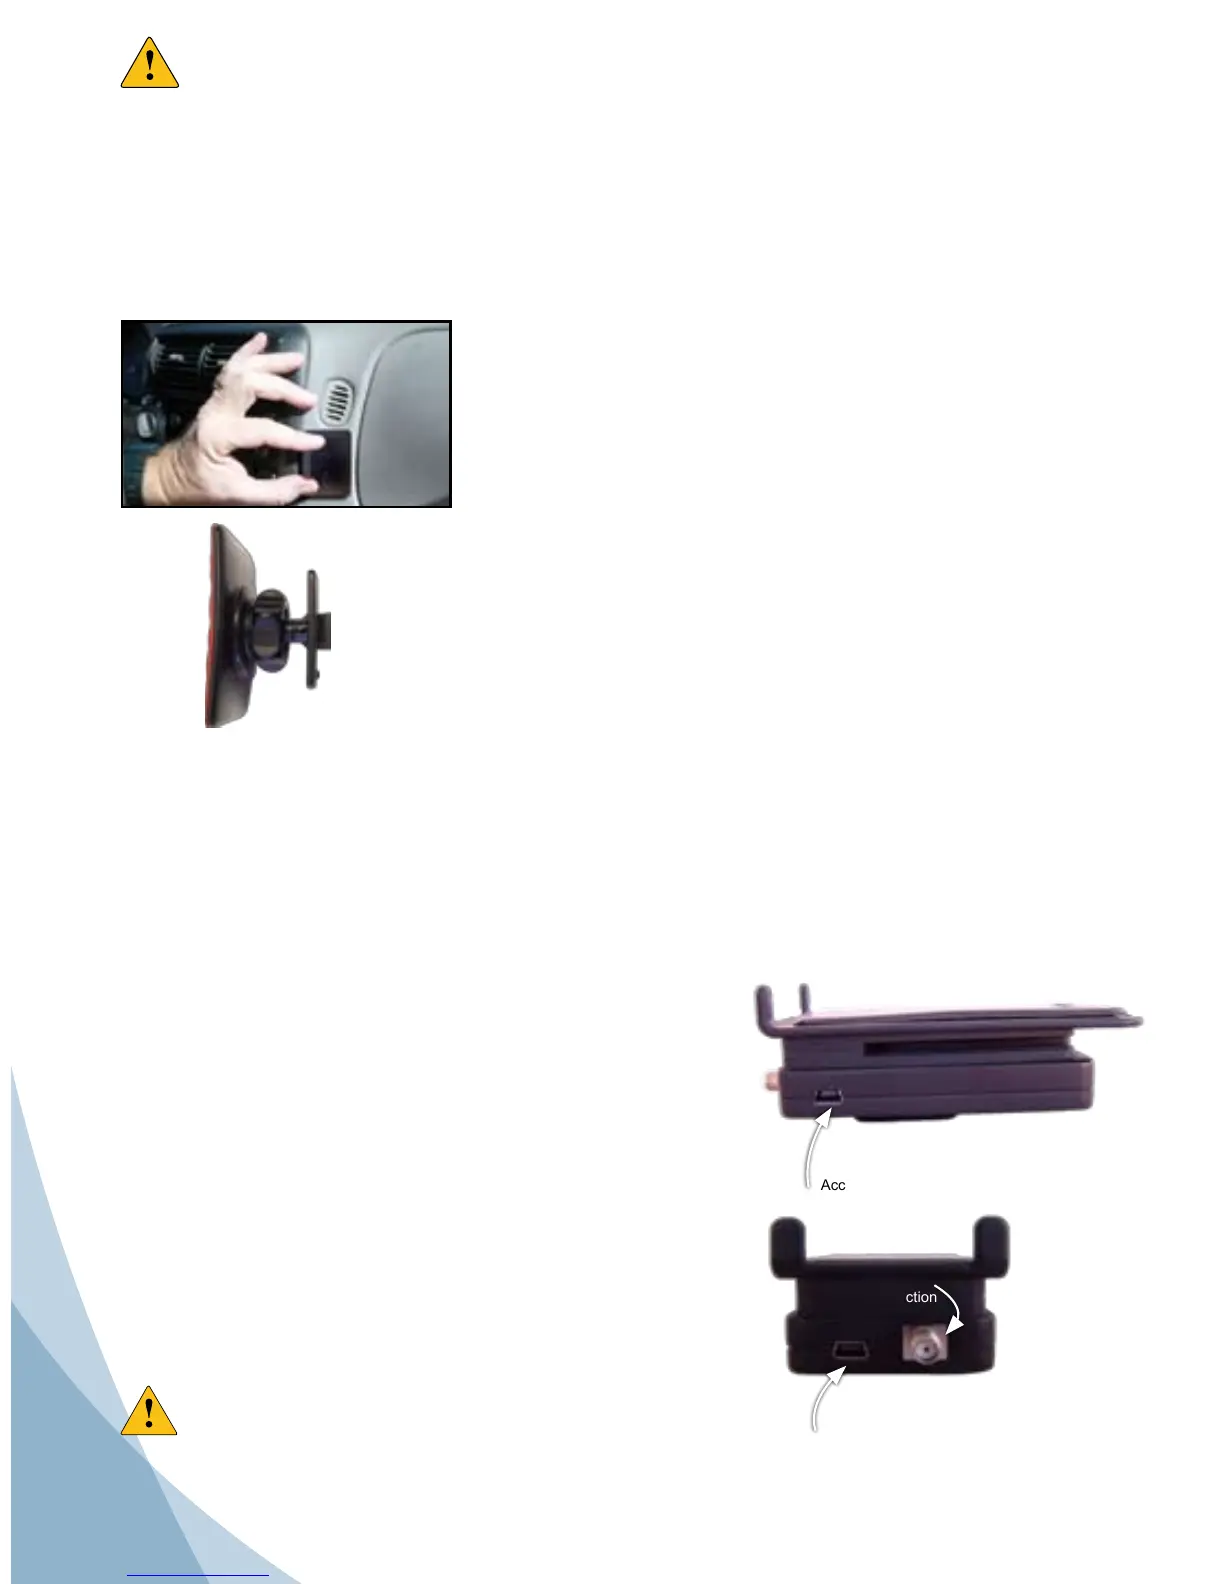
Sleek power port. Connect Wilson
Electronics power supply.
Antenna
connection
Accessory USB power port
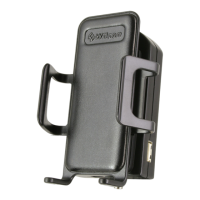
3. Attach the Sleek to the Bracket
Once you have installed the bracket in the desired location, and waited 24 hours for adhesive to cure, attach
the Sleek by aligning the rectangular hole on its back with the tab on the mount bracket, grasping the sides of
the Sleek, and sliding it downward approximately ¼ inch (0.6 cm) into place.
RF Safety Warning: The “Outside Antenna” must be either a Wilson Electronics Magnet Mount
or Mini-Magnet Mount Antenna and requires at least an 8 inch (20 cm) separation distance from
all persons. Other Outside Antennas may be used with fixed building installations provided that (a) they
are located with at least a 30 inch (75 cm) separation distance from all persons, (b) their gain less cable
loss does not exceed 15 dBi, and (c) they are not operating in conjunction with any other antenna or
Signal Booster.
ADHESIVE BRACKET- Included in this package
A. Clean the area where the bracket is to be mounted with the
alcohol wipe provided. Allow to dry.
B. Peel the backing to expose the adhesive and press the bracket
onto the desired location in the vehicle. Note: be sure the tab is
positioned vertically, not horizontally.
C. Allow the adhesive to cure for 24 hours before you attach the
Sleek.
D. Once the cradle is attached, you can adjust the angle of the
adhesive bracket by applying gentle pressure to the top or
bottom of the Sleek. The bracket is designed to swivel when
the knurled nut is loosened for greater adjustability of the Sleek
viewing angle. To lock bracket into position, tighten large nut.
Power up the Wilson Electronics Sleek
IMPORTANT: Make sure the Outside Antenna cable is connected
before powering up the Sleek.
Accessory port to power up your phone, some adapters available
through Wilson Electronics at 866-294-1660 (refer to Figure 1).
Connect the mini-USB plug on the power cable to the Sleek’s mini
USB port located on the bottom of the Sleek (refer to Figure 2) and
insert the adapter into the vehicle power outlet of your vehicle. The
Sleek may remain on all the time. However, leaving the Sleek on
in a vehicle when it is not running can discharge the battery in a day
or two.
Note: The 12V DC power source on many vehicles is shut off with
the ignition key.
Warning: Use only the supplied Wilson Electronics power
supply.
4. Attach the Outside Antenna cable to the Sleek
Attach the cable from the Outside Antenna to the antenna connector on the Sleek. (see Figure 2)
Figure 1
Figure 2