–5–
Installation Instructions cont.
• The Winegard
®
Gateway
™
can always be installed later, however it is
recommended to run the power cable to the intended mounting location of
the Gateway router.
Choose a location for the antenna that meets the following requirements:
• Offers enough support for a secure installation
• Maintains adequate clearance from the edge of the roof and any
obstructions:
– clearance distance of 24 inches needed from center of antenna to front of
the vehicle.
– clearance distance of 18 inches needed from center of antenna to nearest
obstruction and to the edge of the roof.
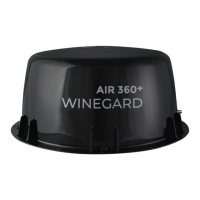
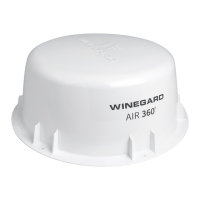
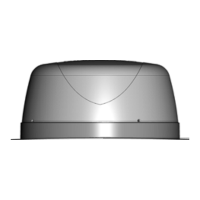
Step 1 – Remove the dome of the antenna by unscrewing the 4 Phillips screws
on the side of the dome. Carefully remove the dome and set it on its side as a
coax cable is connected to the antenna attached to the roof of the dome.
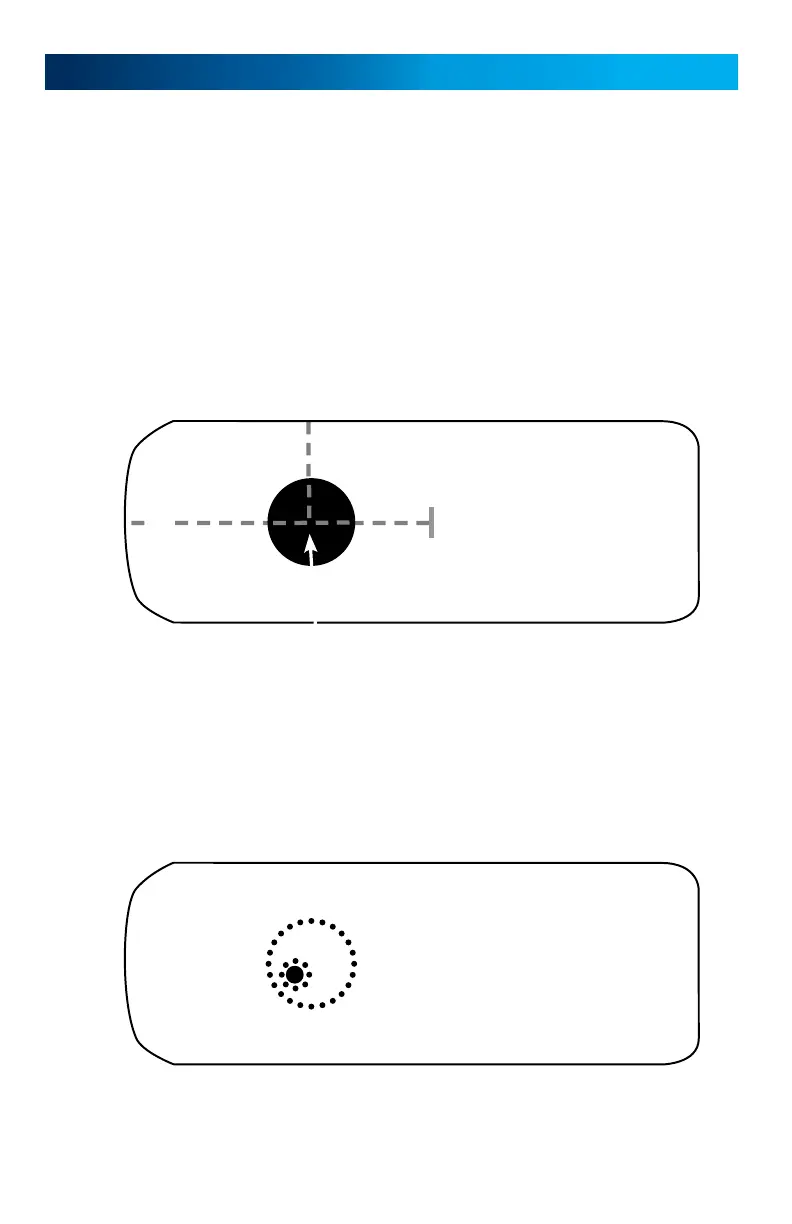
Step 2 – Place the base of the antenna in the location you intend to mount
with the flange indicating FRONT facing the front of the vehicle. Next, with a
pencil, trace around the base of the unit and the cable pass-thru hole that the
coax cable exits. Remove the base from this location.
> If installing the Winegard Gateway on the RV ceiling continue to Step 3.
> If installing the Winegard Gateway in the dome of the Air
™
360
+
continue
to Step 11.
24"
18"
Obstruction
Front of vehicle
18"
Top of antenna
Front of vehicle
Trace antenna base and
cable pass-thru hole
FRONT
 Loading...